
Let's talk periods. Yep - the topic you don't discuss.

This is a sponsored conversation written by me on behalf of Tampax/Always. The opinions and text are all mine.
I got mine in the summer of 6th grade. I was in another state visiting family for the whole summer when it hit. I remember being embarrassed trying to figure out how to get my mom to come to the bathroom without telling the entire house full of people what was going on. She gave me some gigantic pad that felt like a diaper and I spent the summer without my best friend which meant talking to no one about it. Later on I tried tampons, and I remember sitting in the bathroom reading the instructions as thorough as I could. Yeah, that little sheet of paper saved the day (after what felt like an hour of trying). Once I got used to them, tampons are what I stuck with. It's been my preference through beach days, workouts, and everyday life. It just so happens that Tampax is what I've used from the get go. Look, when my period hits I want to be as comfortable as possible and that means easy protection (that doesn't contain chlorine bleach or BPA - phew) and maybe a nap and definitely some chocolate. Oh, and best part of it alll - I went to a strict uniform wearing private school, and once you got your period, you were allowed to wear a purse which was a BIG deal for us eleven year olds. Oh heyyyyy!

If you need to stock up on Tampax tampons check out your local Sam's Club or samsclub.com to get $2 off in Instant Savings for a limited time. A big pack means you'll always be prepared for any surprises that might pop up, plus, you know you'll use them.
How was your experience? Did you also get to start wearing purses? haha!

Current workout and beauty favs
Current workout and beauty favs

Here are some of my current favorites!
Let's start with working out. Until last week, I had never done a workout using a resistance band before so this new, but odd contraption (for me), has been keeping me on my toes. Literally, on my toes you guys. I have to wrap this thing around my feet, squat, and walk side to side. Hoolllyy cow. The next one is a given. A banana is my life saver in food form. Whenever I'm passed out on the ground covered in sweat, these things bring me back to life. Lastly, the @FitBit is not mine, but a friend is letting me borrow it to see what I think. I'm only on day one, so I'm still open to suggestions. I for sure want something that isn't as bulky as a watch, has heart rate, sleep quality and so on. The sleeker the better. So let me know!
On to the beauty bits because I'm a sucker for all things that make me feel girly💅. First off, I currently smell amazing (when I've showered after a workout of course). So if you didn't know, the new Ralph Lauren#TenderRomance (sent to me for testing - so thank you @Influenster!) smells amaaaazing so I've been popping that in my handbag and using it daily. Plus it's boyfriend approved - aka @cogzillaattacks loves it! Lastly, the @katvondbeauty liquid lipsticks are MY JAM and I'm finding it hard to pull myself away from these babies.💄.
What else is out there that I need to try? Bring it on!

(CONTEST CLOSED) BLOGMAS GIVEAWAY : REVISION SKINCARE (10 Winners!)

Here are the 10 winners for the Revision Intellishade giveaway! Please DM me your address so I can send some of this amazingness to you!
1. @krissylynn1049
2. @maddmaxxhair
3. @kimf71
4. @meganpollock
5 @jrossing16
6. @sayradoubleu
7. @aanghel
8. @theminimalistfox
9. @anjaconlon
10. @standarduser666
BLOGMAS GIVEAWAY! DAY 3! (10 winners!)
The giveaway for today is given to you by Revision Skincare! TEN lucky winners will receive:
- One tube of Revision Intellishade anti-aging tinted moisturizer with sunscreen
(this stuff is my jam, I use it SO much)
Outsmart the signs of aging® with this best-selling tinted moisturizer that gives skin a touch of sheer, healthy color. Formulated with an advanced peptide and broad-spectrum UVA and UVB protection, it’s the smart way to care for your skin.
- Moisturizes and blends naturally with the color of your skin
- Reduces the appearance of fine lines and wrinkles
- Provides broad-spectrum UVA and UVB protection
- Fights photodamage which causes premature aging
Who benefits – All skin types.
HOW TO ENTER:
1. Follow @MaeElizabethG and @revisionskincare on Instagram
2. Tag two friends on the giveaway image on my Instagram (@MaeElizabethG)
Bonus Entry: Comment on this blog post (on www.MaeElizabeth.com) and make sure you leave your IG name so I can contact you if you win!
- Winner will be announced on Saturday, December 26th - Good luck!
P.S. if you didn't enter yesterdays giveaway, you still have time! Go enter now!

(CONTEST CLOSED) BLOGMAS GIVEAWAY : PUR COSMETICS

THE WINNER IS @KELCPEAR_E
(You have been DM'd on IG, please respond within 24 hours to claim your prize)
BLOGMAS GIVEAWAY!
The giveaway for today is given to you by Pur Cosmetics! One lucky winner will receive a skincare package including:
- Miracle Mist
- Dirty Girl Mudd Masque
- Simplicity Cleanser
- 4-in-1 Mineral Powder Foundation
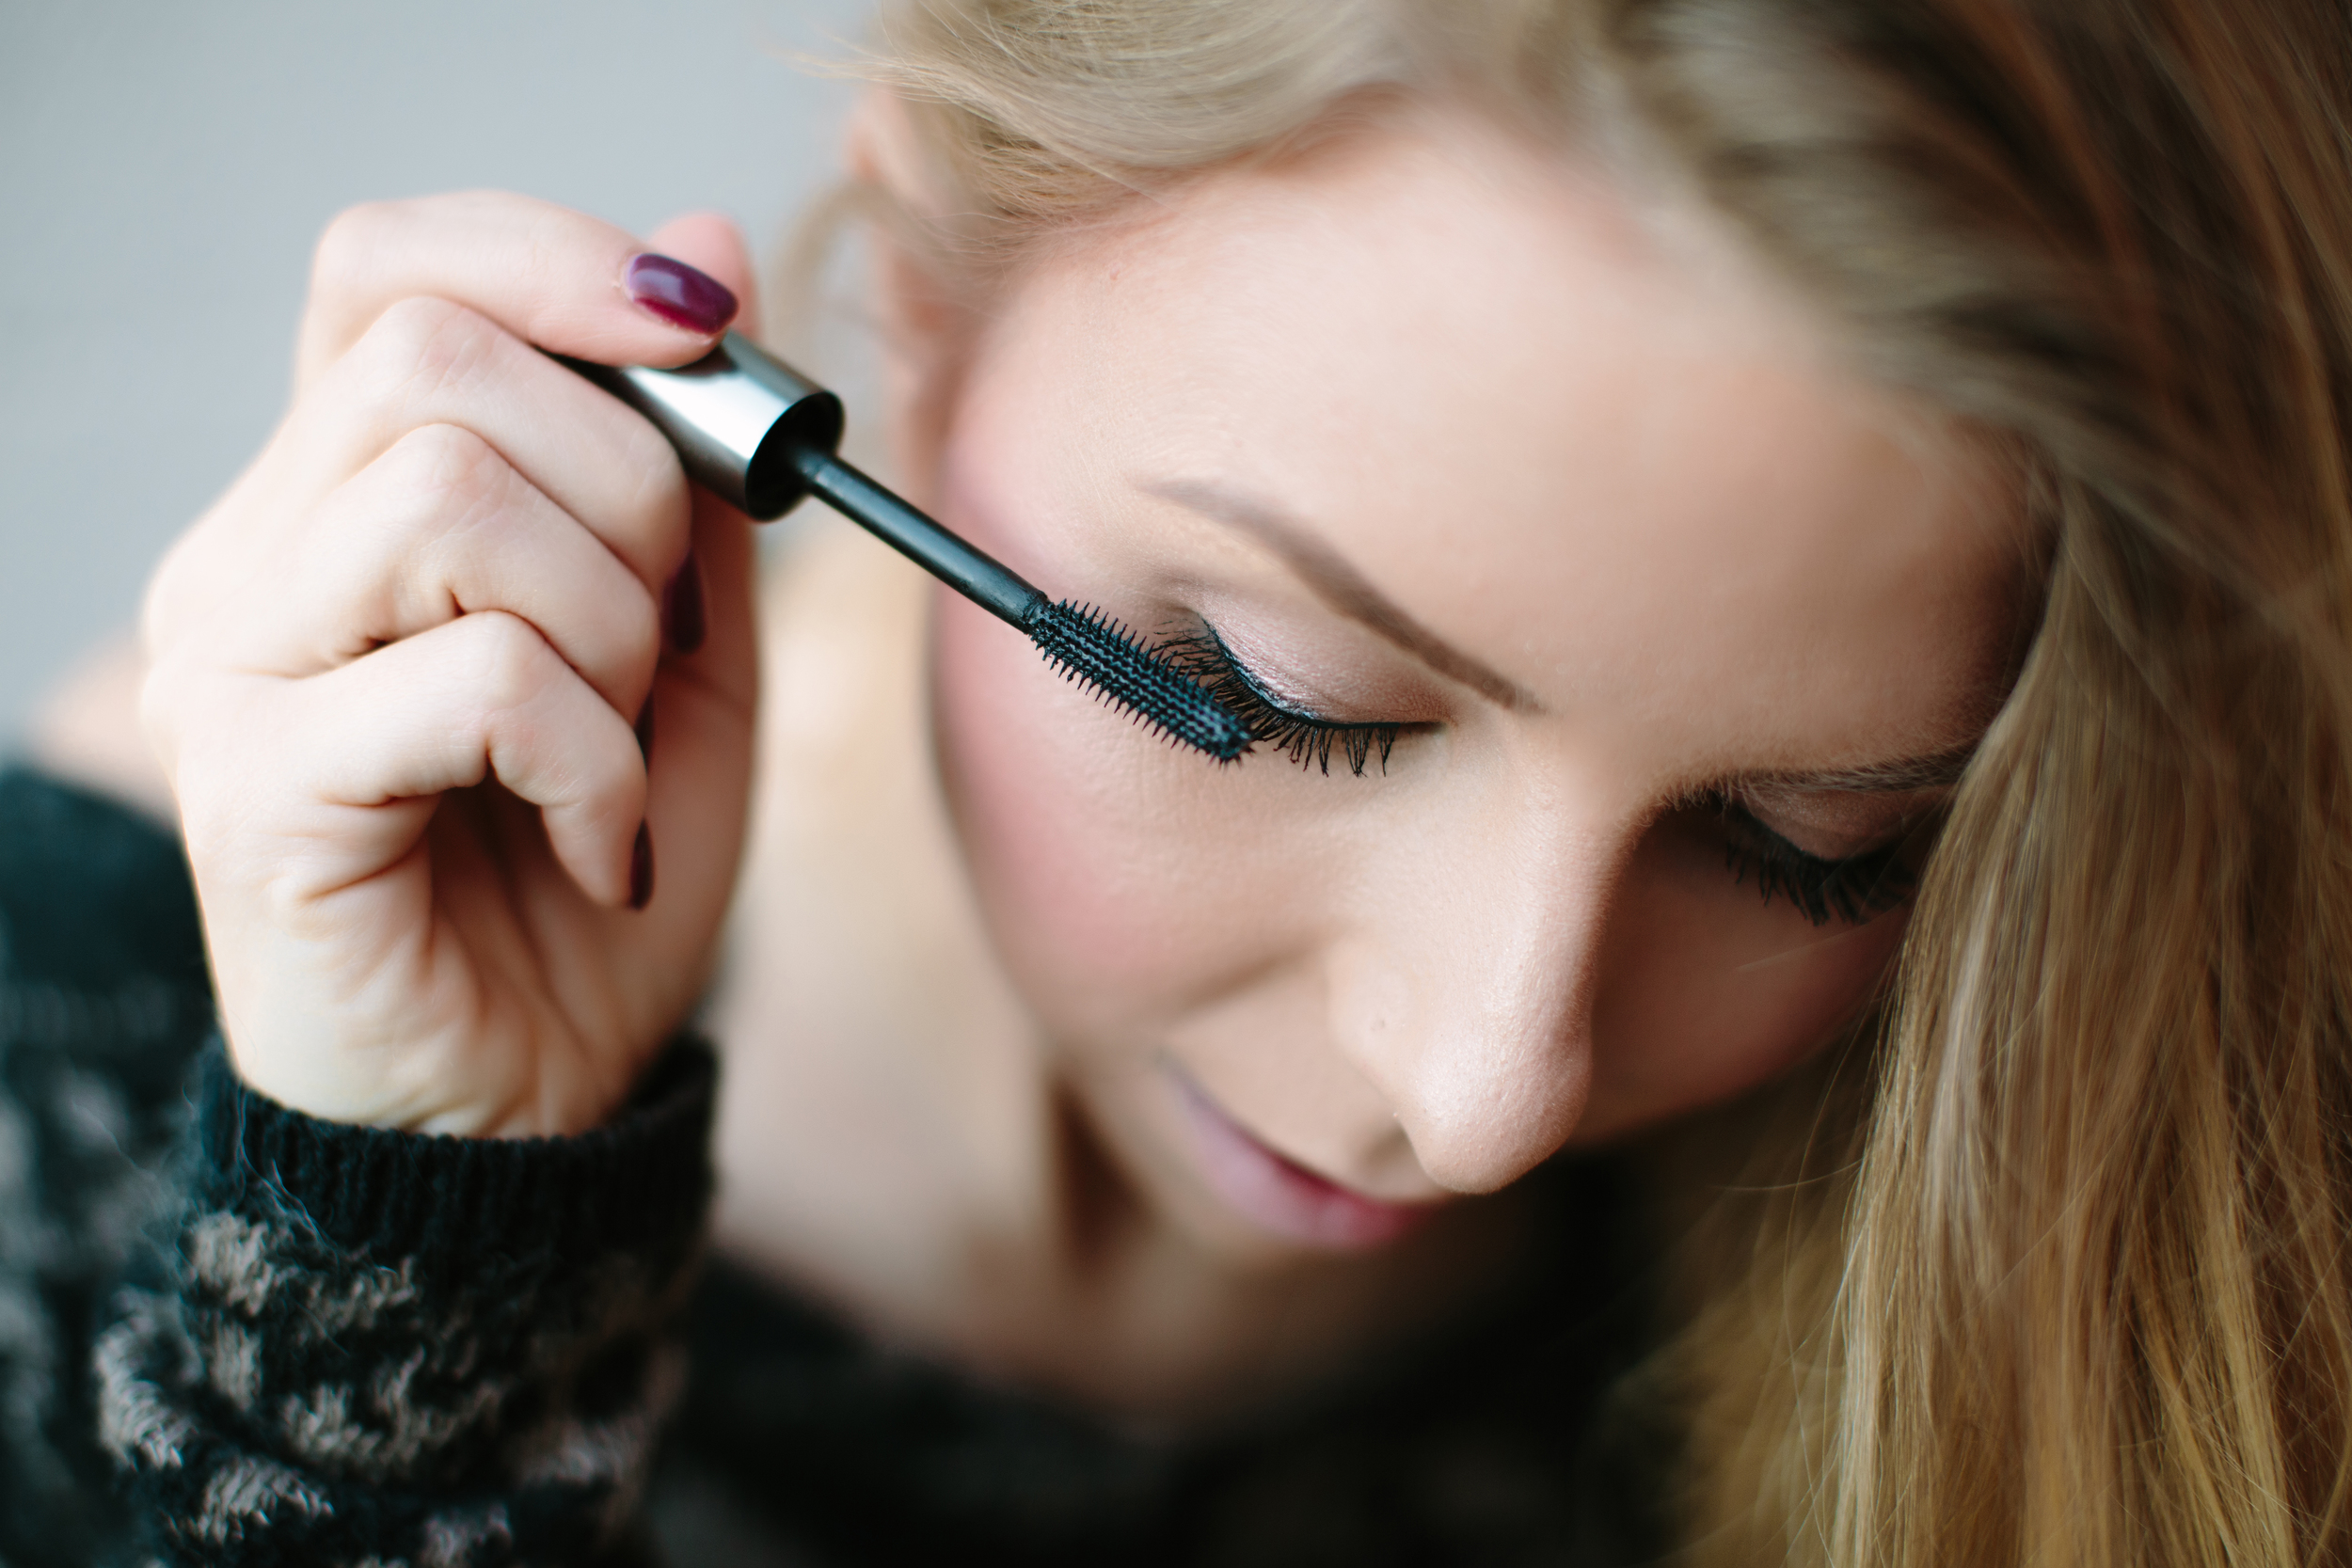
- Big Look Mascara
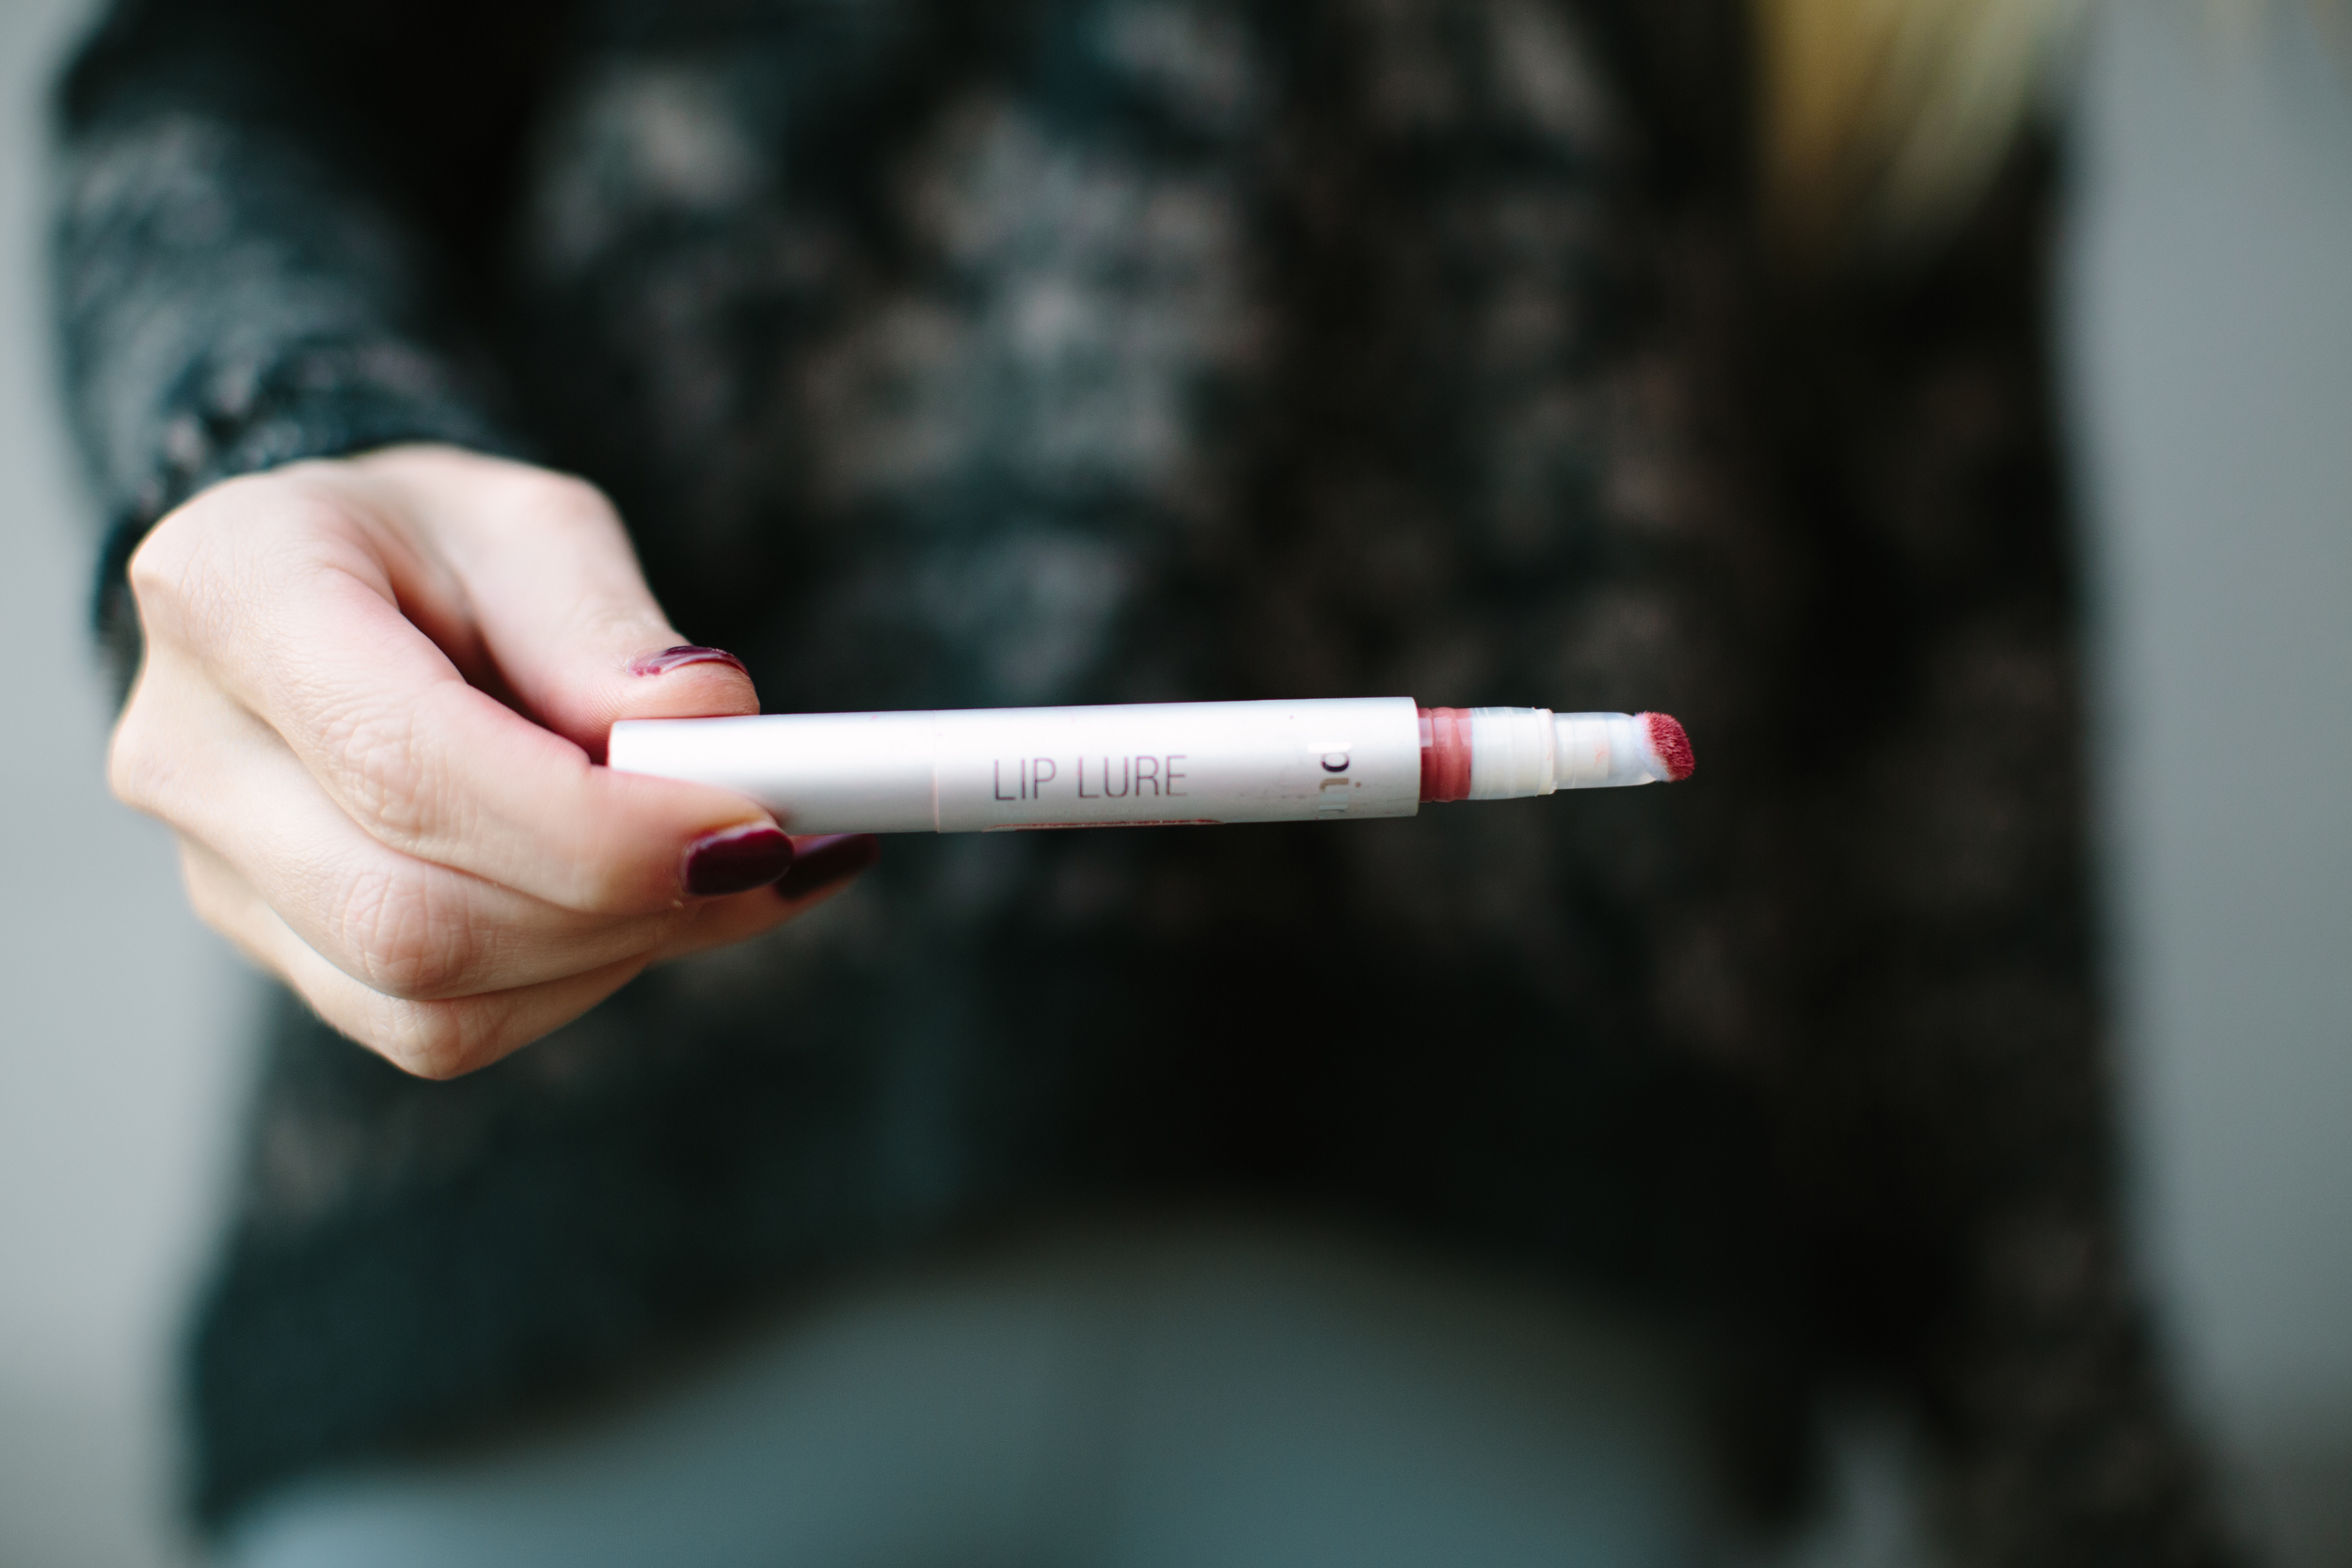
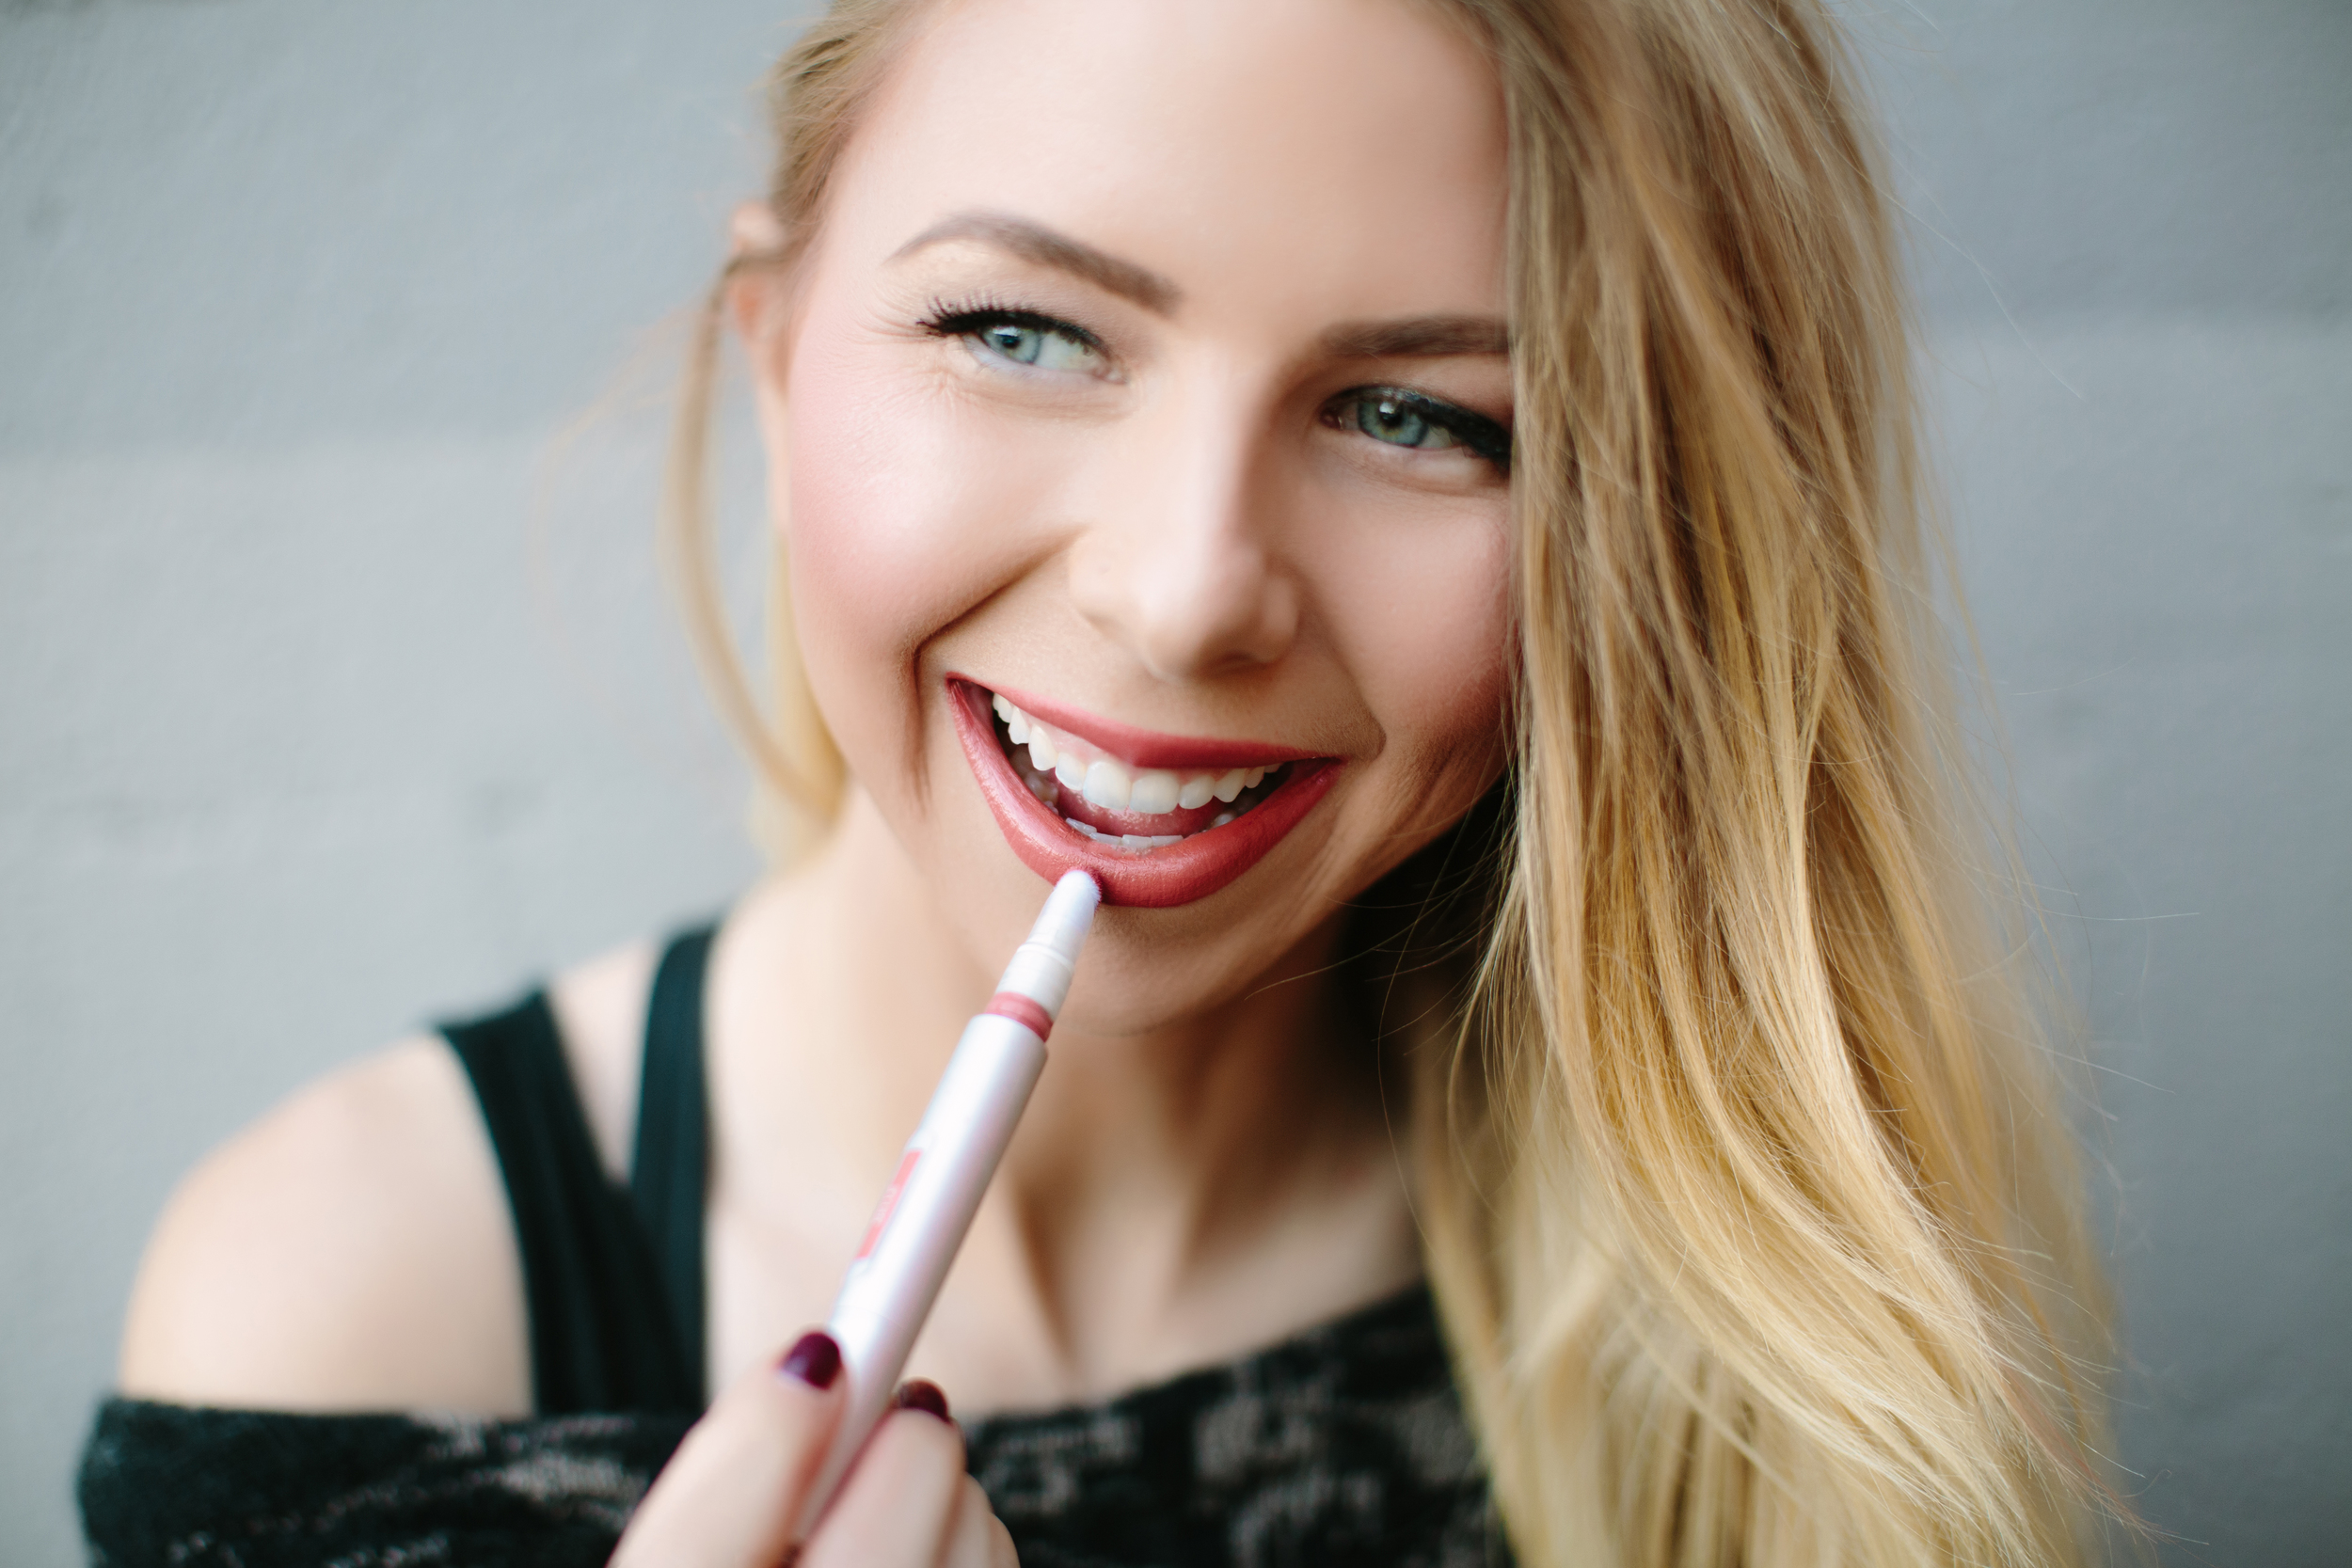
- Lip Lure Lip Lacquer
HOW TO ENTER:
1. Follow @MaeElizabethG and @PurCosmetics on Instagram
2. Tag two friends on the giveaway image on my Instagram (@MaeElizabethG)
Bonus Entry: Comment on this blog post (on www.MaeElizabeth.com) and tell me which product you're looking forward to most. Make sure you leave your IG name so I can contact you if you win!
- Winner will be announced on Wednesday, December 23rd - Good luck!

My Skincare Journey with Peels (Progress : 2 months)
Hey everyone!
A few weeks ago, I mentioned that I would be posting about my struggle with acne so here we are! Please note that I had never planned to share this process with anyone as I was too embarrassed about my skin, therefore, if I seem a little short with my descriptions, it's because I'm still learning and this is definitely an "in-progress" post. Because of this, I am limited to what photos of the process I have to show you (because I wasn't prancing around taking selfies on bad skin days - haha), but I think I found a few that get the point across. Regardless, I'm so happy with my results in just two months that I want to share it with you. PLUS! One of my favorite products that I use, Revision Intellisade, has generously given me 10 tubes for my giveaway next week so stay tuned for that! Alright let's get into it. As always, these are 100% my own thoughts and opinions.

My struggle with acne began around 13 years old. I'll be 27 in a few weeks so it's about time that I get this sorted out!
Previous treatments I tried: creams (both prescribed and over the counter), prescribed pills, going on a dairy free diet, and even having a consultation about Acutane only to go through the entire process with blood work and deciding this was not the route I wanted to go.
The initial problem I wanted to fix: Hyperpigmentation and cystic acne
Consultation: I found out about Brandi Altrichter because we are in the same cycling club together and so many girls raved about the wonders she had done for them. She works at her own private practice called Boost Beauty here in Atlanta. She analyzes your skin, asks you all kinds of questions and tells you want you need to do to start addressing the issue. P.S. Brandi is awesome and is also a fellow cyclist!!
Pre-Peel Treatment: I got started with a new skin care regimen from MyBody and used isClinical serum day and night. She gave me a few other things I should be doing to help balance out my PH with apple cider vinegar and aloe. I did this for a few weeks to try and control my acne.
My First Peel: Steaming, extractions, the peel, and lovely post peel products. The steaming is fine, it is exactly what it sounds like - a lot of steam in your face. The extractions, well that is the worst part in my opinion. It's having your face squeezed on with gloves, tissues and a needle if anything needed to be lanced. I had way more than I even realized. After the extractions I had the peel put on my face. This part is very quick and it only burns for a very short amount of time. After the peel you get what I consider a sweet little facial when she puts on all kinds of good smelling and nice serums and lotions. *Note, I have had peels from different brands and I only like PCA. This is just my personal opinion and what worked for me and my skin. If you've had a peel in the past and didn't like it, maybe consider a different brand. I have never, ever had the results that you see Samantha had in Sex in the City. This peel is NOTHING to that degree.
Post Peel: The following day my face was red, almost brownish in color and the extractions kind of make you look like you had more acne than when you started. BUT DON'T WORRY, this will go away. The following day I began to peel, starting around my mouth, then forehead, then cheeks and lastly my neck. I'm not sure why it kind of goes in that order, but it did. I peeled "heavily" for two days and lightly peeled a third day. The peel doesn't hurt, but it's just kind of annoying. The way I can describe it is, when you put on a clay facemask and it starts to harden and you try to talk, but the mask pulls at your skin a little because it's tight. It's that feeling but for 48 hours. Not painful, just a little annoying.

Downtime? I've read that people take off work to have this done, but I work in an office all day and race on the weekends. Personally, I just dealt with looking like a shedding snake. It's kind of embarrassing and I always feel the need to tell someone as soon as they see me what's going on. But after the initial interaction with a stranger or friends, I'm over it in 2 min. I mean, it's just skin, whatever.
How many peels have you had? I had a peel done every two weeks where I had extractions 4 out of the 5 times.
Current Products I'm using:
- Mybody ERASE IT Clarifying + Anti-Aging Essentials (4 piece set with cleanser, refining gel, moisturizer and SPF)
- isClinical Active Serum (this is QUEEN of my skincare routine)
- Revision Dej Eye Cream
and for makeup base, I only use:
- Revision Intellishade (giving away 10 of these next week!)
- either GLO or PUR mineral makeup
Next on the list that I want to fix : Black heads and scars. Although my acne is a lot more under control, it is the scars that drive me insane. That and what's up with these blackheads? Got to go.
What is next? As far as I know, we will still be doing extractions and peels. I was advised to get a Clarisonic so I put that on my Christmas list and I've heard Brandi mention that micro needling is in my future. Anyways, when I feel like I have new things to share with you guys about my journey, I'll do another progress post!
If you want to contact Brandi, here is her info:
Brandi Altrichter RN, BSN
boostatlanta1@gmail.com
http://www.boostatlanta.net
If you aren't in Atlanta and want to try a PCA Peel, you can use their locator via their website. https://www.pcaskin.com
As always, if you have any questions, please comment below!

Athlete Bath Bombs

The other day I was thinking about what to buy for one of my best friends who already has everything when I remembered that she handmade me a present a few years ago and I wanted to do the same for her. (Hi Liz, now you know what part of your Christmas present is). Anyways, I was pretty excited about it, so I decided to share it with you incase you were in need of a good handmade Christmas gift as well. Now you can make these for anyone who loves a good bath, but I've catered these two recipes specifically for athlete recovery. Be ready because your house is about to smell amazzzzing.
Epsom Salt and Coconut Oil Bath Bombs : (makes 3)
Benefit: Coconut oil is moisturizing for the skin, while Epsom Salt relieves pain and muscle cramps, eliminates toxins from the body, soothes sprains and bruises, etc. Although you can use whatever essential oil you'd like, I chose Patchouli. A more earthy scent, this essential oil is known for being an antidepressant and sedative, helps speed up the recovery of wounds and prevents them from developing infections, and lastly is an aphrodisiac.
1 1/4 cup Baking Soda
2/3 cup Corn Starch
2/3 cup Citric Acid (It took me forever to find this. I found it in the canning section of Walmart)
2/3 cup Epsom Salt
2+ teaspoons water
2 teaspoon essential oil (I used patchouli)
2 1/2 teaspoons melted coconut oil
4+ drops of food coloring
Items You Will Need:
Mold (I bought mine on Amazon, here)
Mixing Bowls
Whisk
Measuring cups
Measuring spoons
Tray
Metal Utensil
Start by combining the four dry ingredients and whisking until the clumps are gone. In a separate bowl, combine and mix the water, essential oil, and coconut oil (don't forget to melt your coconut oil). Optional: you can go ahead and add the food coloring now for one color bath bombs, or later if you want multi colored bath bombs - like I did below.
Now you're going to SLOWLY whisk in the wet ingredients with the dry ones. If the mixture starts to fizz, go slower. Once it's all combined, it should be the consistency of wet sand. If it's too dry, you can add a bit more water. I separated my final mixture into a few different bowls so I could add different colors to each.
Now you need to OVER fill both sides of your bath bomb mold. I found that packing in the mixture tightly and adding a bit more at the end before I put them together worked best for me. Do this over your bowl because you're going to lose some of the extra as your fitting the two sides of the mold together. Lightly tap the filled bath bomb mold with a metal spoon (or whatever you have around). Begin by removing one side of the mold carefully, and then the other. Put on a tray and let it dry 1-2 days, That's it! I had no problems with the mixture not sticking to each other or breaking apart, but they are very delicate so be gentle.


The next is the Oatmeal Bath Bomb. Quick tip: Although this one is pretty and full of benefits, the oatmeal in the mixture made it harder for both sides of the mold to stick together. It's totally worth it and I've put more tips in the recipe section to help you out. I recommend only using one color or not using the food coloring at all. Incase you don't have the mixture damn enough, this allows you to retry without mixing up your pretty colors.
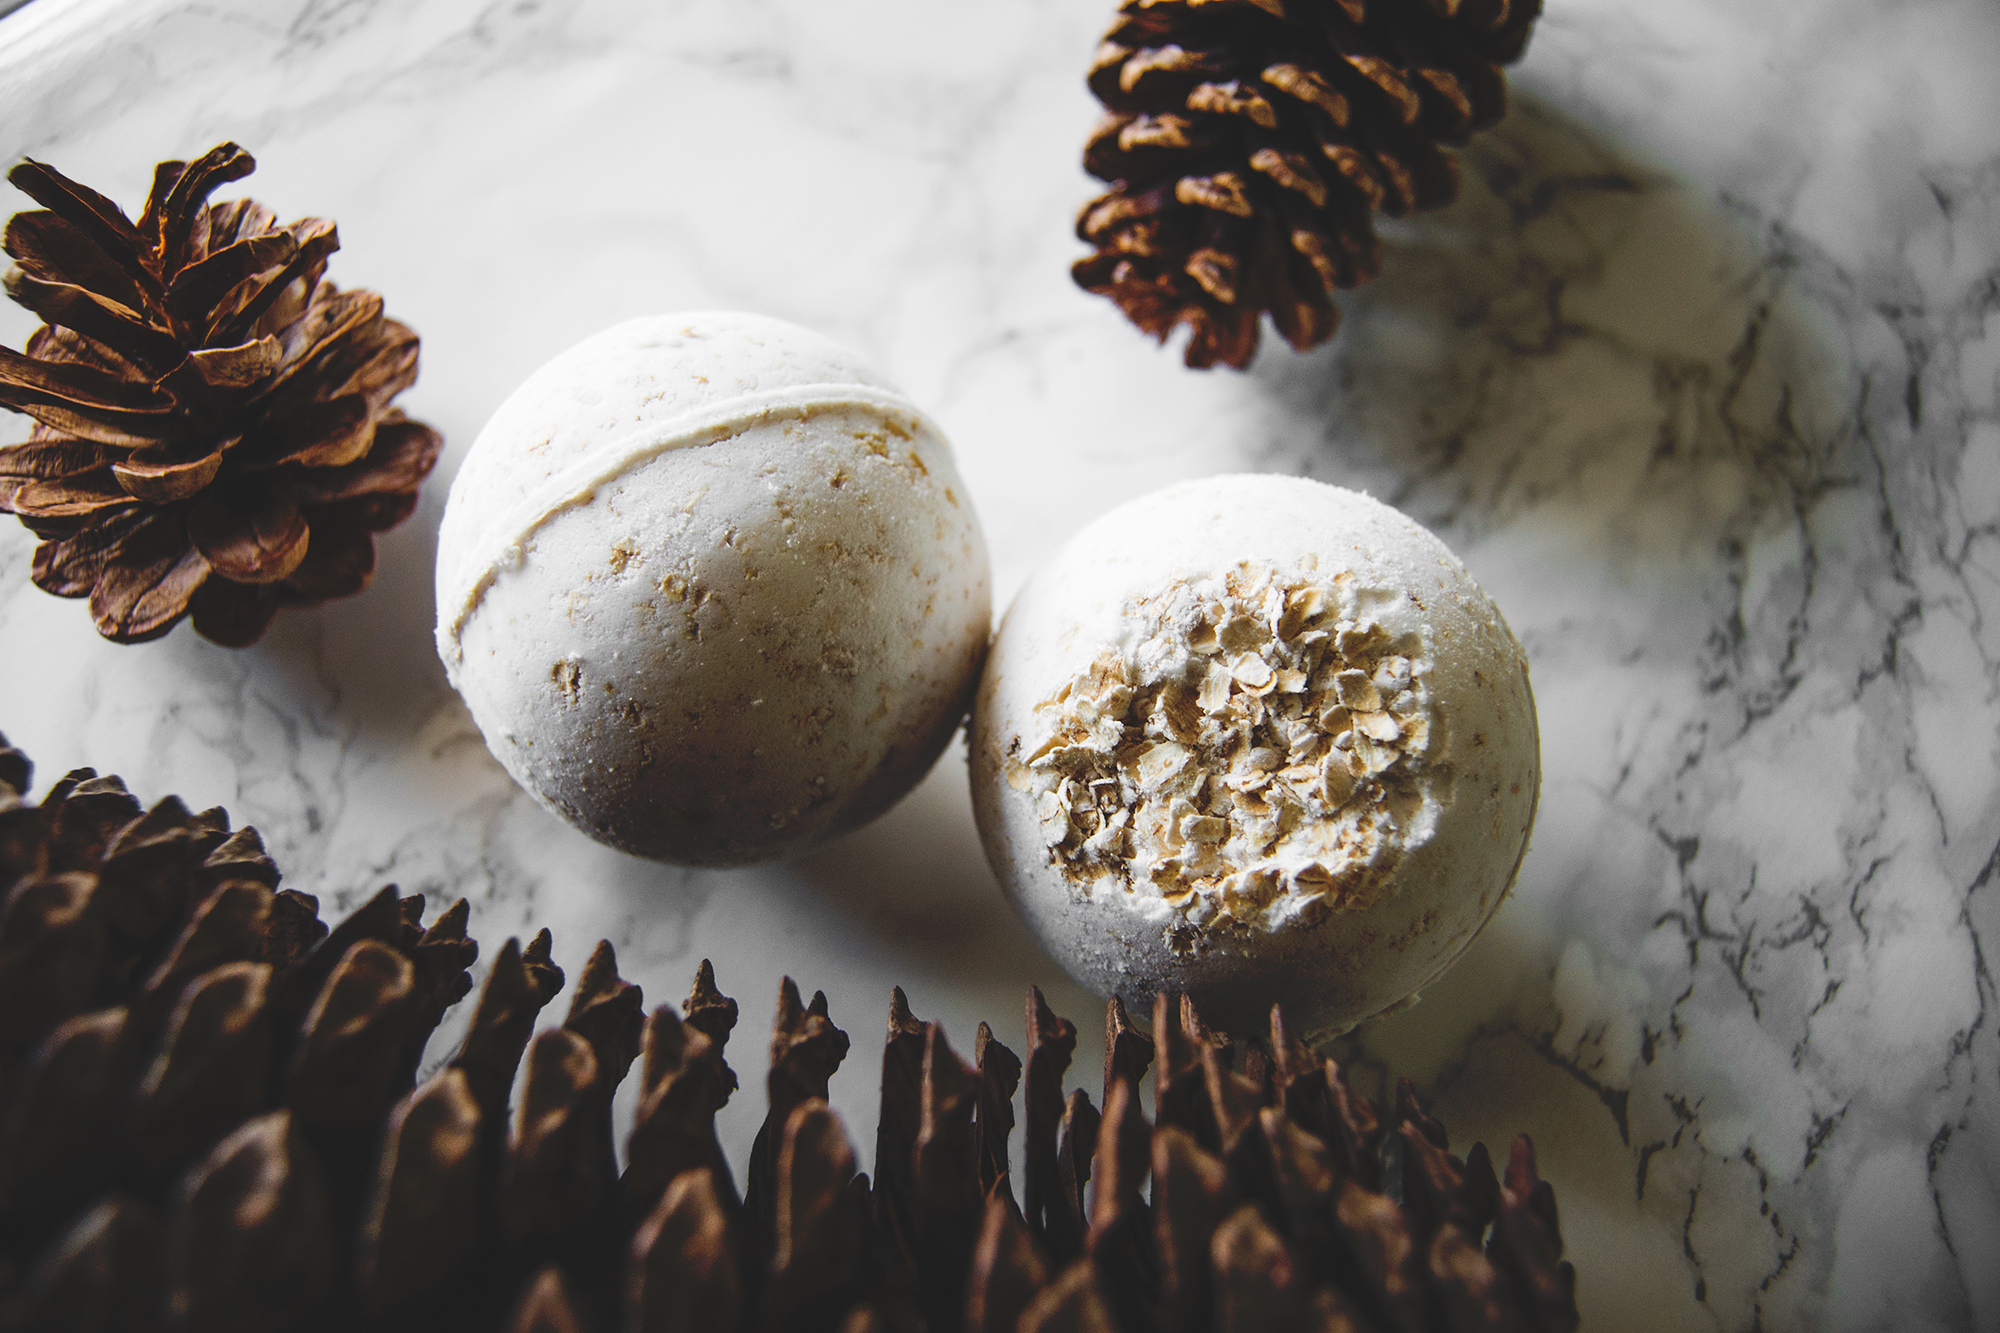
Oatmeal Bath Bomb (makes 2)
Benefits: Oatmeal makes for a very relaxing bath. It's great to cleanse your skin and lock in moisture. Lavender is known to be anti-inflammatory, reduces anxiety, improves sleep and helps heal wounds. Witch Hazel disinfects wounds, helps balance skin, treats sunburn, etc.
2/3 cup Baking Soda
1/3 cup Corn Starch
1/2 cup quick oats
1/3 cup Citric Acid
1 teaspoon Witch Hazel
1-2 teaspoons water
1 teaspoon essential oil (I used lavender for this one)
You'll want to follow the same method as before. Whisk the dry ingredients together in one bowl and the wet in another. Slowly combine them together and try not to let the mixture fizz. Once it's the consistency of wet sand, pack and overfill both sides of your mold. If it doesn't stick together, try whisking in a little more water and attempt again. I found that making the mixture a little more damp than my first recipe helped the two sides of the mold to stick together.
Lightly tap the filled bath bomb mold with a metal spoon (or whatever you have around). Begin by removing one side of the mold carefully, and then the other. Put on a tray and let it dry 1-2 days before using!
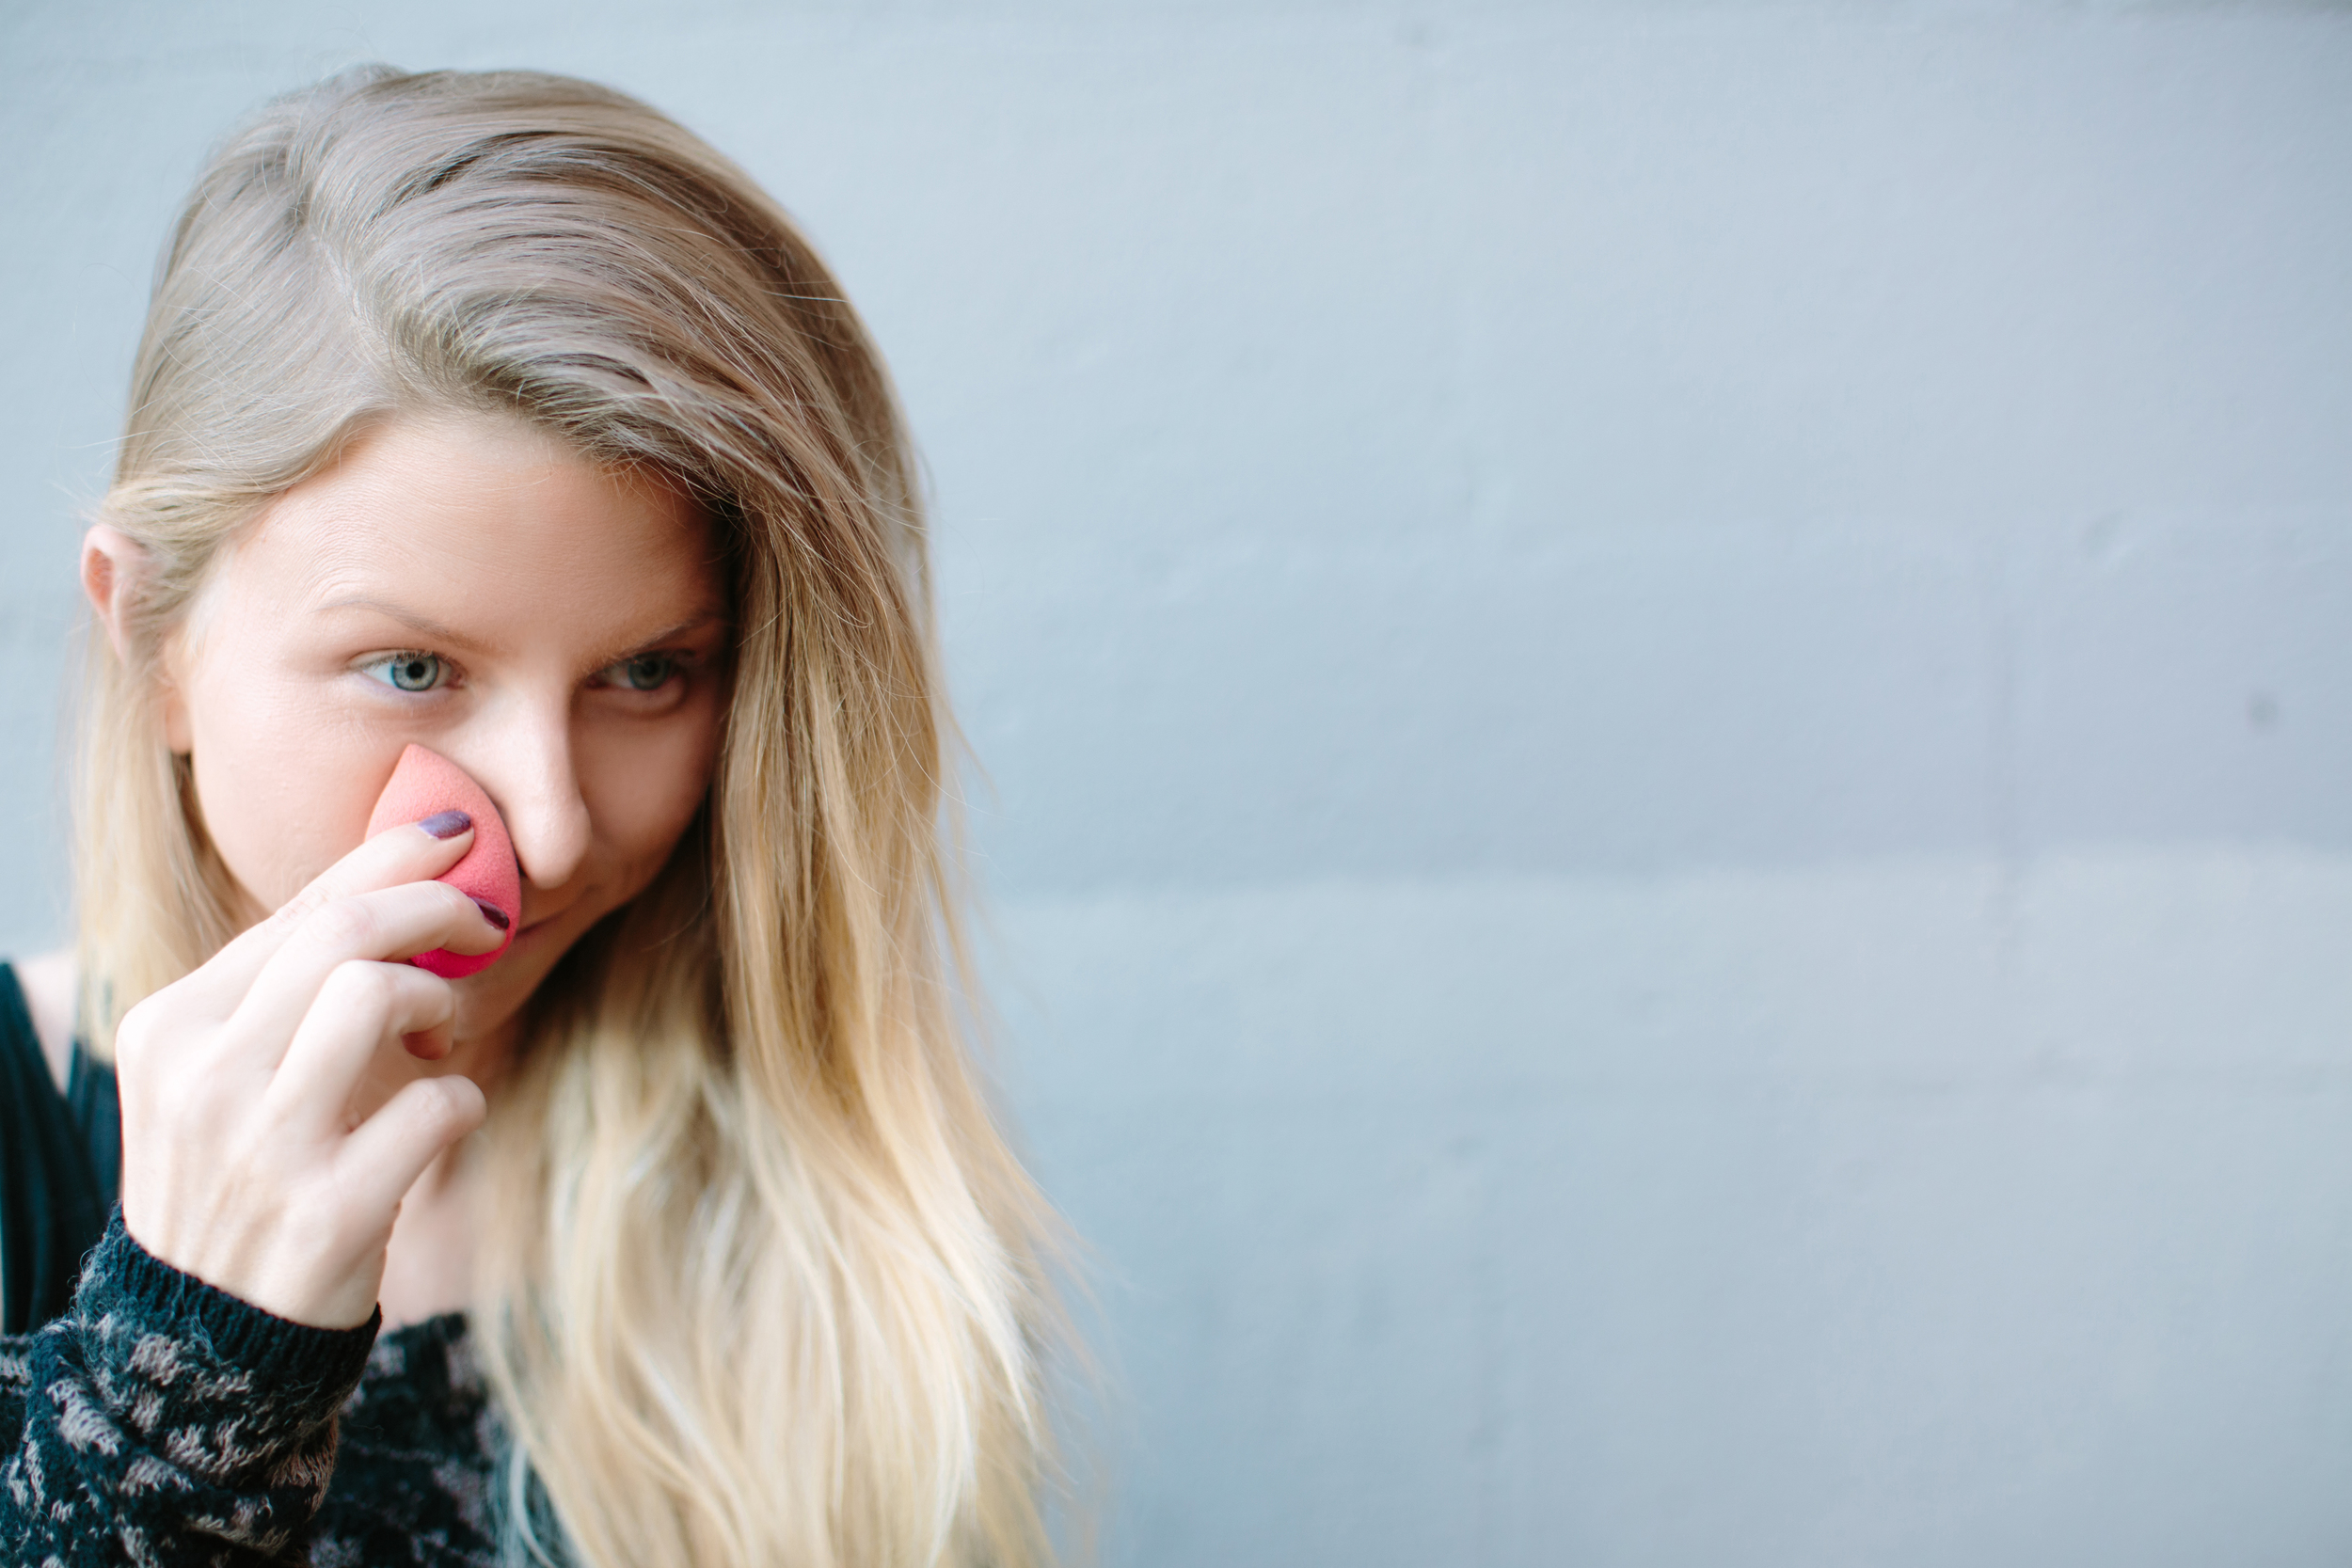
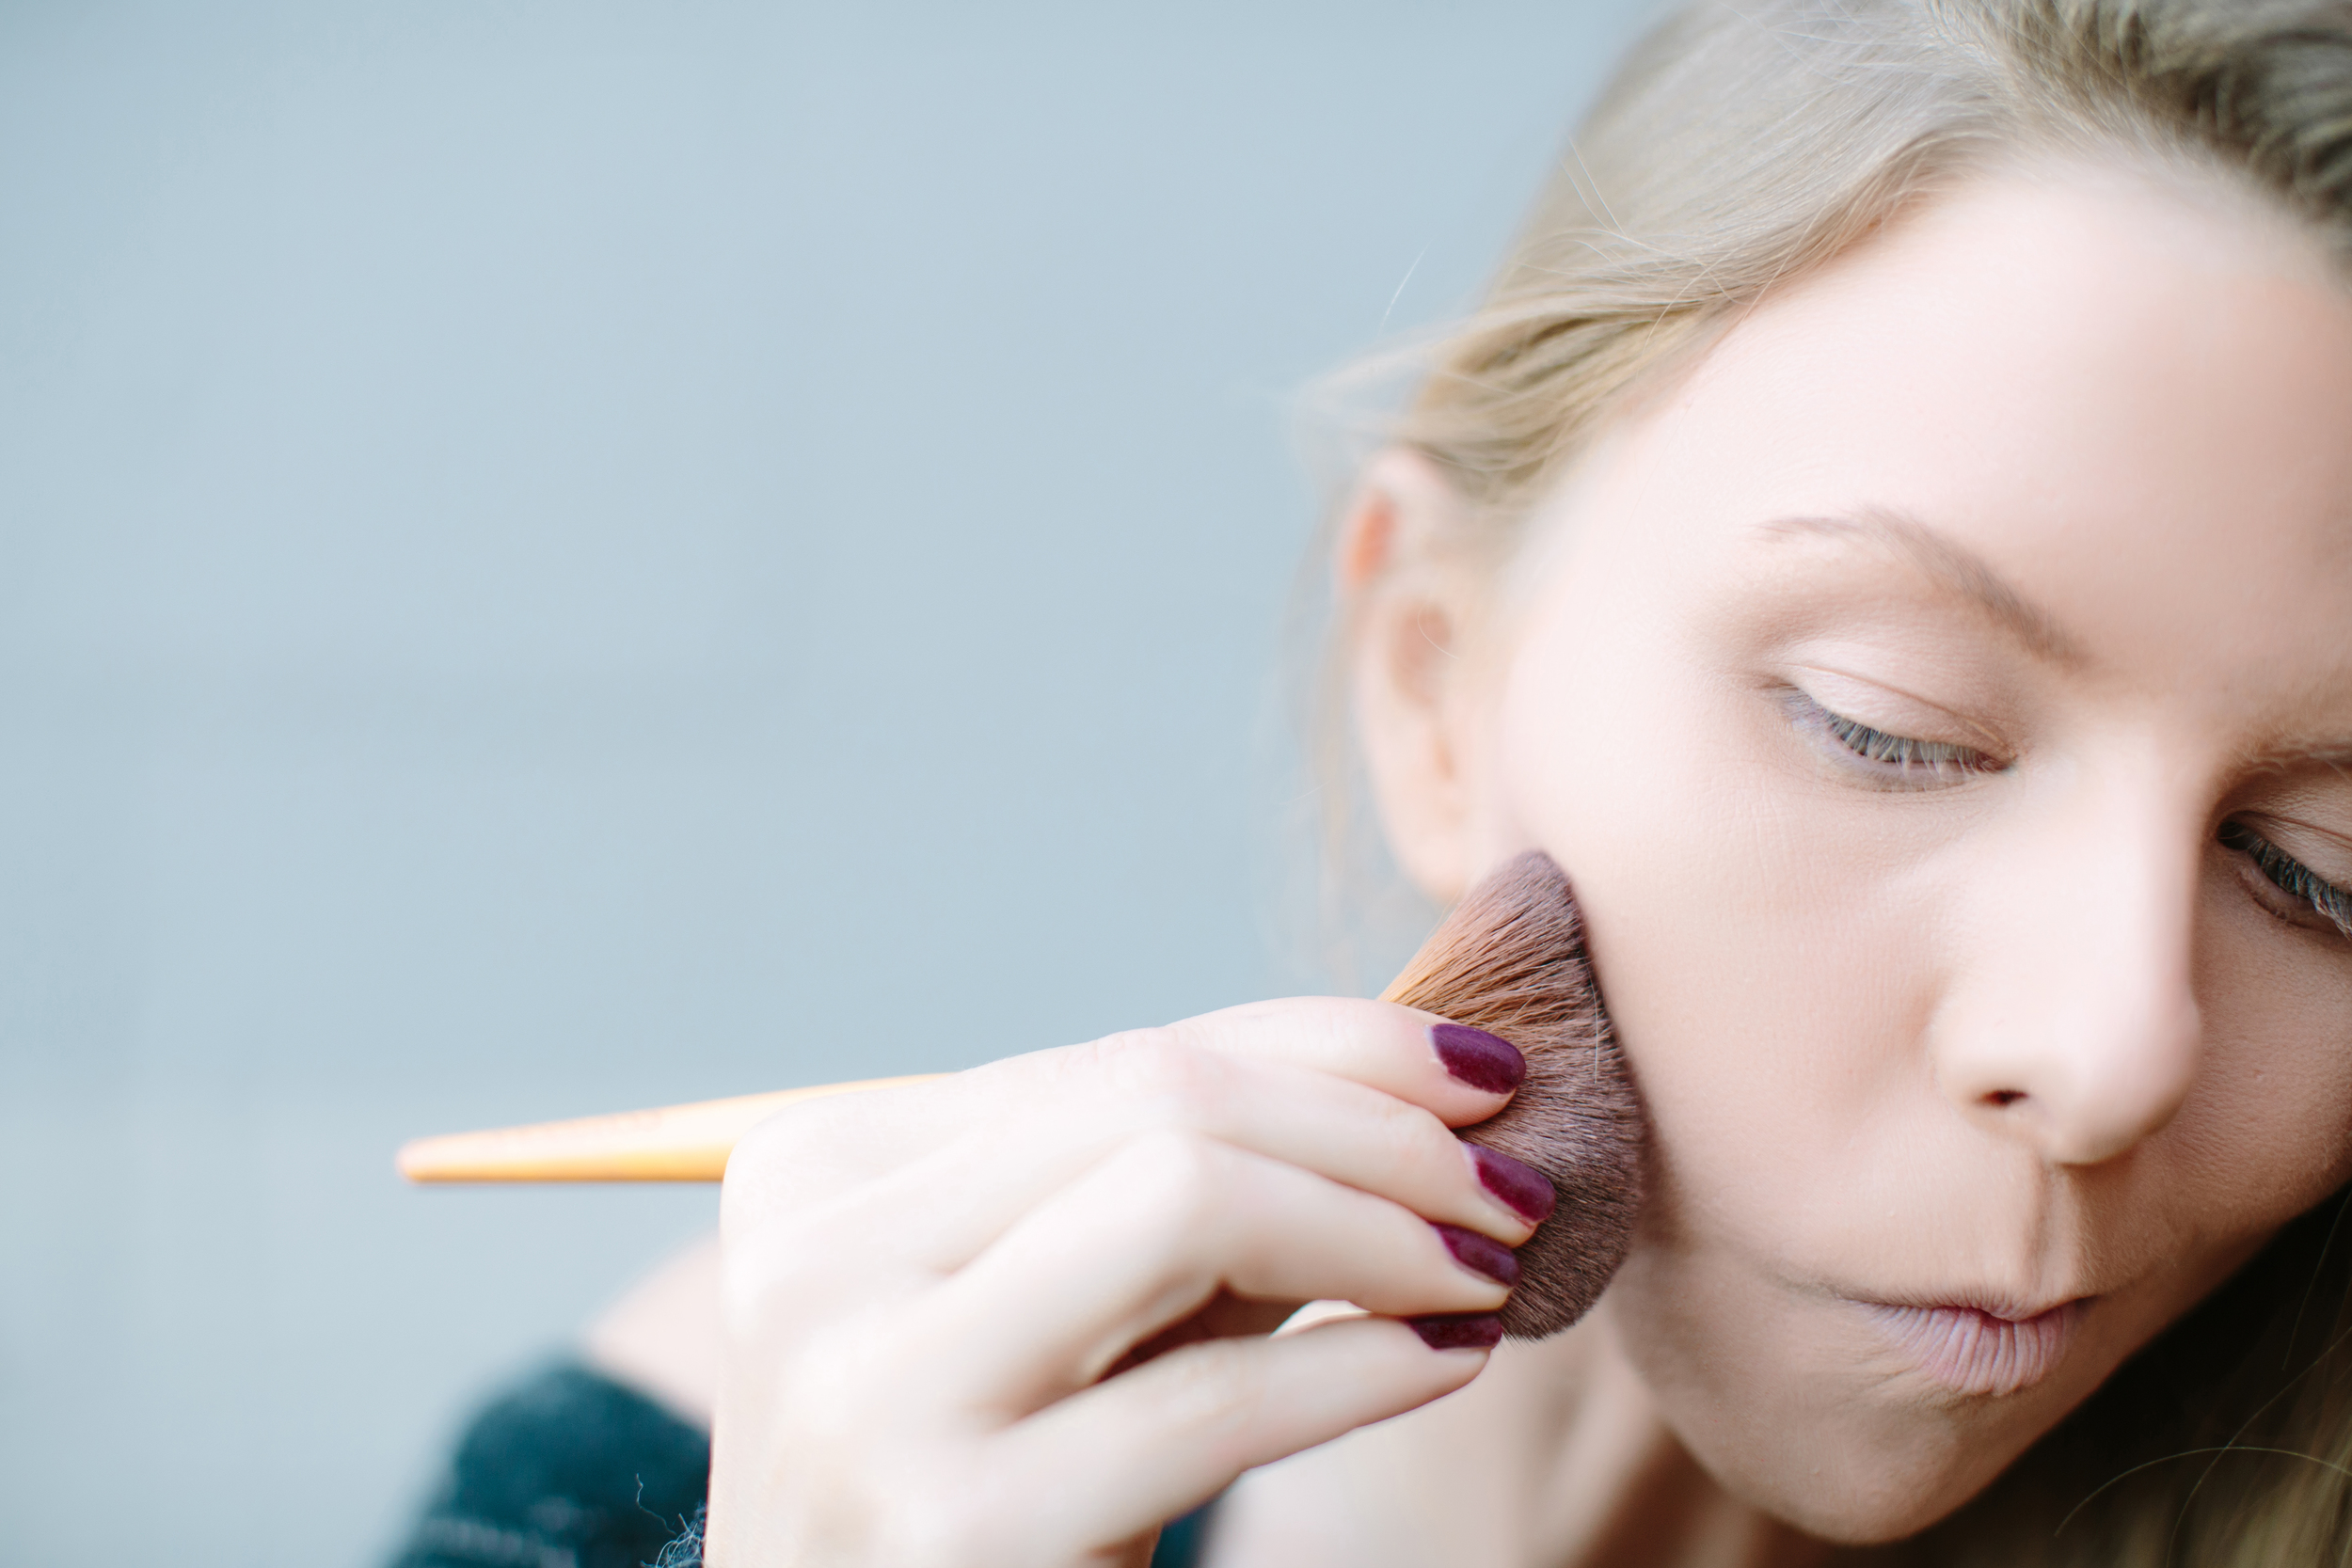
Daytime Look (with no foundation!)

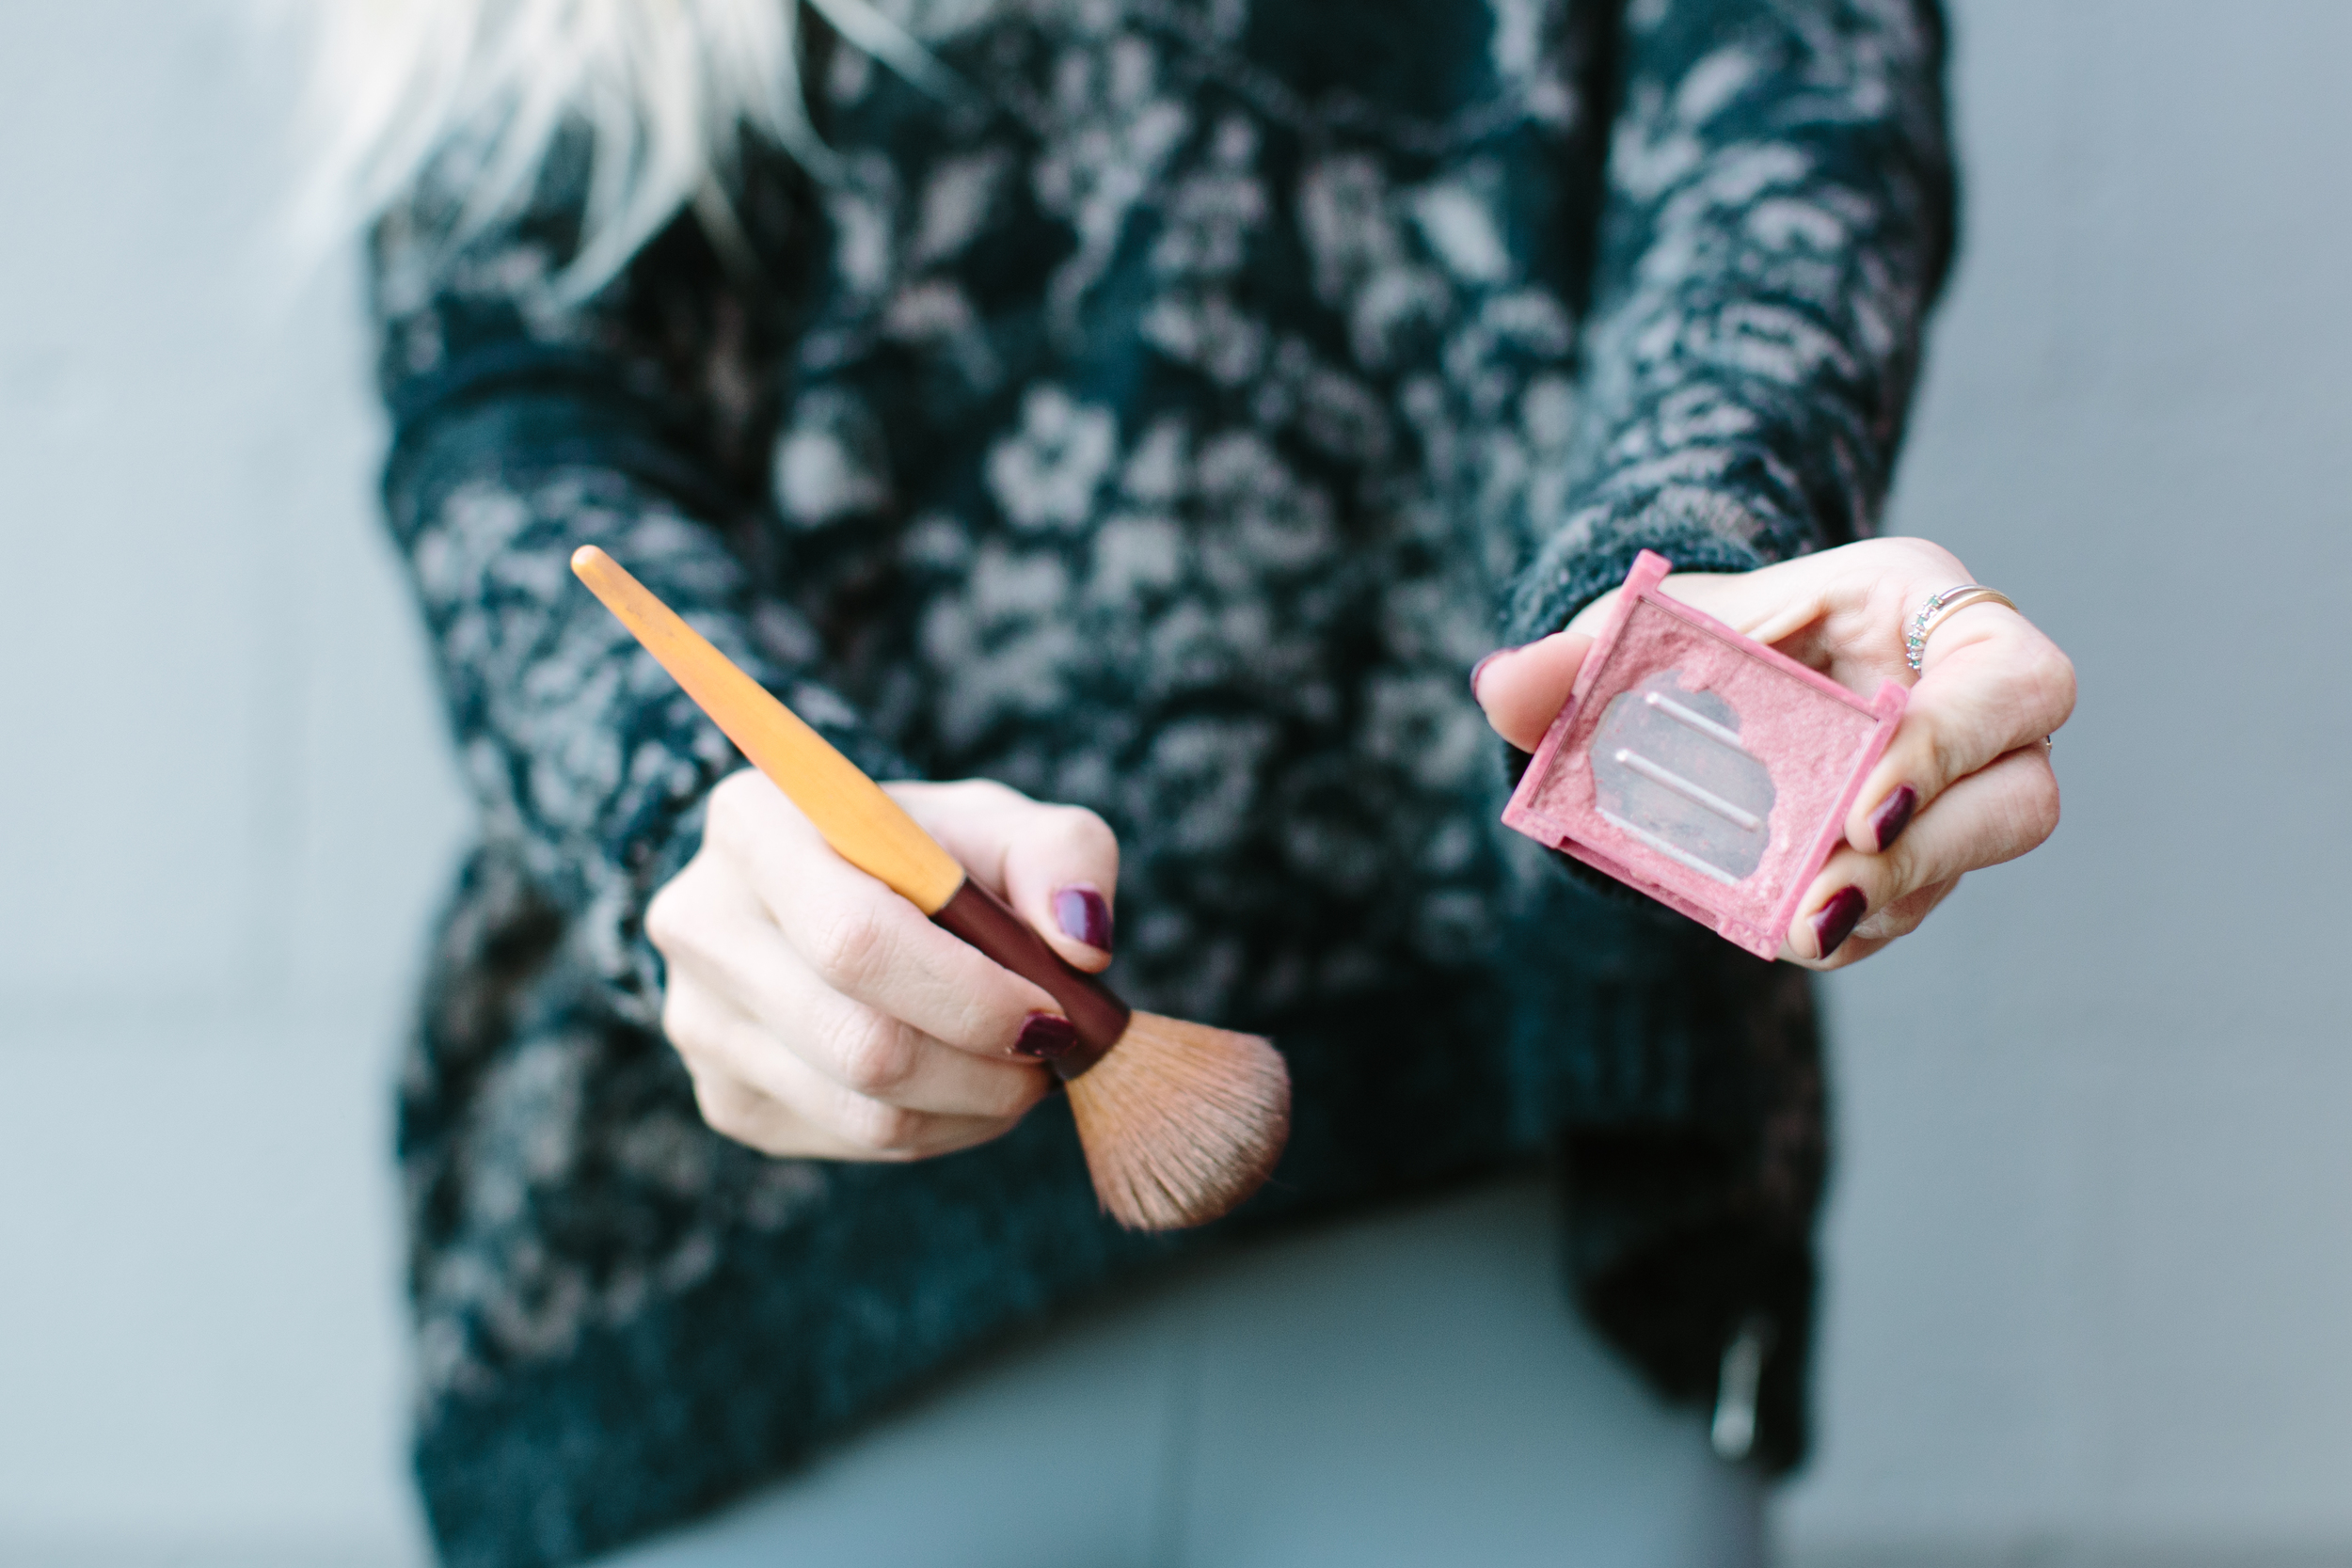
Some of you may have seen on snapchat or have heard me mention that I've been going through a skin care treatment for several months now. Although my acne has become significantly better, we are still working on it. During the week, I'm usually makeup free, but on the weekends I'll put it on when I'm out and about. That being said I've switched up my makeup, ditched the foundation and obtained a mineral powder. Although I'm still in the market for a new contour powder, my makeup routine has become a lot less of a pore clogging mega coverage mess, and I've introduced more products that help my skin breathe (at least a lot more than before). If you use mineral makeup or anything that's better for the skin, let me know! I'm always down to try new products (specifically contour, highlight and blush items).
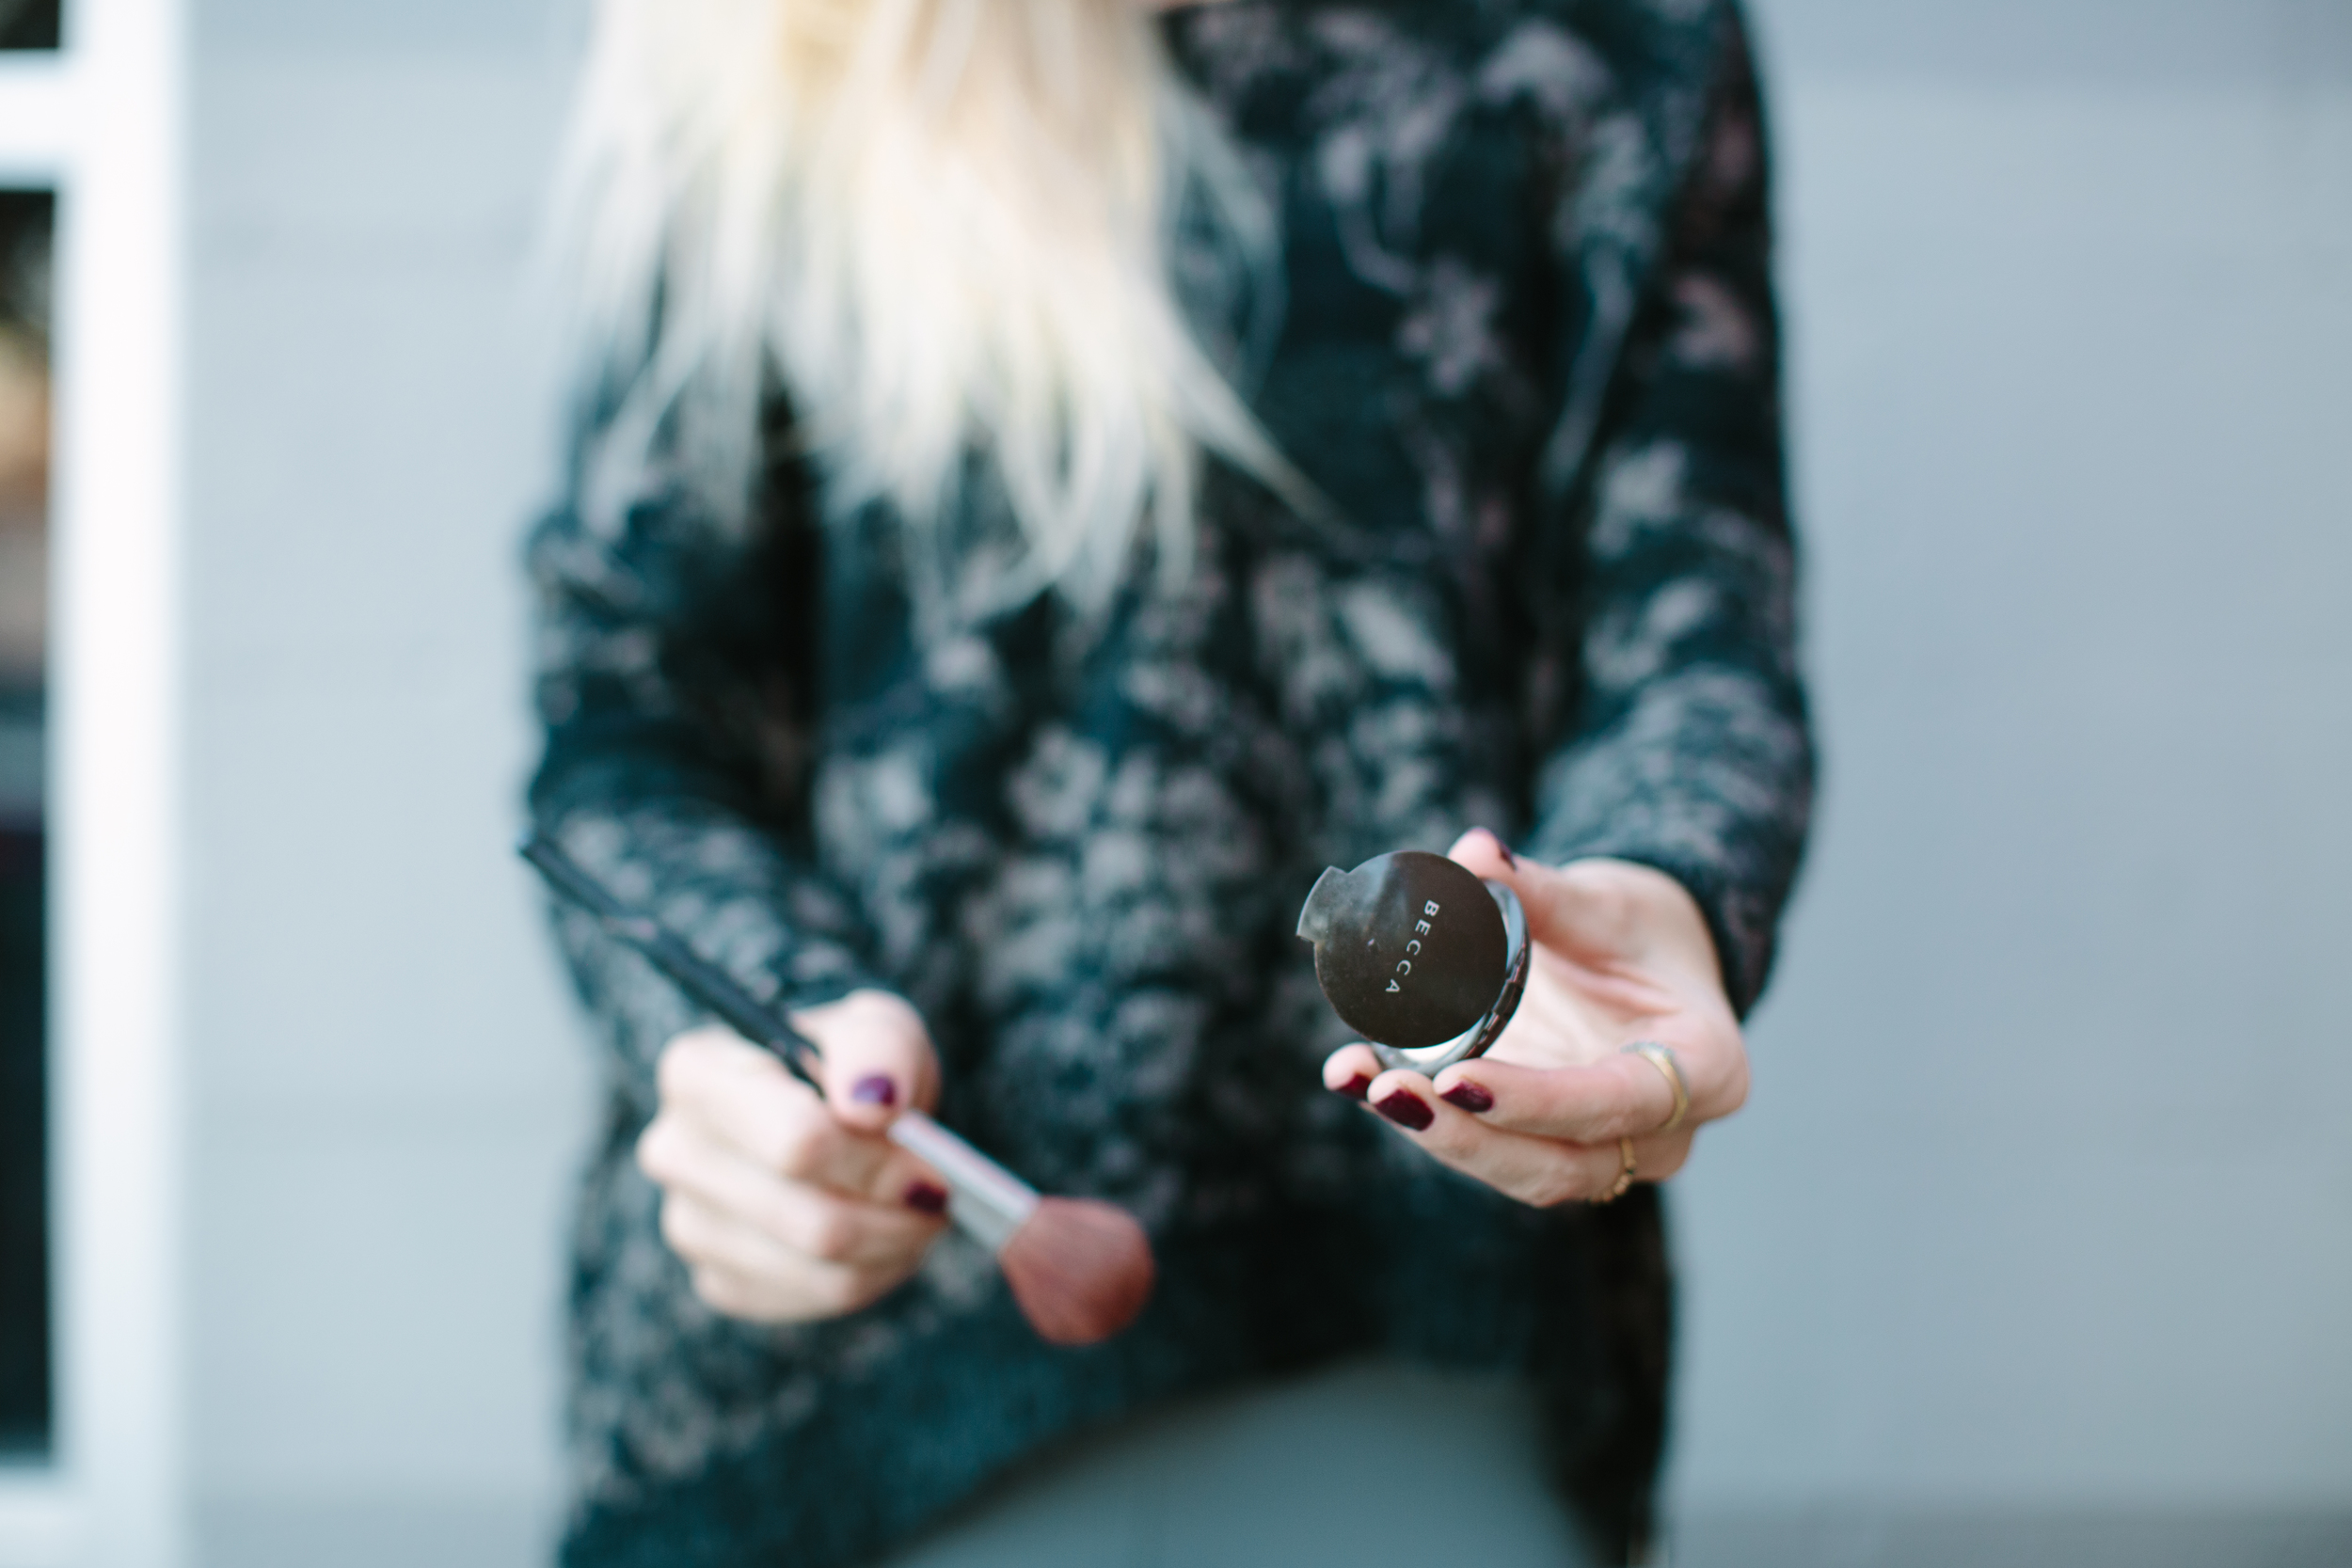
Here is what I'm currently using for a quick daytime look:
Revision Intellishade with Beauty Blender
Lorac PoreFection Concealer
Glo Minerals Pressed Base
Mac Blunt Powder Blush to contour (looking to upgrade this product)
BECCA Shimmering Skin Perfecter Pressed in Opal
So Susan Universal Blush
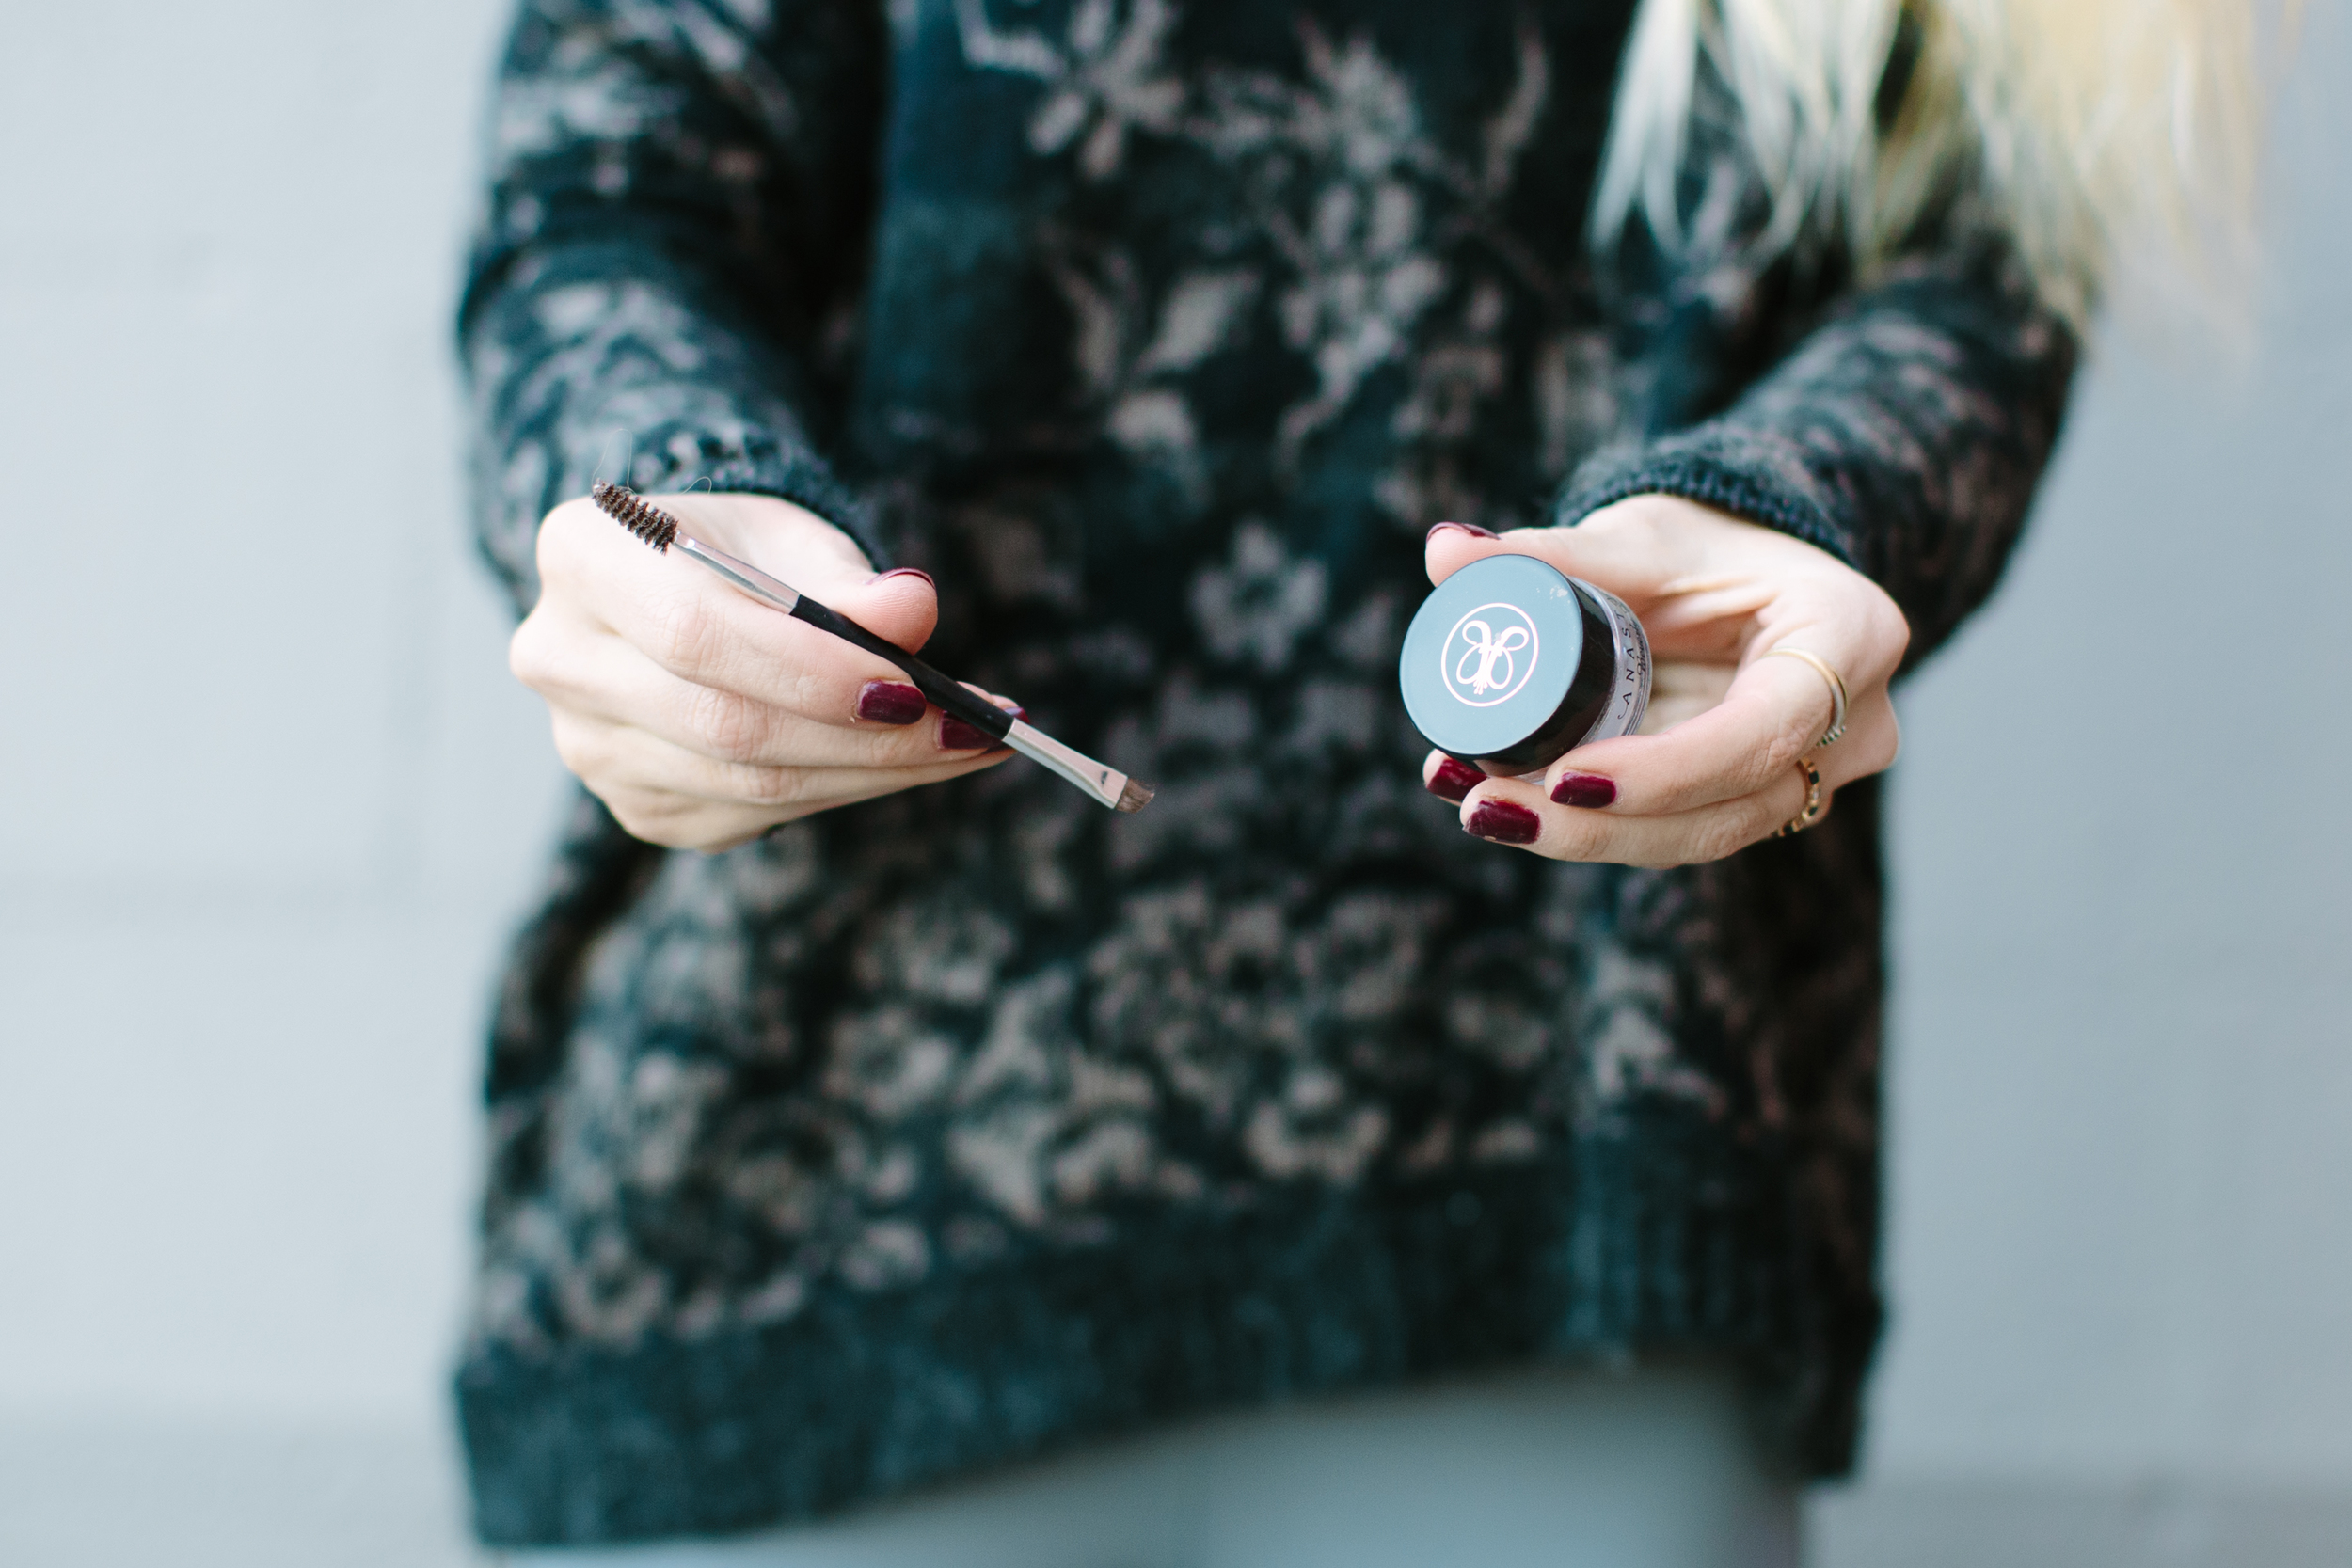
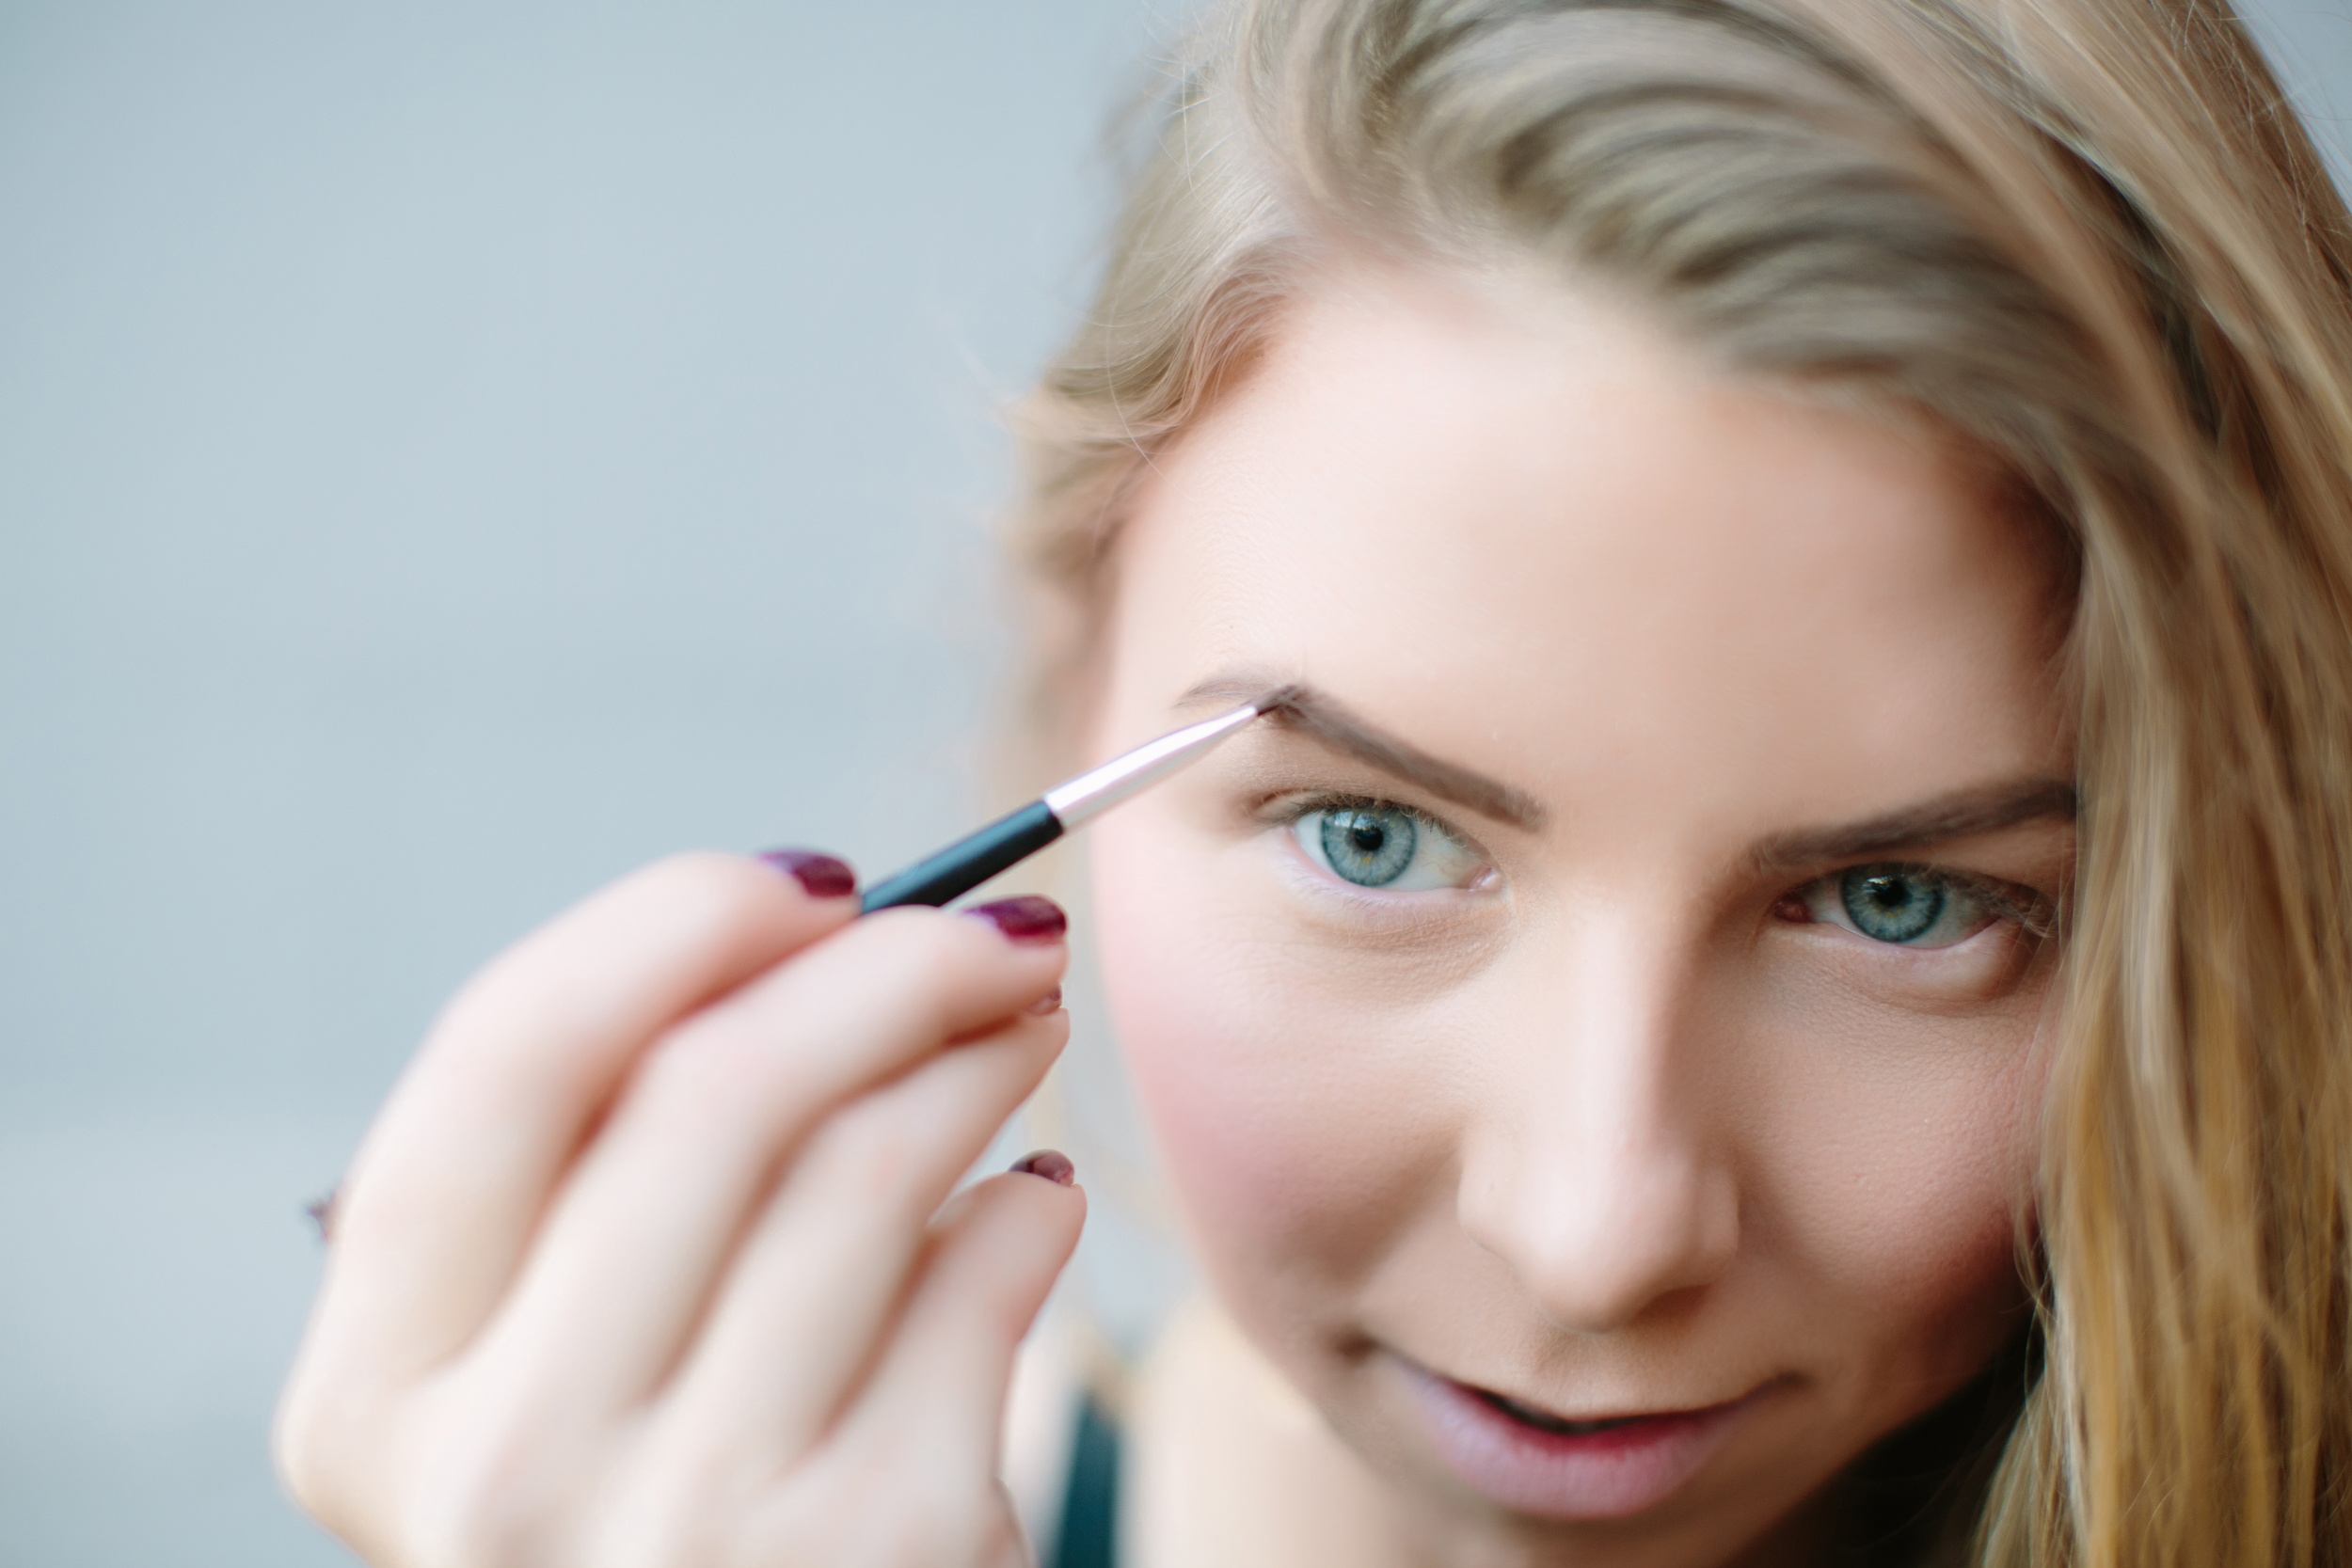
Anastasia Beverly Hills Dipbrow Pomade with Brush #12
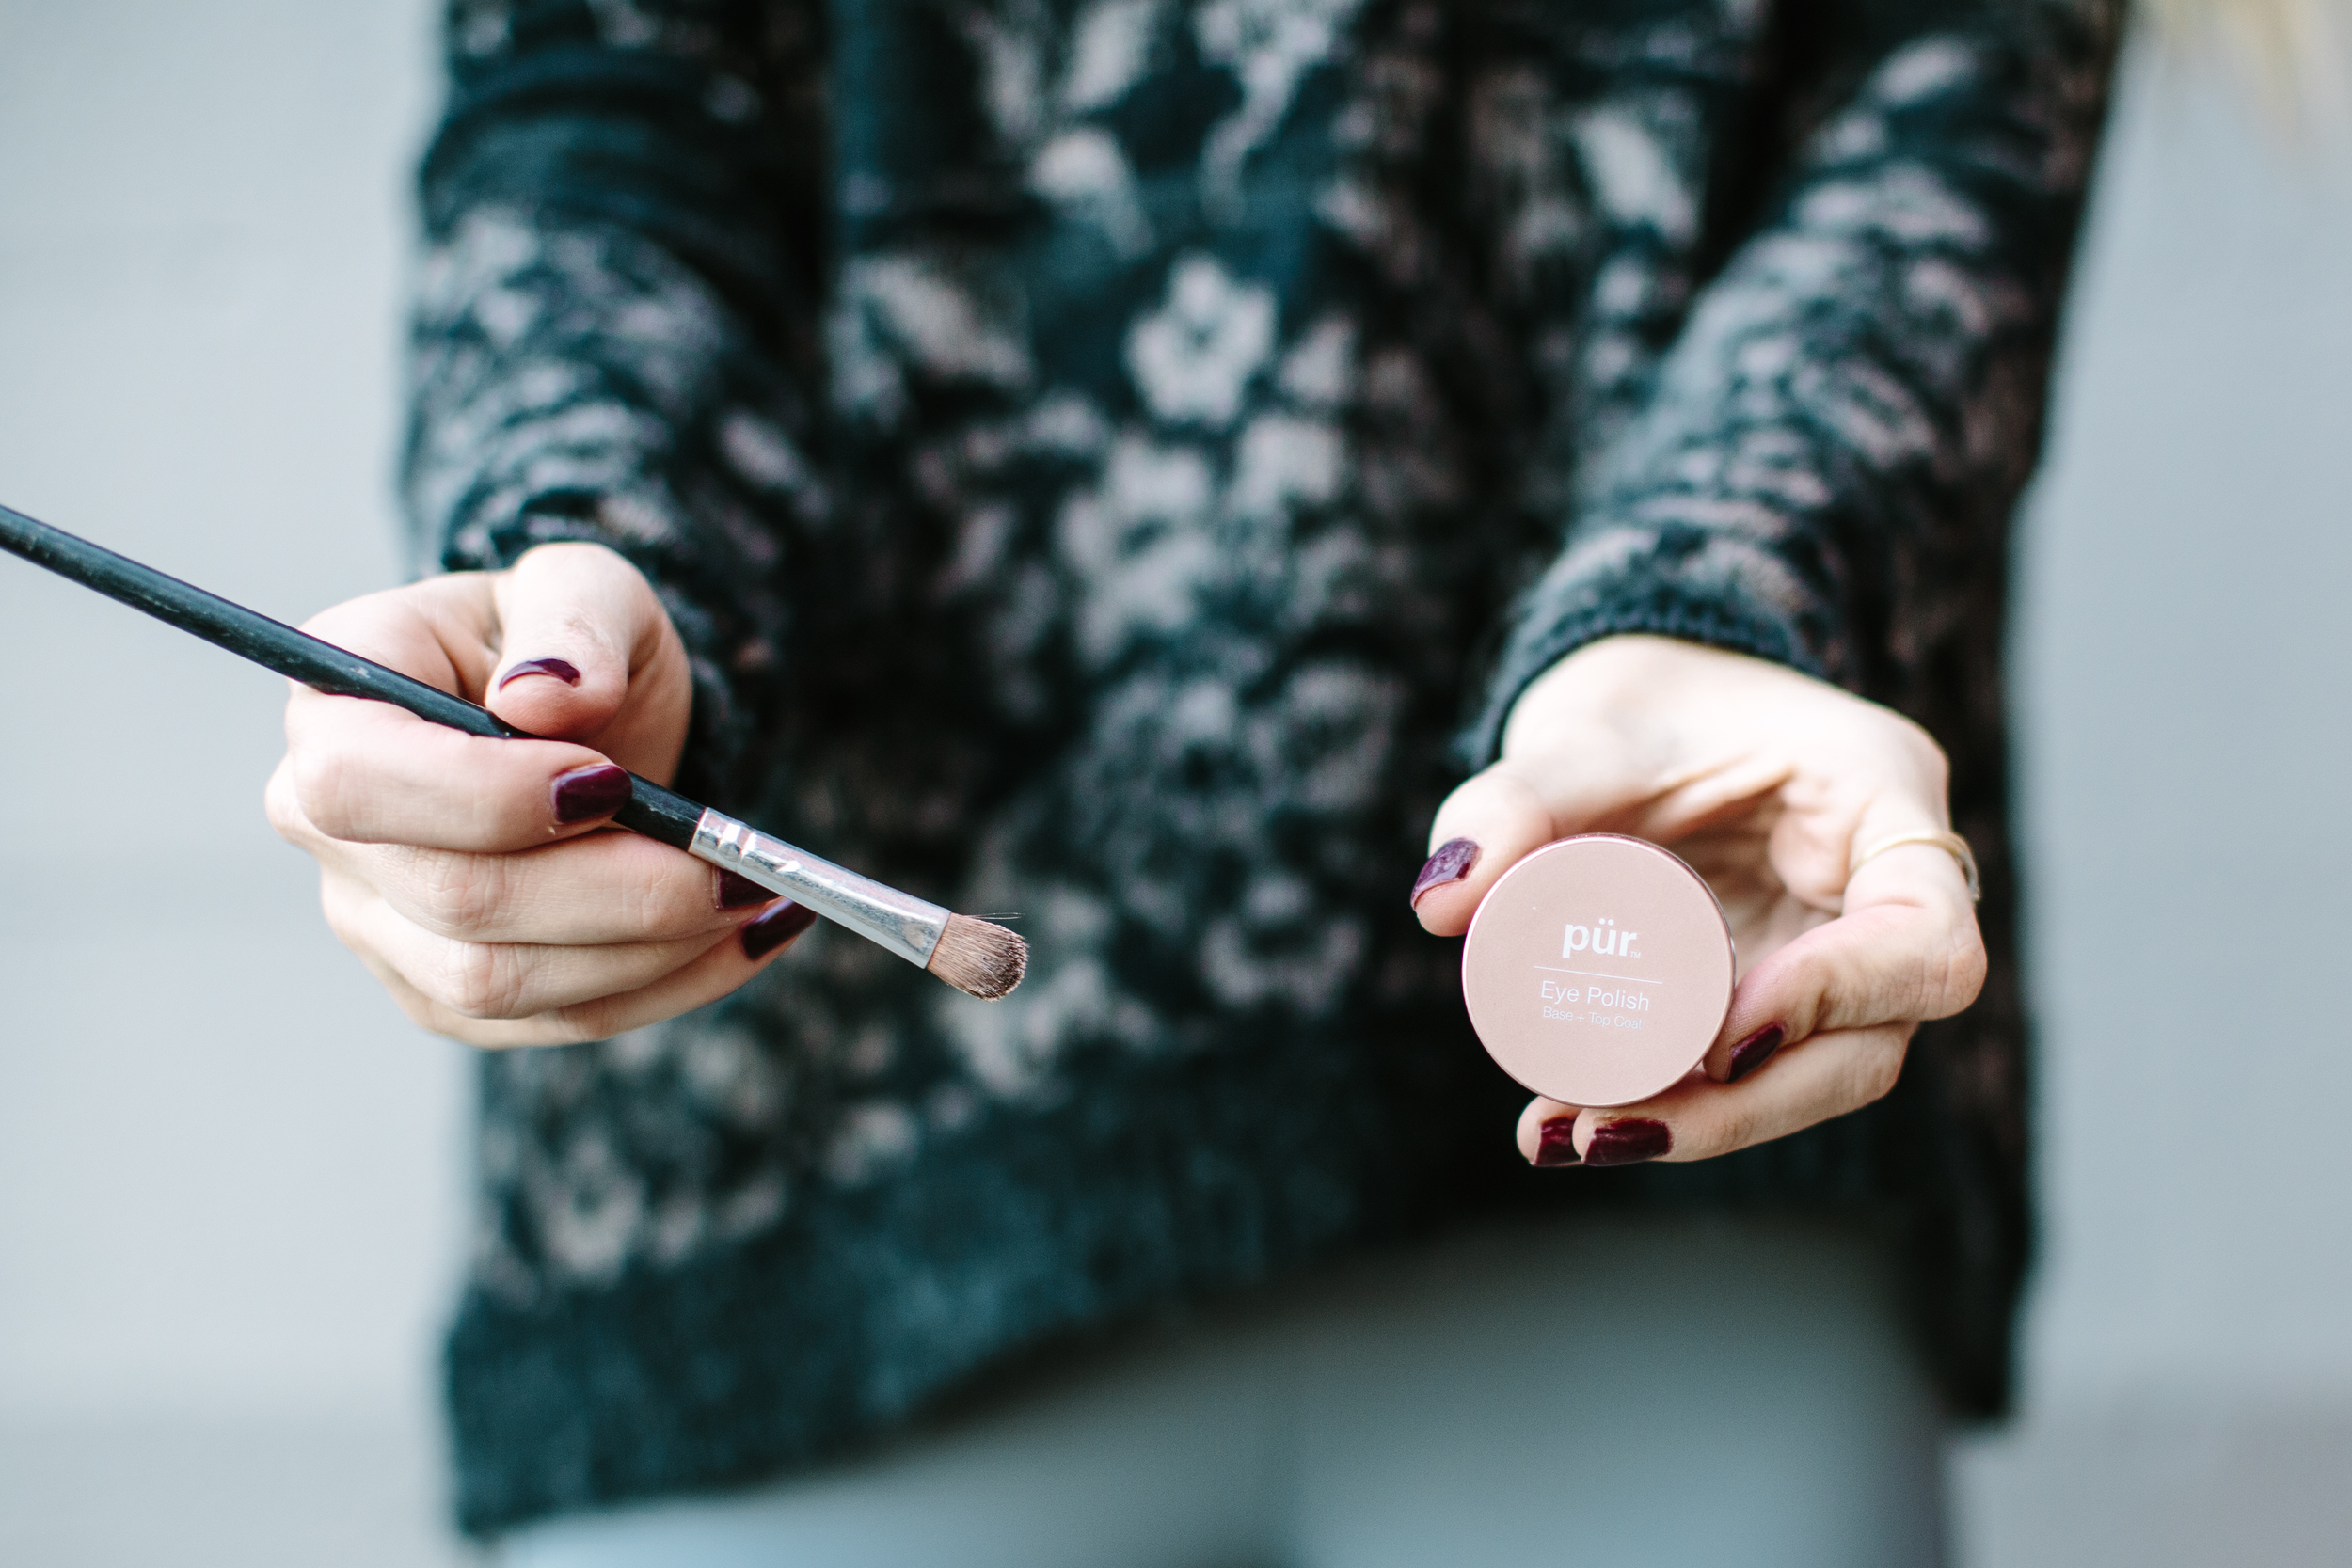
Pur Minerals Eye Polish in Cashmere
Maybelline Ultra-Liner (always looking to try new waterproof eyeliner so let me know!)
Benefit They're Real! Mascara
Pur Lip Lure in Fiery


Low maintenance At-home gel Manicure
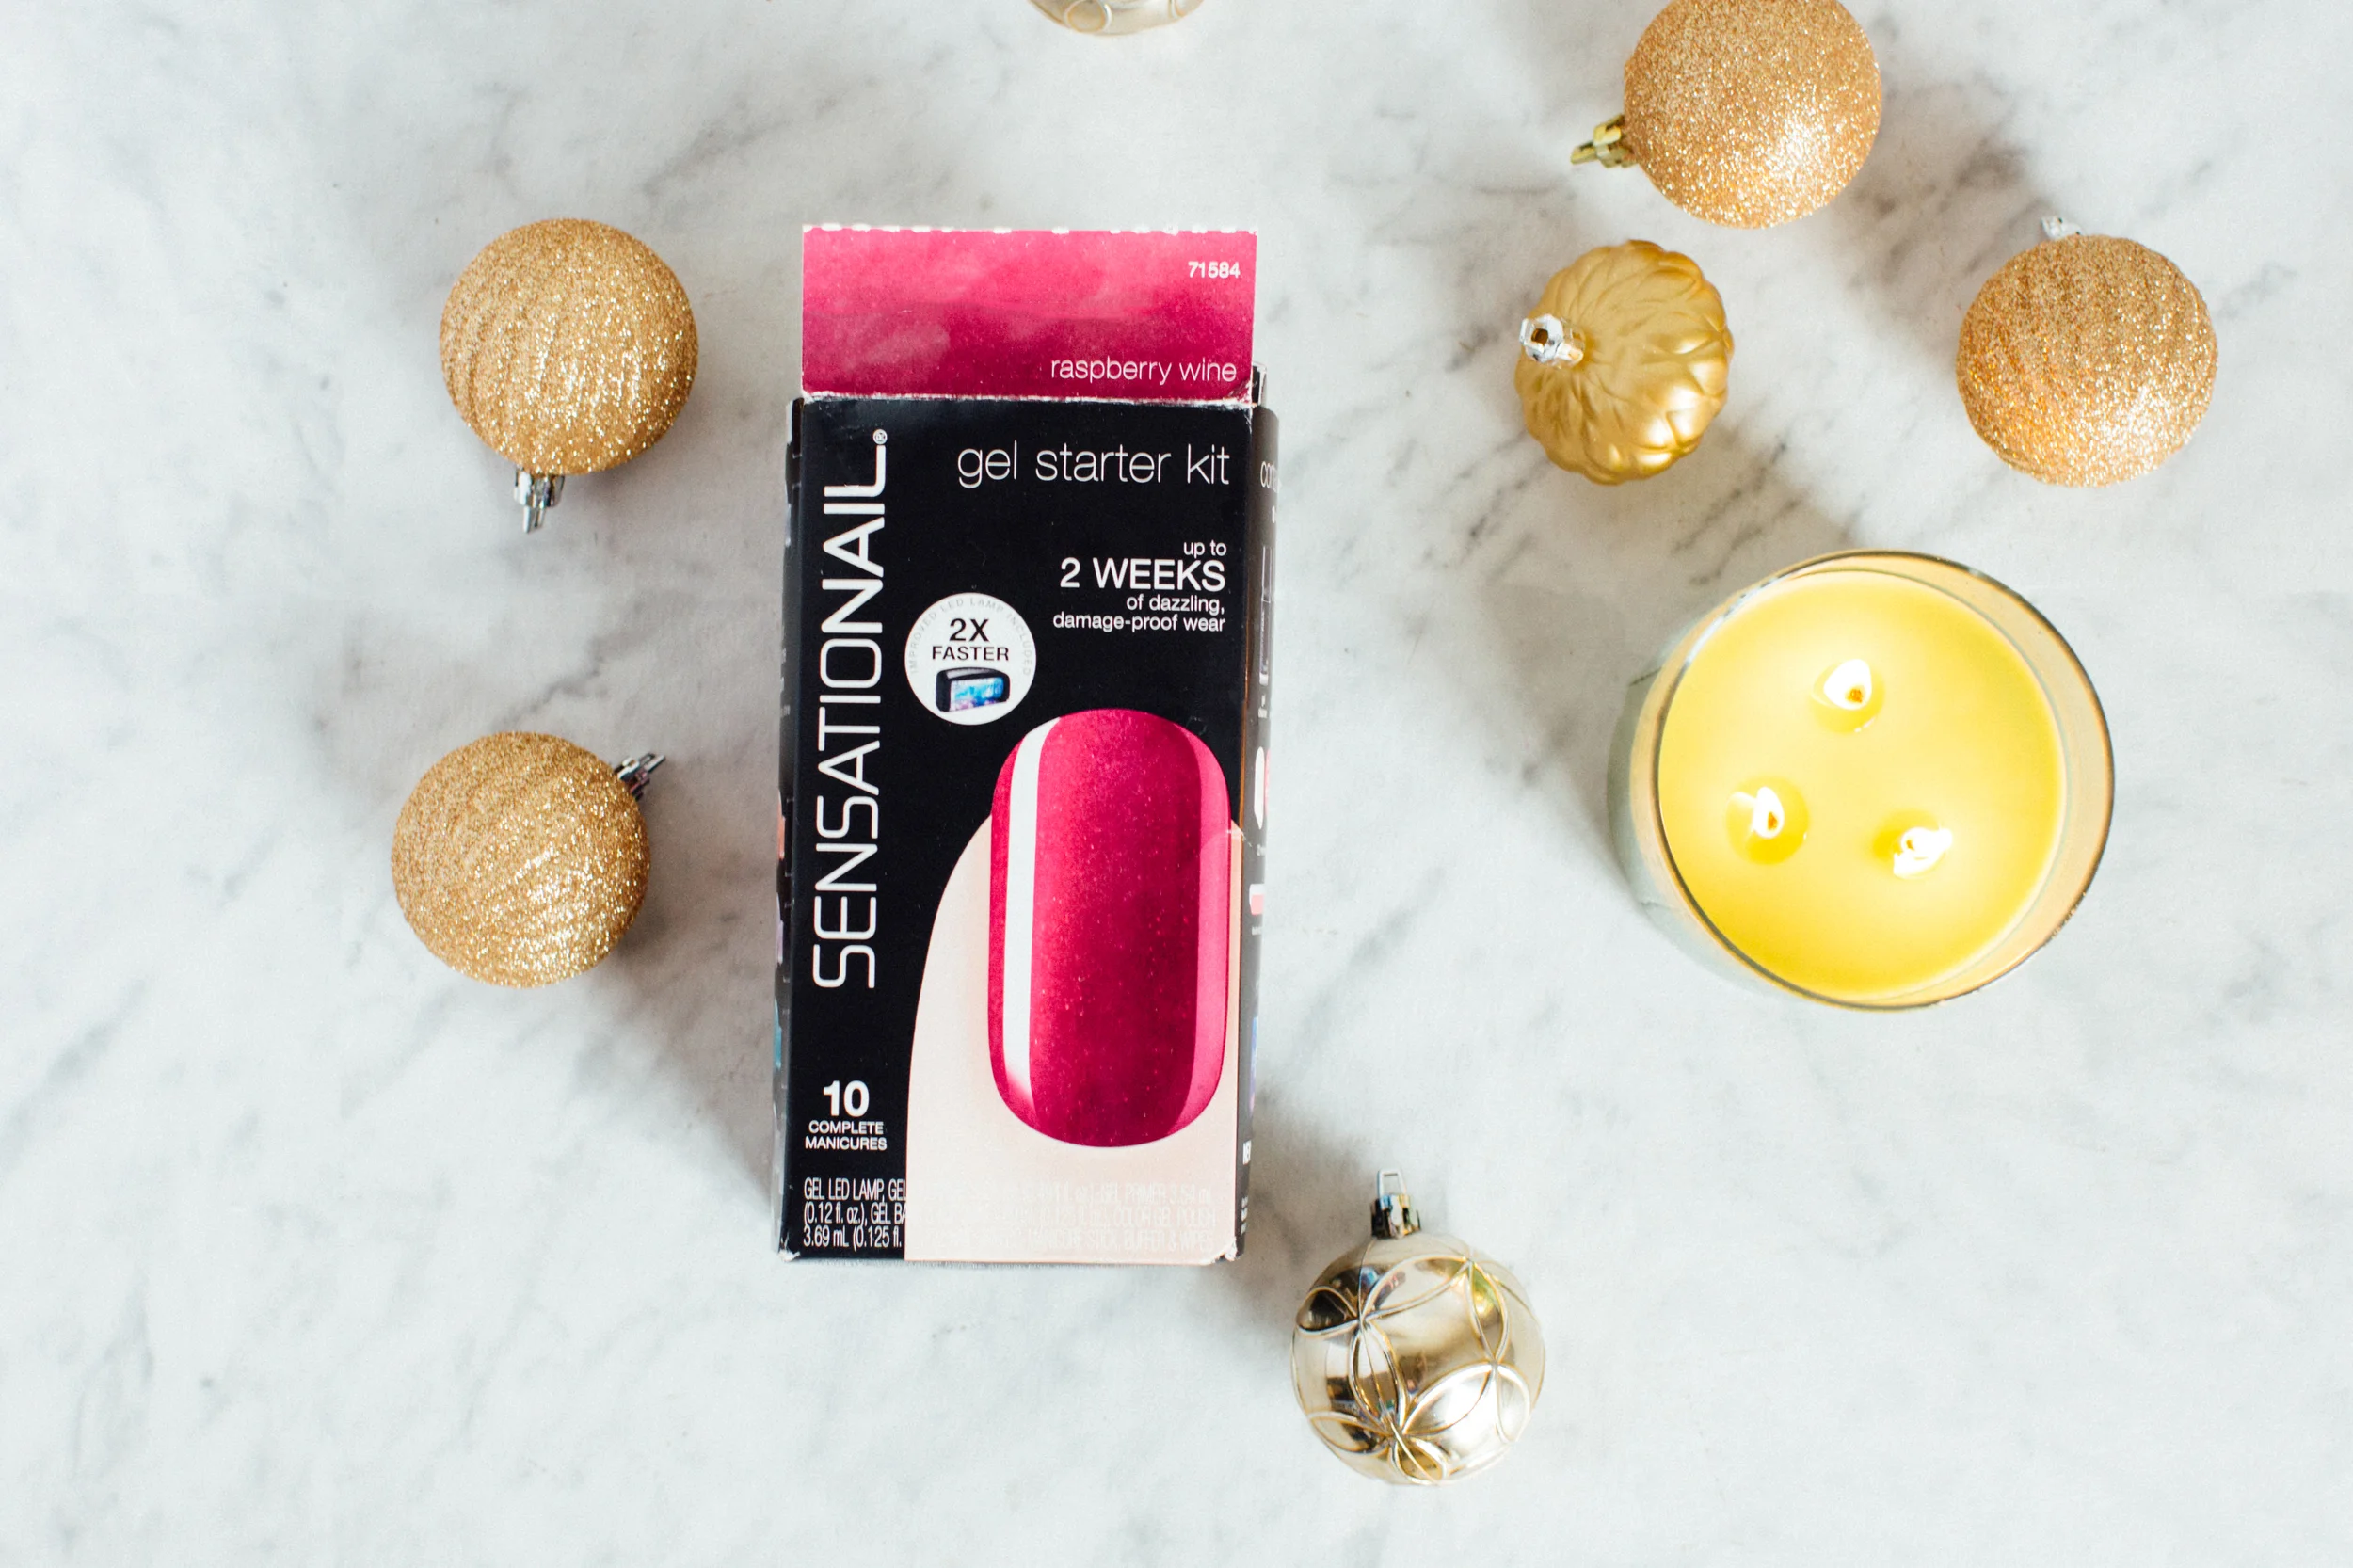
Let me start off by saying that I'm not really great at doing my nails, but I don't have much time to make it to the nail salon when they're open. Because of this, I usually end up painting my nails late at night which means they never dry enough to not smudge before bed. However, I have great news! I discovered Sally Hansen SensatioNAIL! The "Gel Starter Kit" comes with everything you need for your own at-home gel manicure. The only thing different here is that I purchased the color "Miss Behave" and used that instead of the "Raspberry Wine" color that came with the kit. I also want to note that these hold up SO well during cyclocross and my daily life. No chipping! Heck yes!
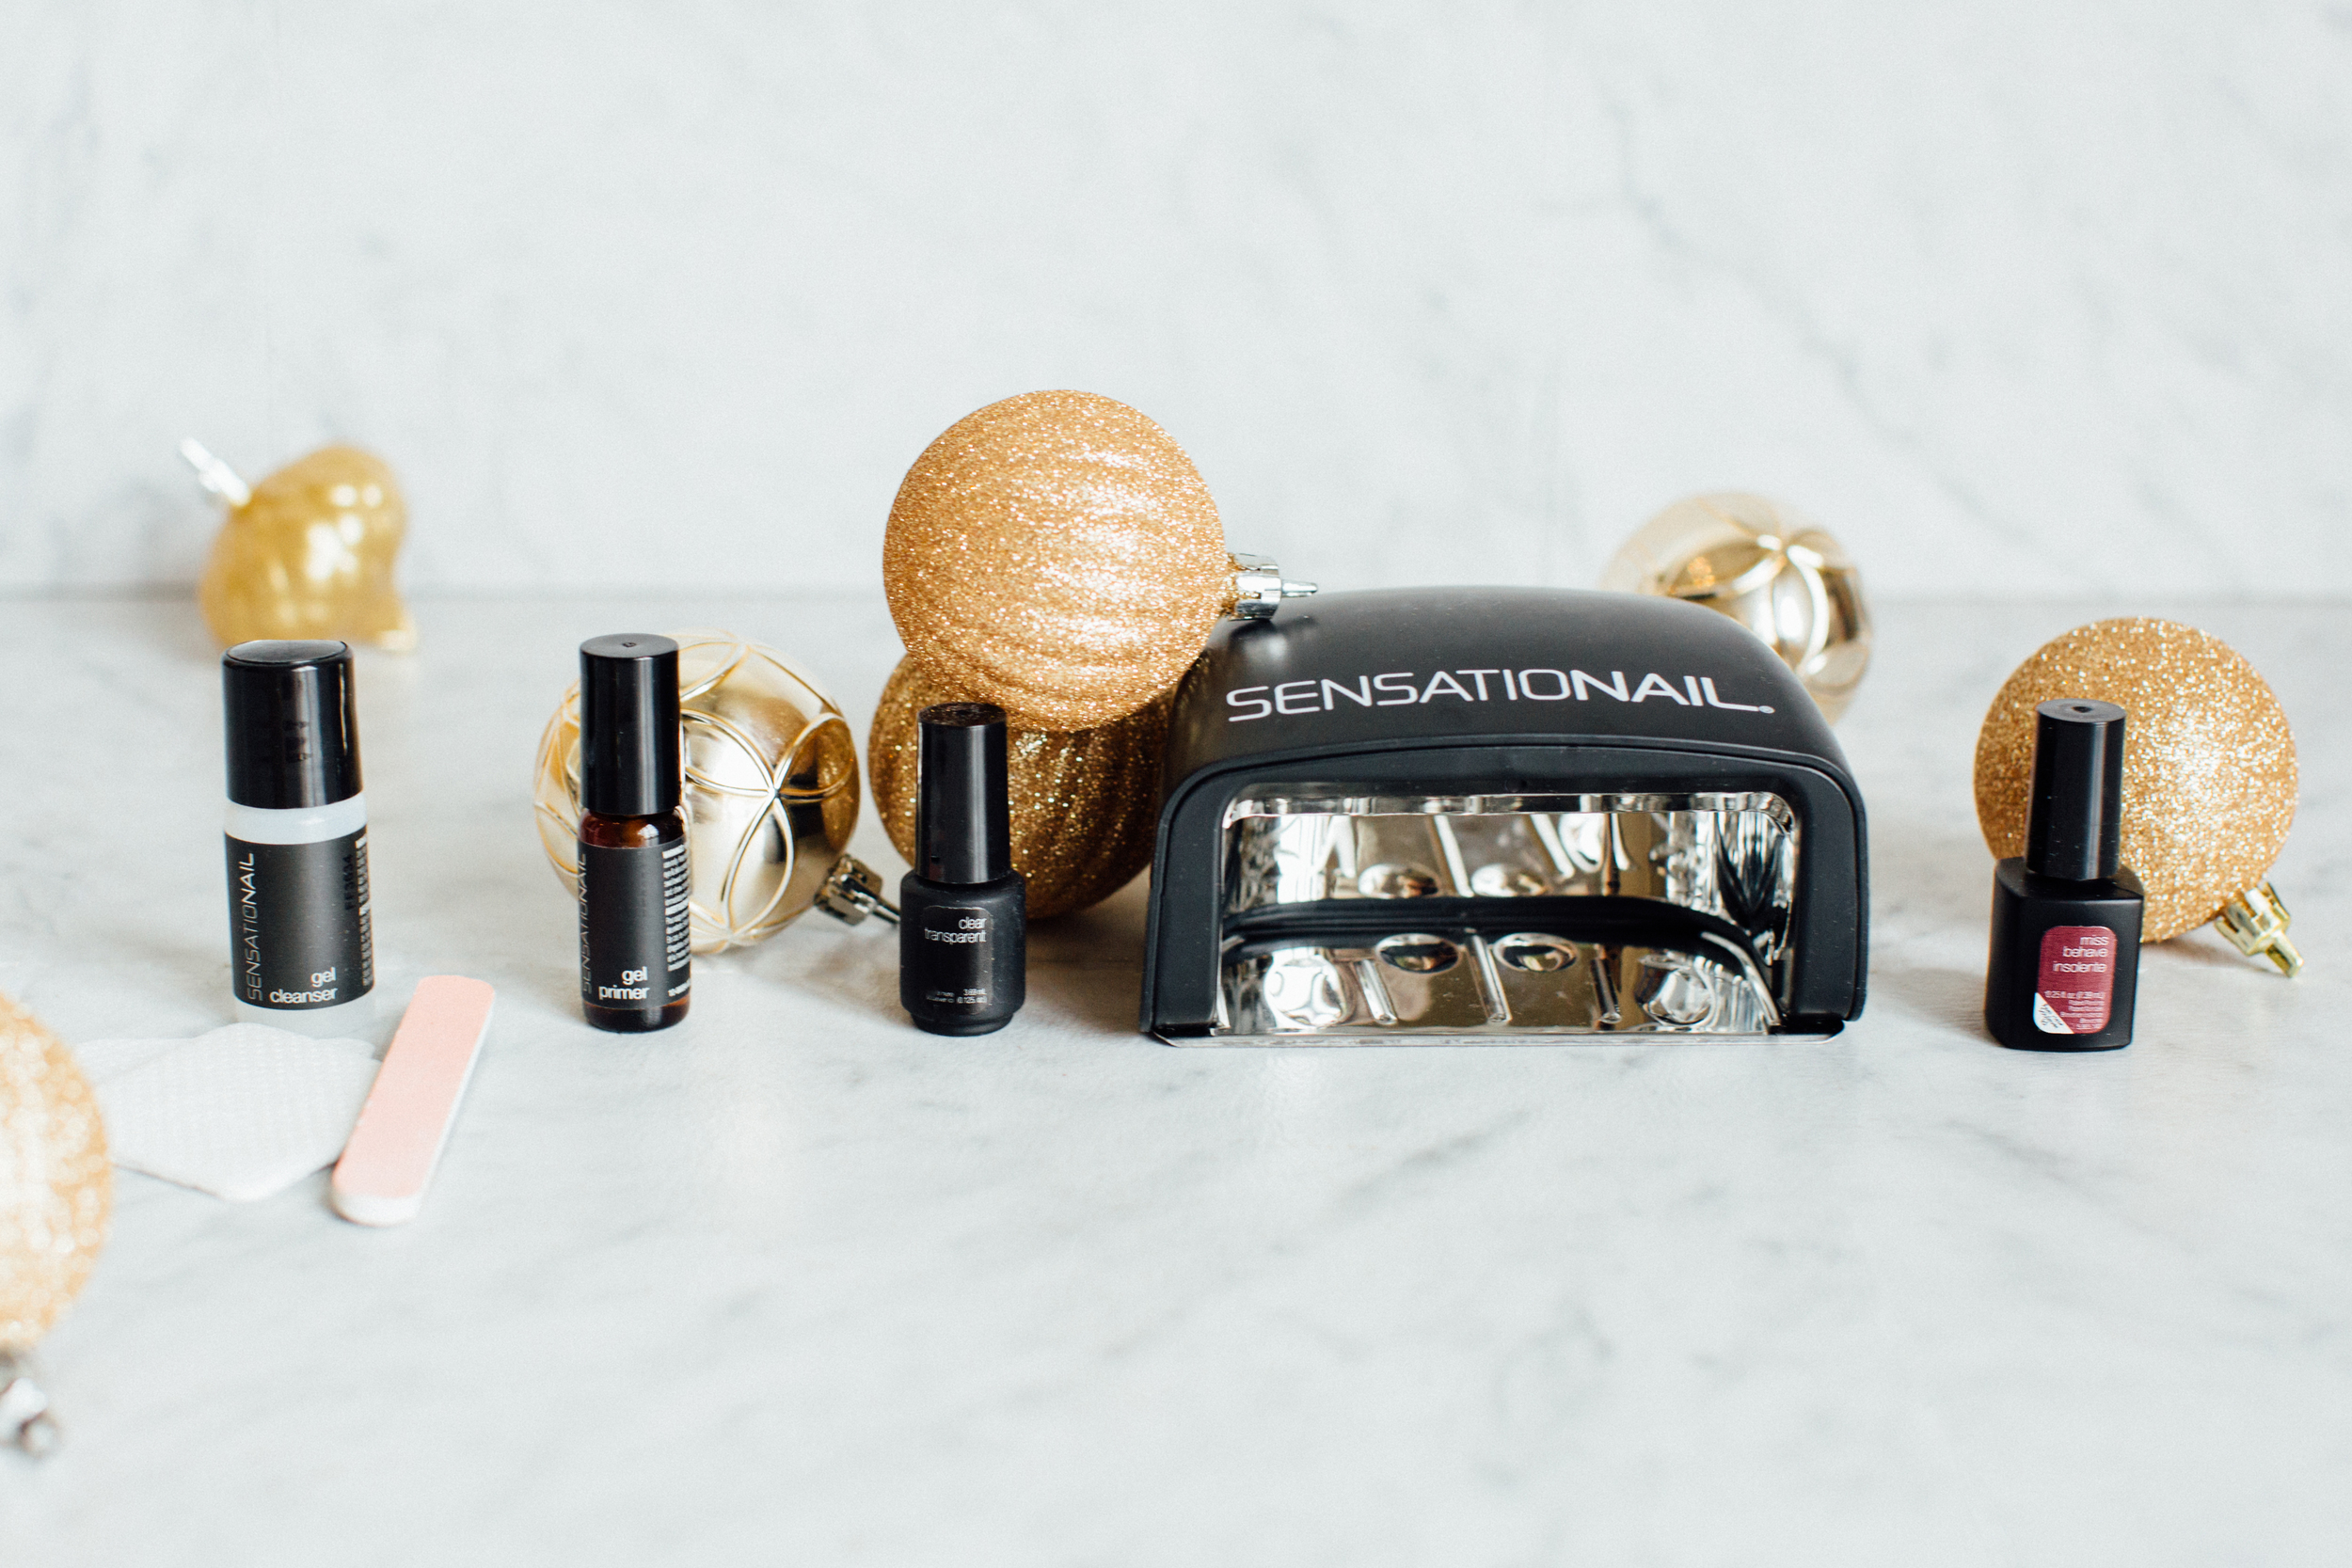
I purchased my kit from Amazon (link here) because it was cheaper than Target or Walmart, but shop around to make sure there hasn't been any price changes. The kit says you get 10 manicures from this kit and if that's so, I'll end up averaging $3.32 for each manicure. Um, yes please! That's way less expensive than going to the salon.
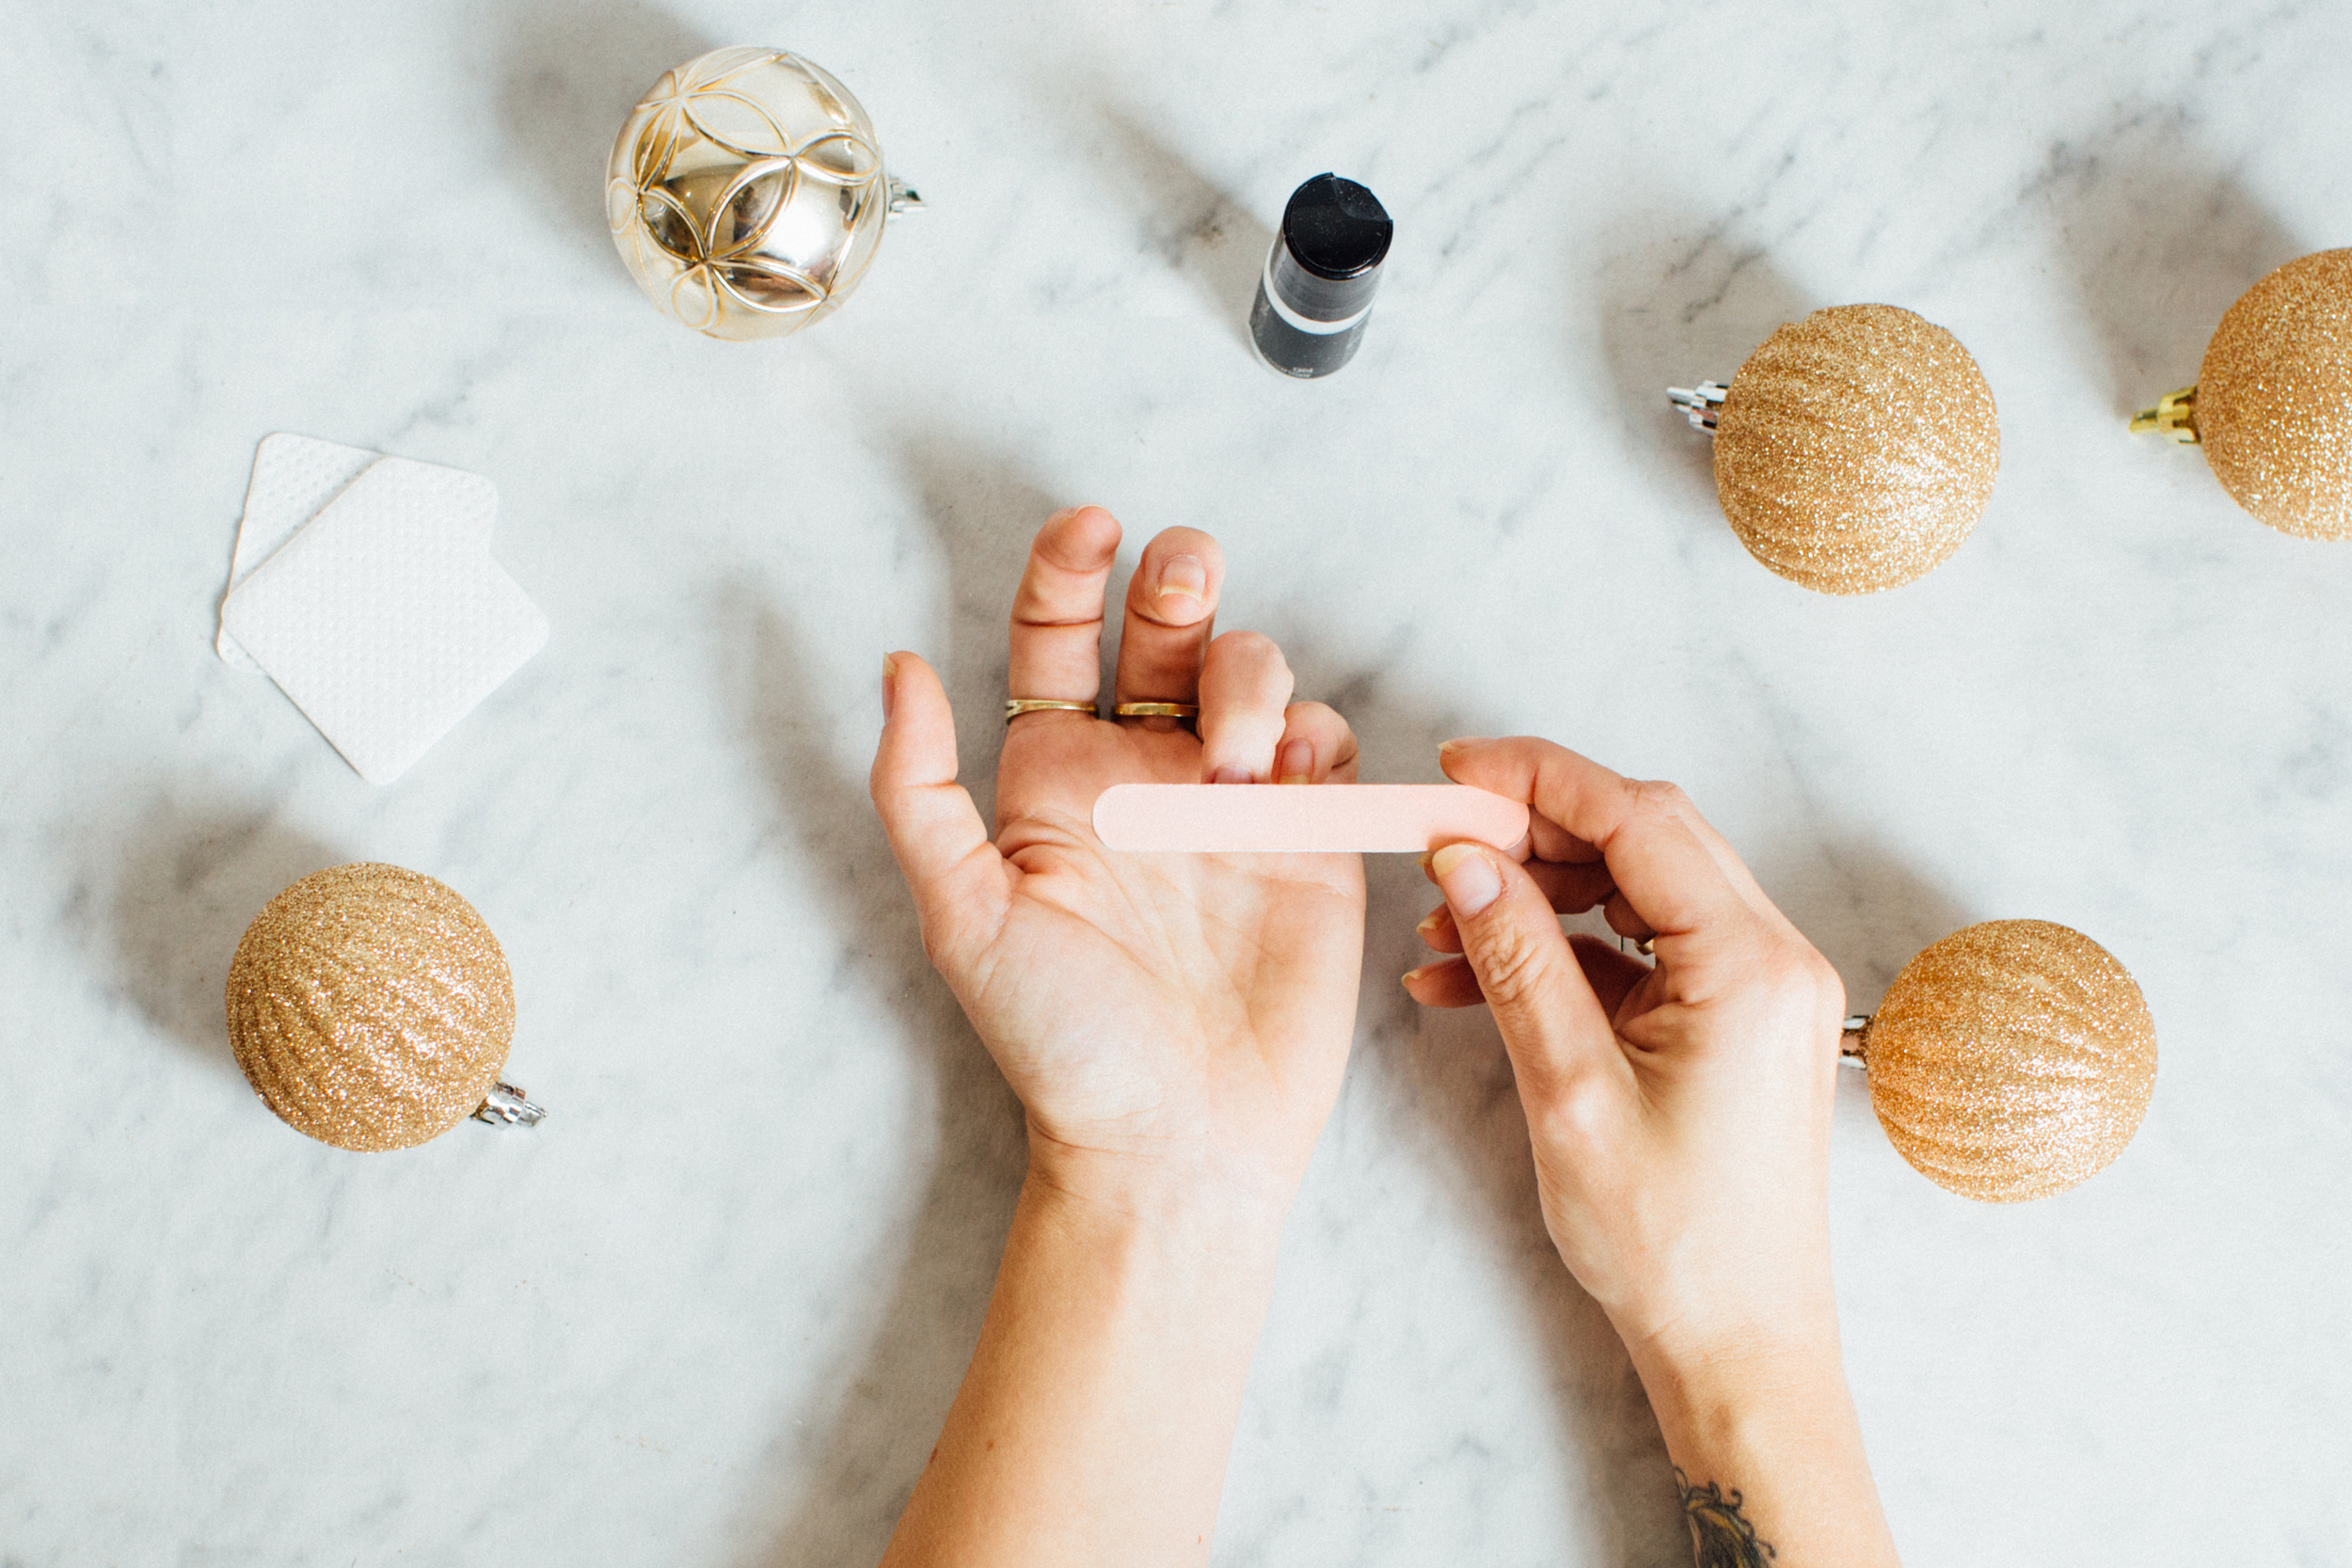
Step 1: Prepare your nails. File, buff, remove cuticles, etc

Step 2: Use the lint-free wipes and clean your nails with the "Gel Cleanser"

Step 3: Apply a layer of the "Gel Primer" to nails

Step 4: Apply a layer of the "Gel Base & Top Coat"

Step 5: Cure your base coat using the LED lamp for 15 seconds. The lamp will blink with 15 seconds is up. I usually have to do my thumb by itself because it doesn't fit in the lamp with my other four fingers

Step 6: Now it's time to apply your "Color Gel Polish"
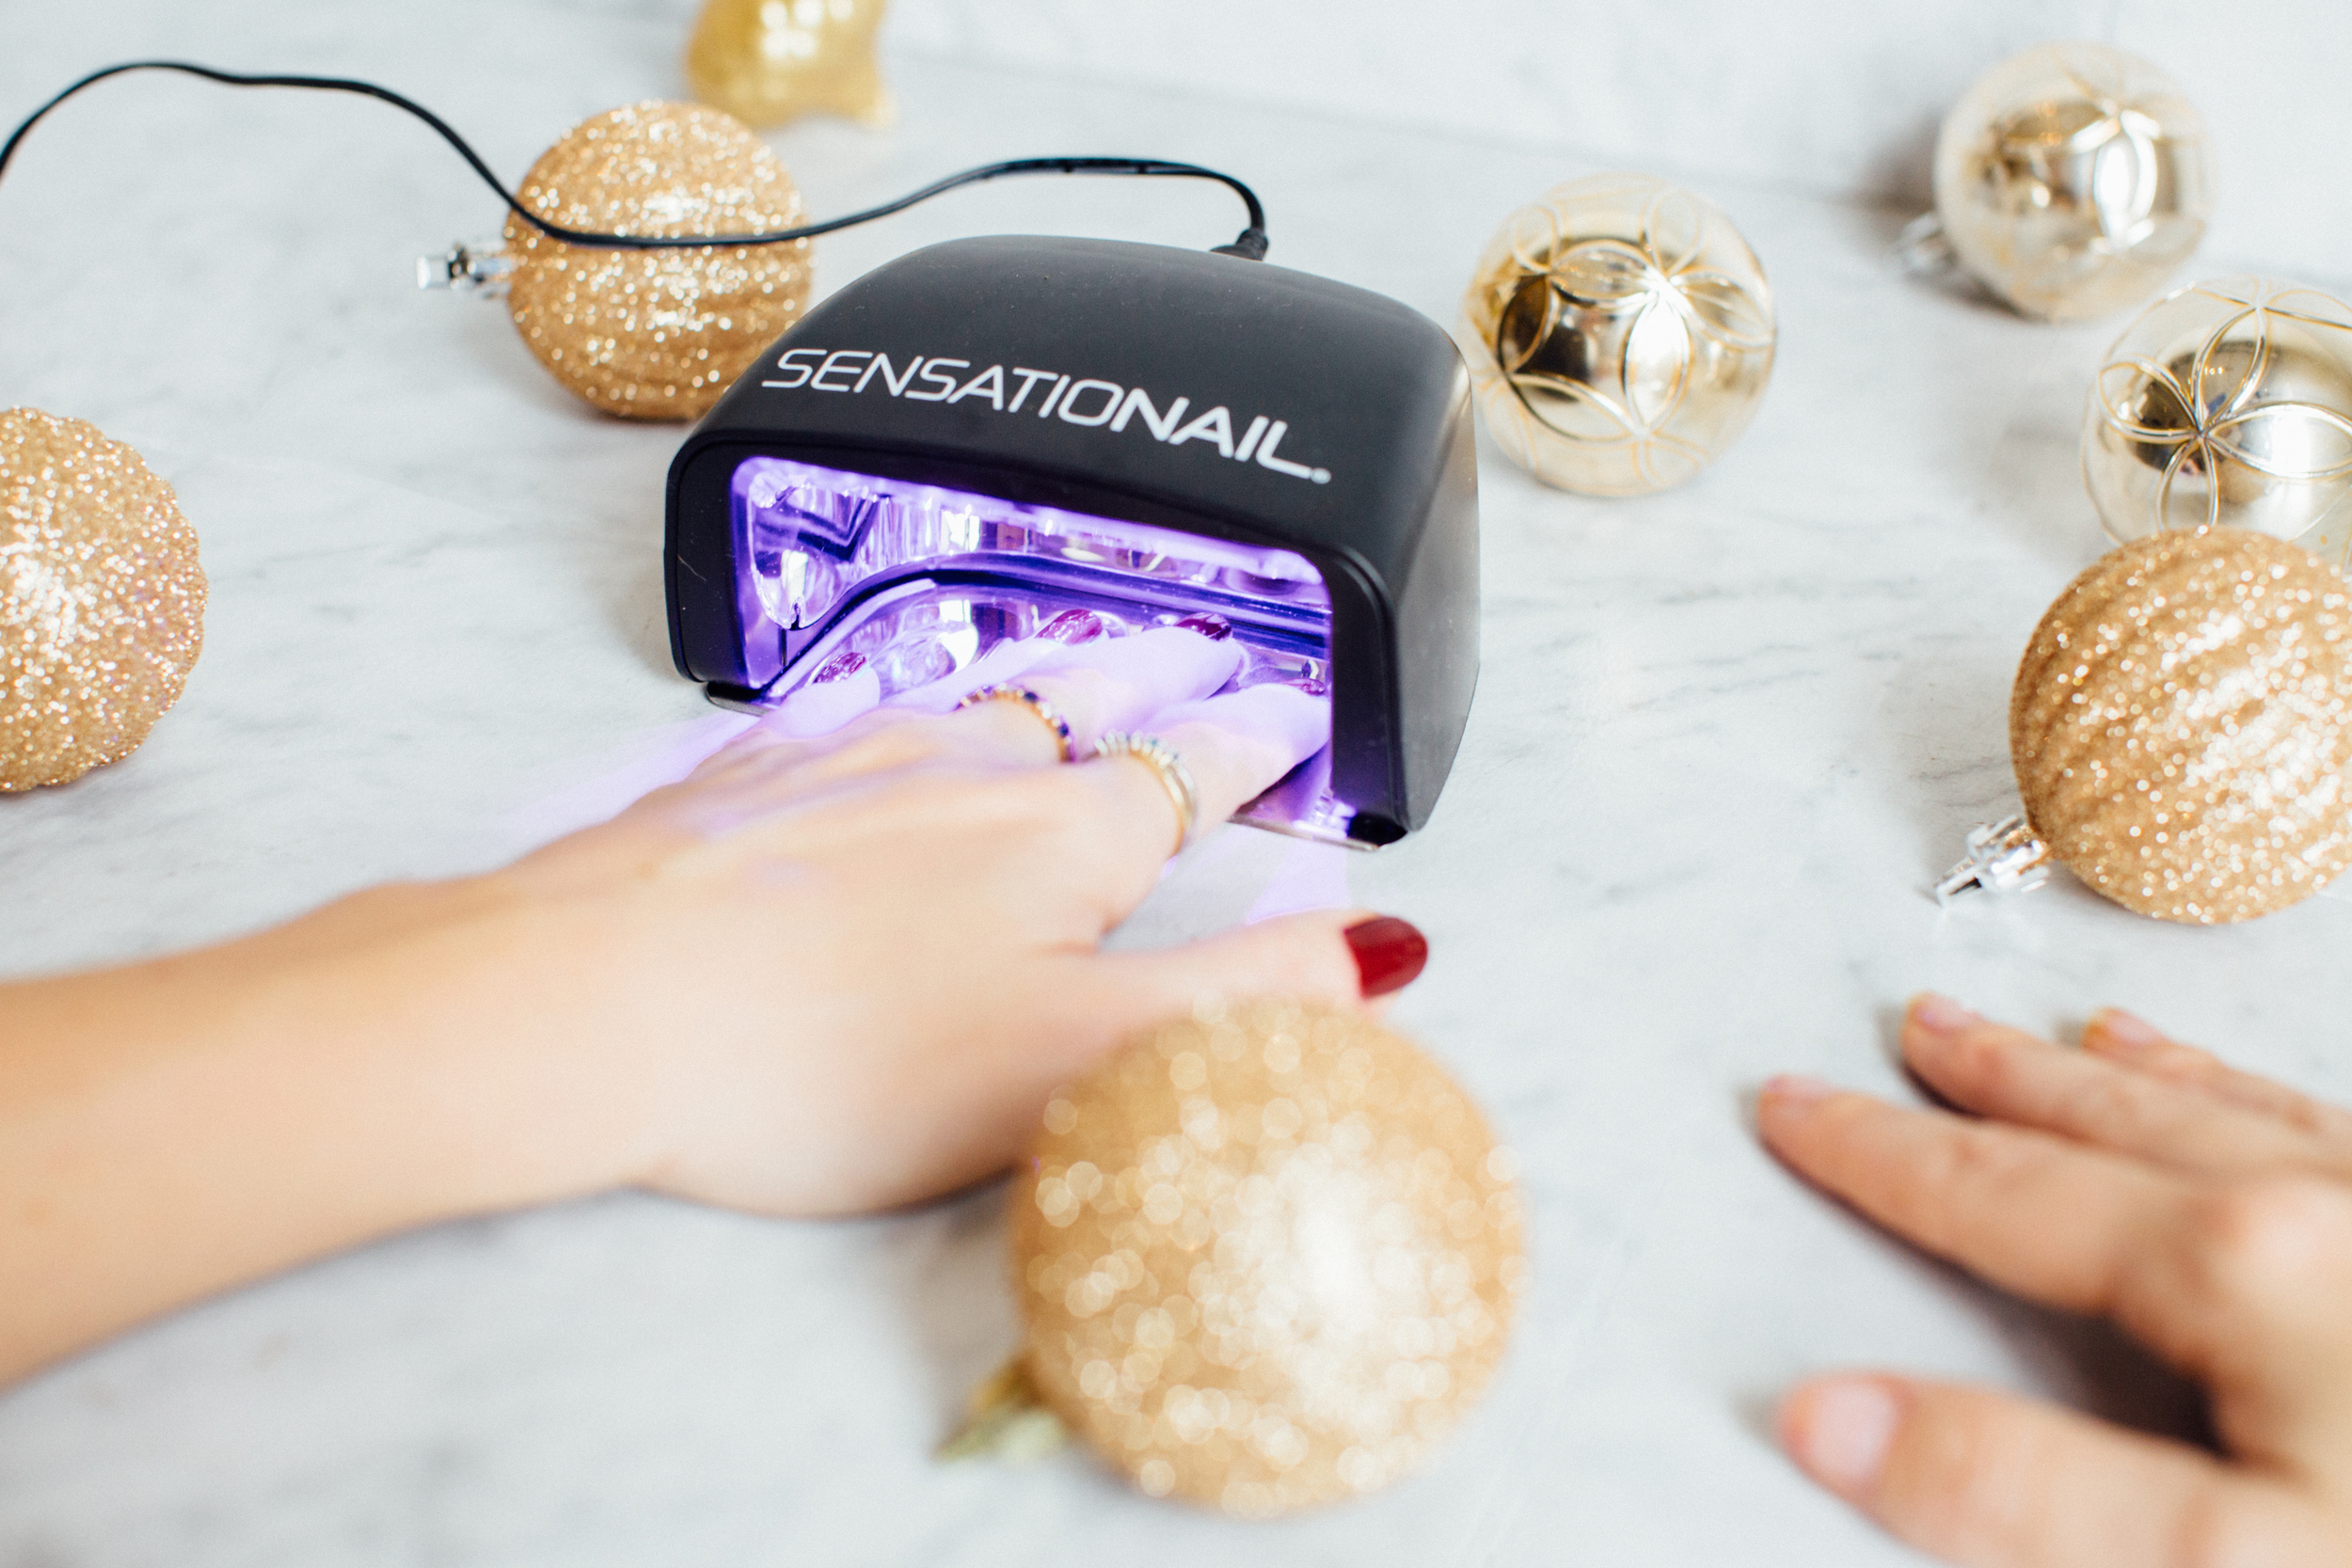
Step 7: Cure your "Color Gel Polish"
Step 8: Paint a second coat of the "Color Gel Polish" and then cure for another 30 seconds.
Step 9: Apply a layer of the "Gel Base & Top Coat" and cure for 15 seconds.

Step 10: Your nails will be a bit sticky at this point, so don't touch them yet. Use the "Gel Cleanser" and the lint-free wipe across all of your painted nails. This part seemed odd to me, but trust me, you're nails won't budge. They are totally hardened at this point!
Step 11: Unless you can do every step to all 10 nails at the same time, it's time to repeat all of the steps on your other hand.
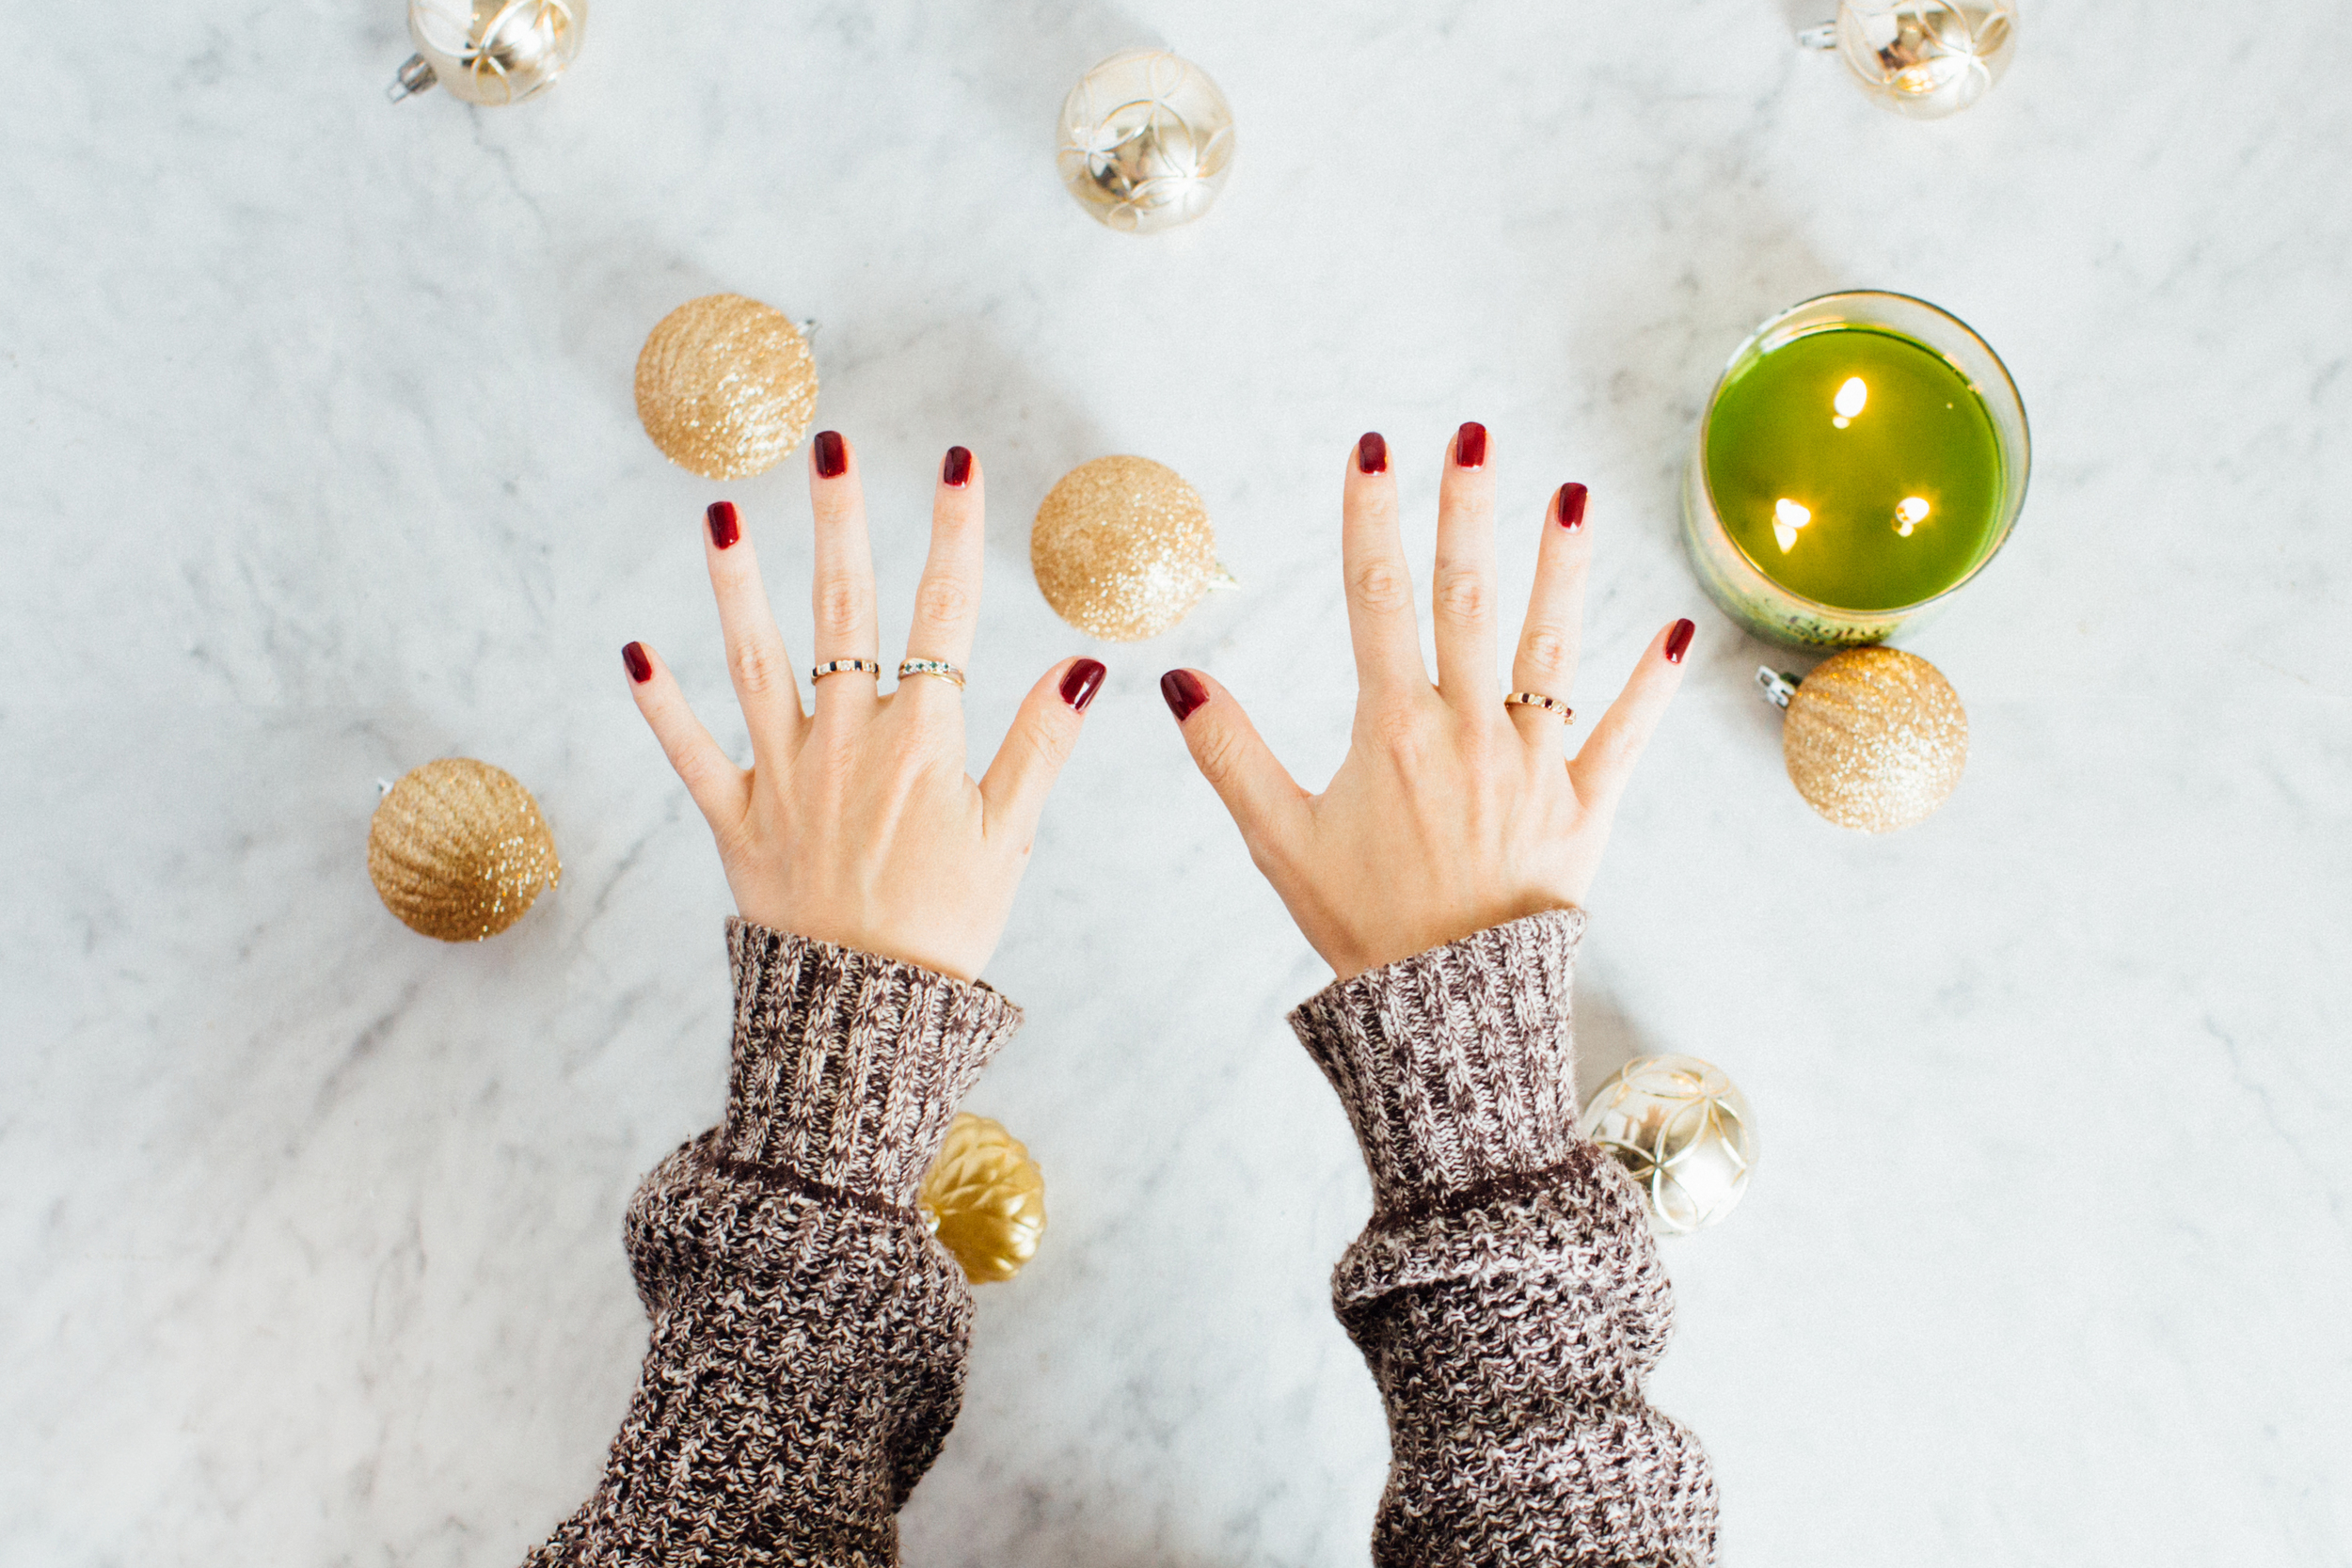
Now you're done! Perfectly dry and chip-free nails! You may proceed with your day without risking a mess up!
Tip for removing the polish. If you've ever had a gel manicure before you know how hard it is to remove the polish. Pure acetone alone will NOT work so I have three suggestions for removal. Method 1: Soak your nails in a bowl of pure acetone and buff the polish off with a file and manicure stick. The longer you can soak, the easier it will be to remove the polish. Method 2: Rip up a few paper towels and apply an acetone-soaked piece to each nail. Wrap each nail/soaked paper towel combo with foil. Let soak for a while or have a friend use a blow dryer on low to apply heat and speed up the process. Proceed to buff the polish off with a file. Method 3: Stop by your local cheap and quick nail salon and pay the $5 or so and have them remove the polish for you.
If you've used this kit or are planning on trying it out, let me know!