Athlete Bath Bombs

The other day I was thinking about what to buy for one of my best friends who already has everything when I remembered that she handmade me a present a few years ago and I wanted to do the same for her. (Hi Liz, now you know what part of your Christmas present is). Anyways, I was pretty excited about it, so I decided to share it with you incase you were in need of a good handmade Christmas gift as well. Now you can make these for anyone who loves a good bath, but I've catered these two recipes specifically for athlete recovery. Be ready because your house is about to smell amazzzzing.
Epsom Salt and Coconut Oil Bath Bombs : (makes 3)
Benefit: Coconut oil is moisturizing for the skin, while Epsom Salt relieves pain and muscle cramps, eliminates toxins from the body, soothes sprains and bruises, etc. Although you can use whatever essential oil you'd like, I chose Patchouli. A more earthy scent, this essential oil is known for being an antidepressant and sedative, helps speed up the recovery of wounds and prevents them from developing infections, and lastly is an aphrodisiac.
1 1/4 cup Baking Soda
2/3 cup Corn Starch
2/3 cup Citric Acid (It took me forever to find this. I found it in the canning section of Walmart)
2/3 cup Epsom Salt
2+ teaspoons water
2 teaspoon essential oil (I used patchouli)
2 1/2 teaspoons melted coconut oil
4+ drops of food coloring
Items You Will Need:
Mold (I bought mine on Amazon, here)
Mixing Bowls
Whisk
Measuring cups
Measuring spoons
Tray
Metal Utensil
Start by combining the four dry ingredients and whisking until the clumps are gone. In a separate bowl, combine and mix the water, essential oil, and coconut oil (don't forget to melt your coconut oil). Optional: you can go ahead and add the food coloring now for one color bath bombs, or later if you want multi colored bath bombs - like I did below.
Now you're going to SLOWLY whisk in the wet ingredients with the dry ones. If the mixture starts to fizz, go slower. Once it's all combined, it should be the consistency of wet sand. If it's too dry, you can add a bit more water. I separated my final mixture into a few different bowls so I could add different colors to each.
Now you need to OVER fill both sides of your bath bomb mold. I found that packing in the mixture tightly and adding a bit more at the end before I put them together worked best for me. Do this over your bowl because you're going to lose some of the extra as your fitting the two sides of the mold together. Lightly tap the filled bath bomb mold with a metal spoon (or whatever you have around). Begin by removing one side of the mold carefully, and then the other. Put on a tray and let it dry 1-2 days, That's it! I had no problems with the mixture not sticking to each other or breaking apart, but they are very delicate so be gentle.


The next is the Oatmeal Bath Bomb. Quick tip: Although this one is pretty and full of benefits, the oatmeal in the mixture made it harder for both sides of the mold to stick together. It's totally worth it and I've put more tips in the recipe section to help you out. I recommend only using one color or not using the food coloring at all. Incase you don't have the mixture damn enough, this allows you to retry without mixing up your pretty colors.
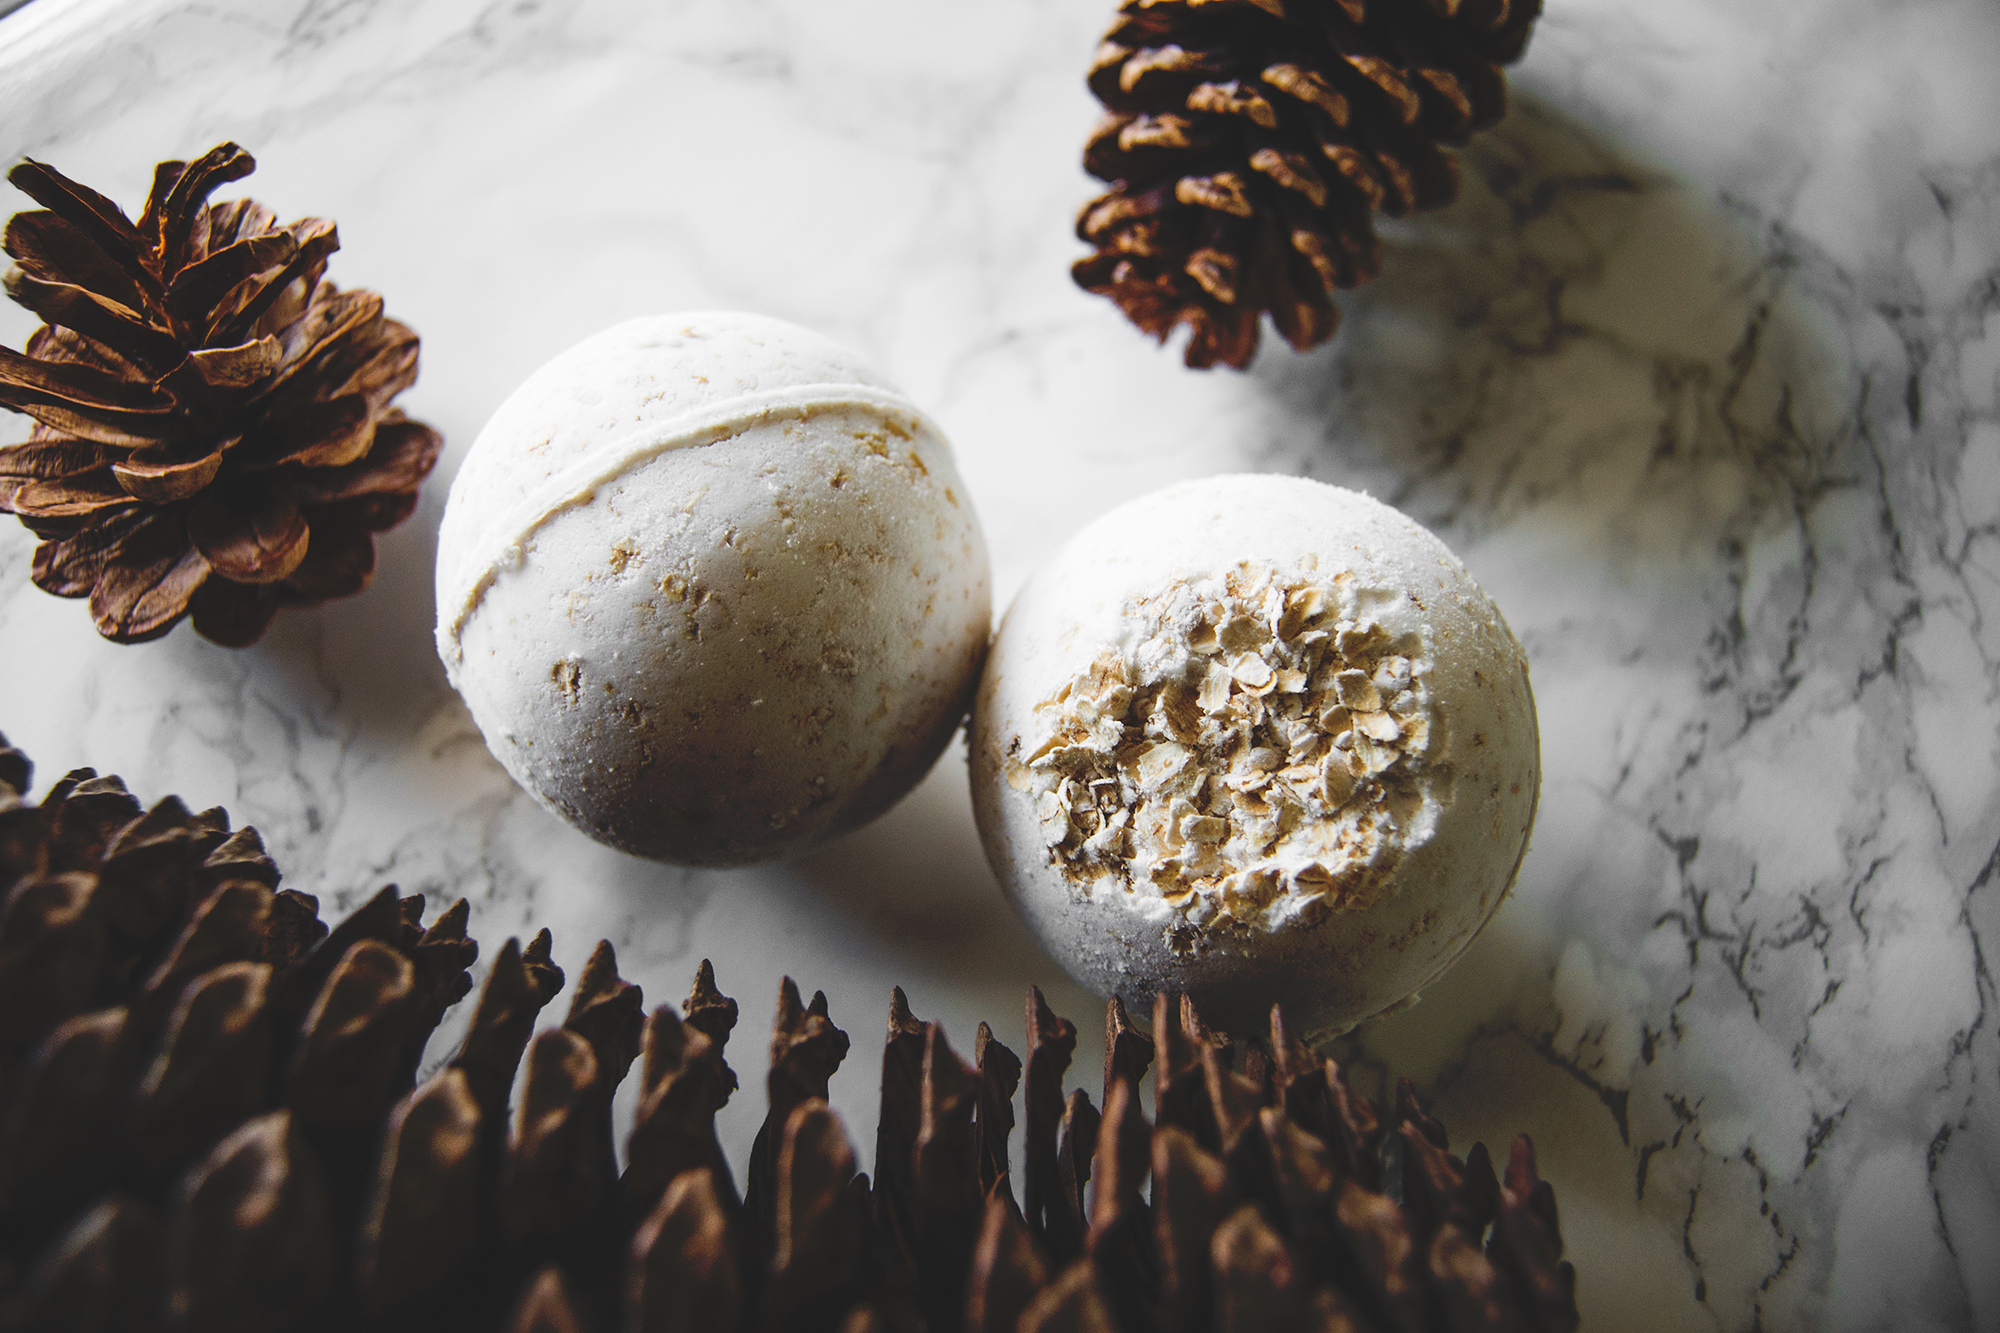
Oatmeal Bath Bomb (makes 2)
Benefits: Oatmeal makes for a very relaxing bath. It's great to cleanse your skin and lock in moisture. Lavender is known to be anti-inflammatory, reduces anxiety, improves sleep and helps heal wounds. Witch Hazel disinfects wounds, helps balance skin, treats sunburn, etc.
2/3 cup Baking Soda
1/3 cup Corn Starch
1/2 cup quick oats
1/3 cup Citric Acid
1 teaspoon Witch Hazel
1-2 teaspoons water
1 teaspoon essential oil (I used lavender for this one)
You'll want to follow the same method as before. Whisk the dry ingredients together in one bowl and the wet in another. Slowly combine them together and try not to let the mixture fizz. Once it's the consistency of wet sand, pack and overfill both sides of your mold. If it doesn't stick together, try whisking in a little more water and attempt again. I found that making the mixture a little more damp than my first recipe helped the two sides of the mold to stick together.
Lightly tap the filled bath bomb mold with a metal spoon (or whatever you have around). Begin by removing one side of the mold carefully, and then the other. Put on a tray and let it dry 1-2 days before using!