Low maintenance At-home gel Manicure
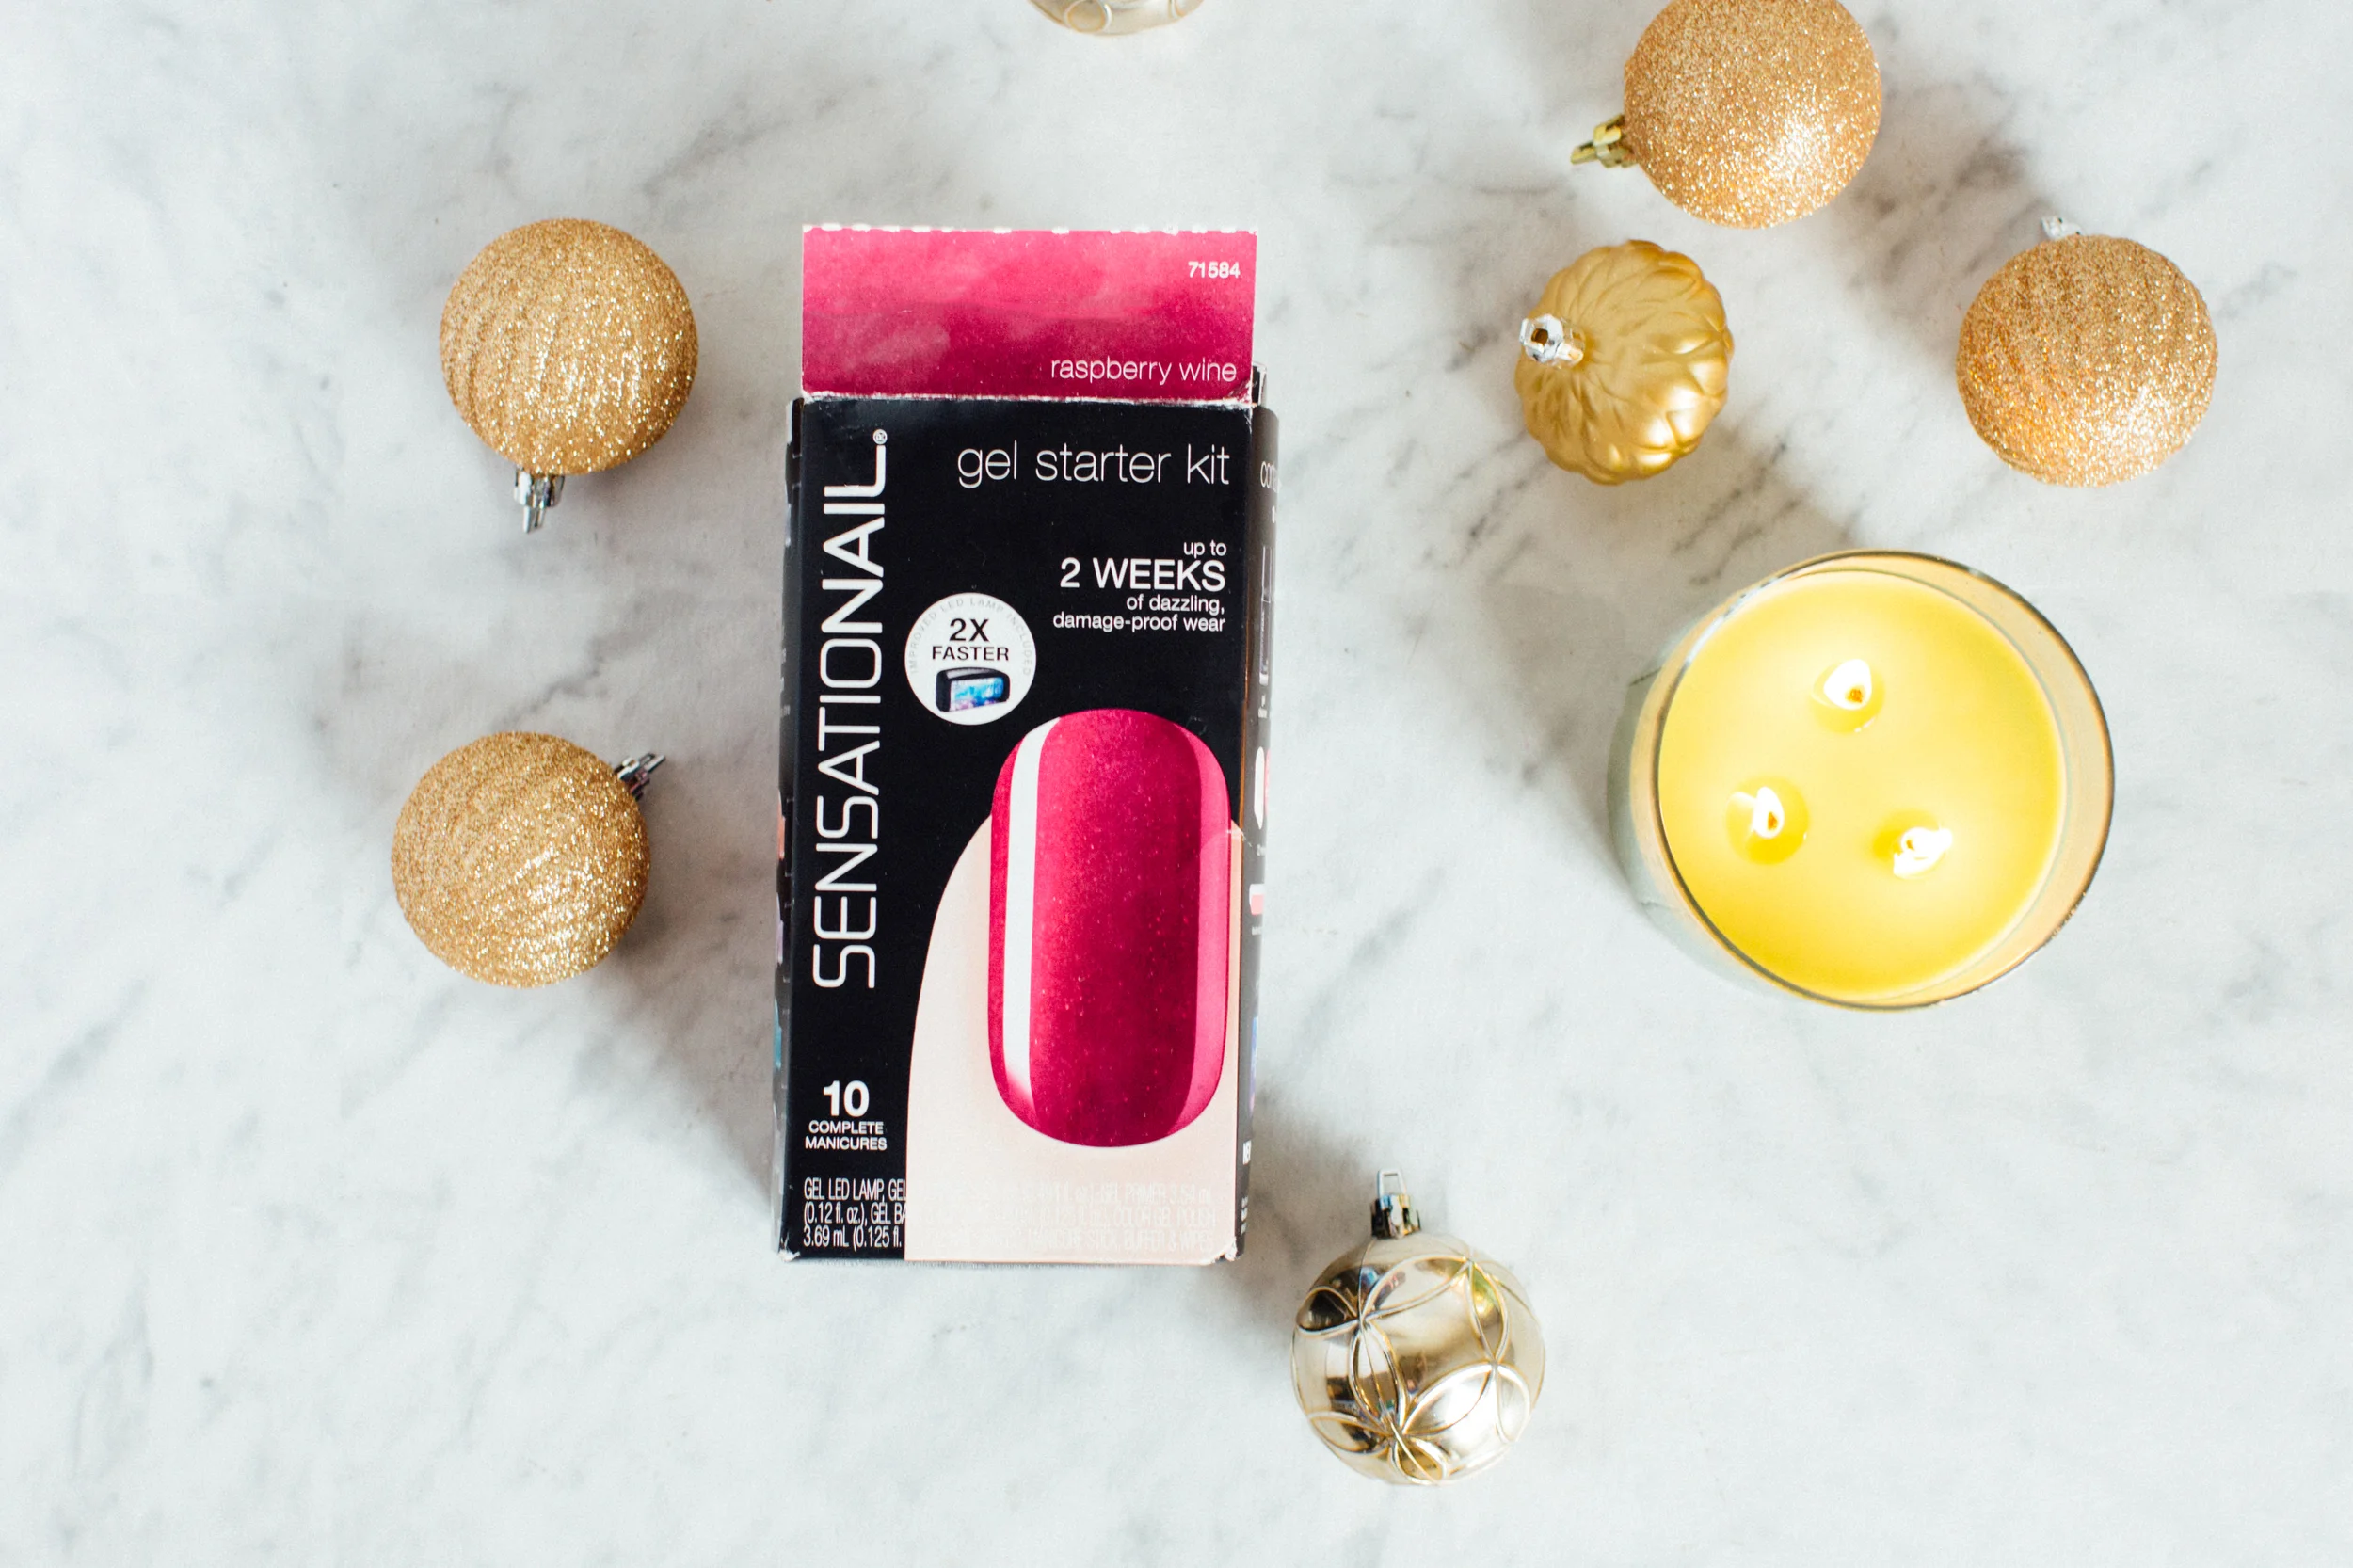
Let me start off by saying that I'm not really great at doing my nails, but I don't have much time to make it to the nail salon when they're open. Because of this, I usually end up painting my nails late at night which means they never dry enough to not smudge before bed. However, I have great news! I discovered Sally Hansen SensatioNAIL! The "Gel Starter Kit" comes with everything you need for your own at-home gel manicure. The only thing different here is that I purchased the color "Miss Behave" and used that instead of the "Raspberry Wine" color that came with the kit. I also want to note that these hold up SO well during cyclocross and my daily life. No chipping! Heck yes!
I purchased my kit from Amazon (link here) because it was cheaper than Target or Walmart, but shop around to make sure there hasn't been any price changes. The kit says you get 10 manicures from this kit and if that's so, I'll end up averaging $3.32 for each manicure. Um, yes please! That's way less expensive than going to the salon.
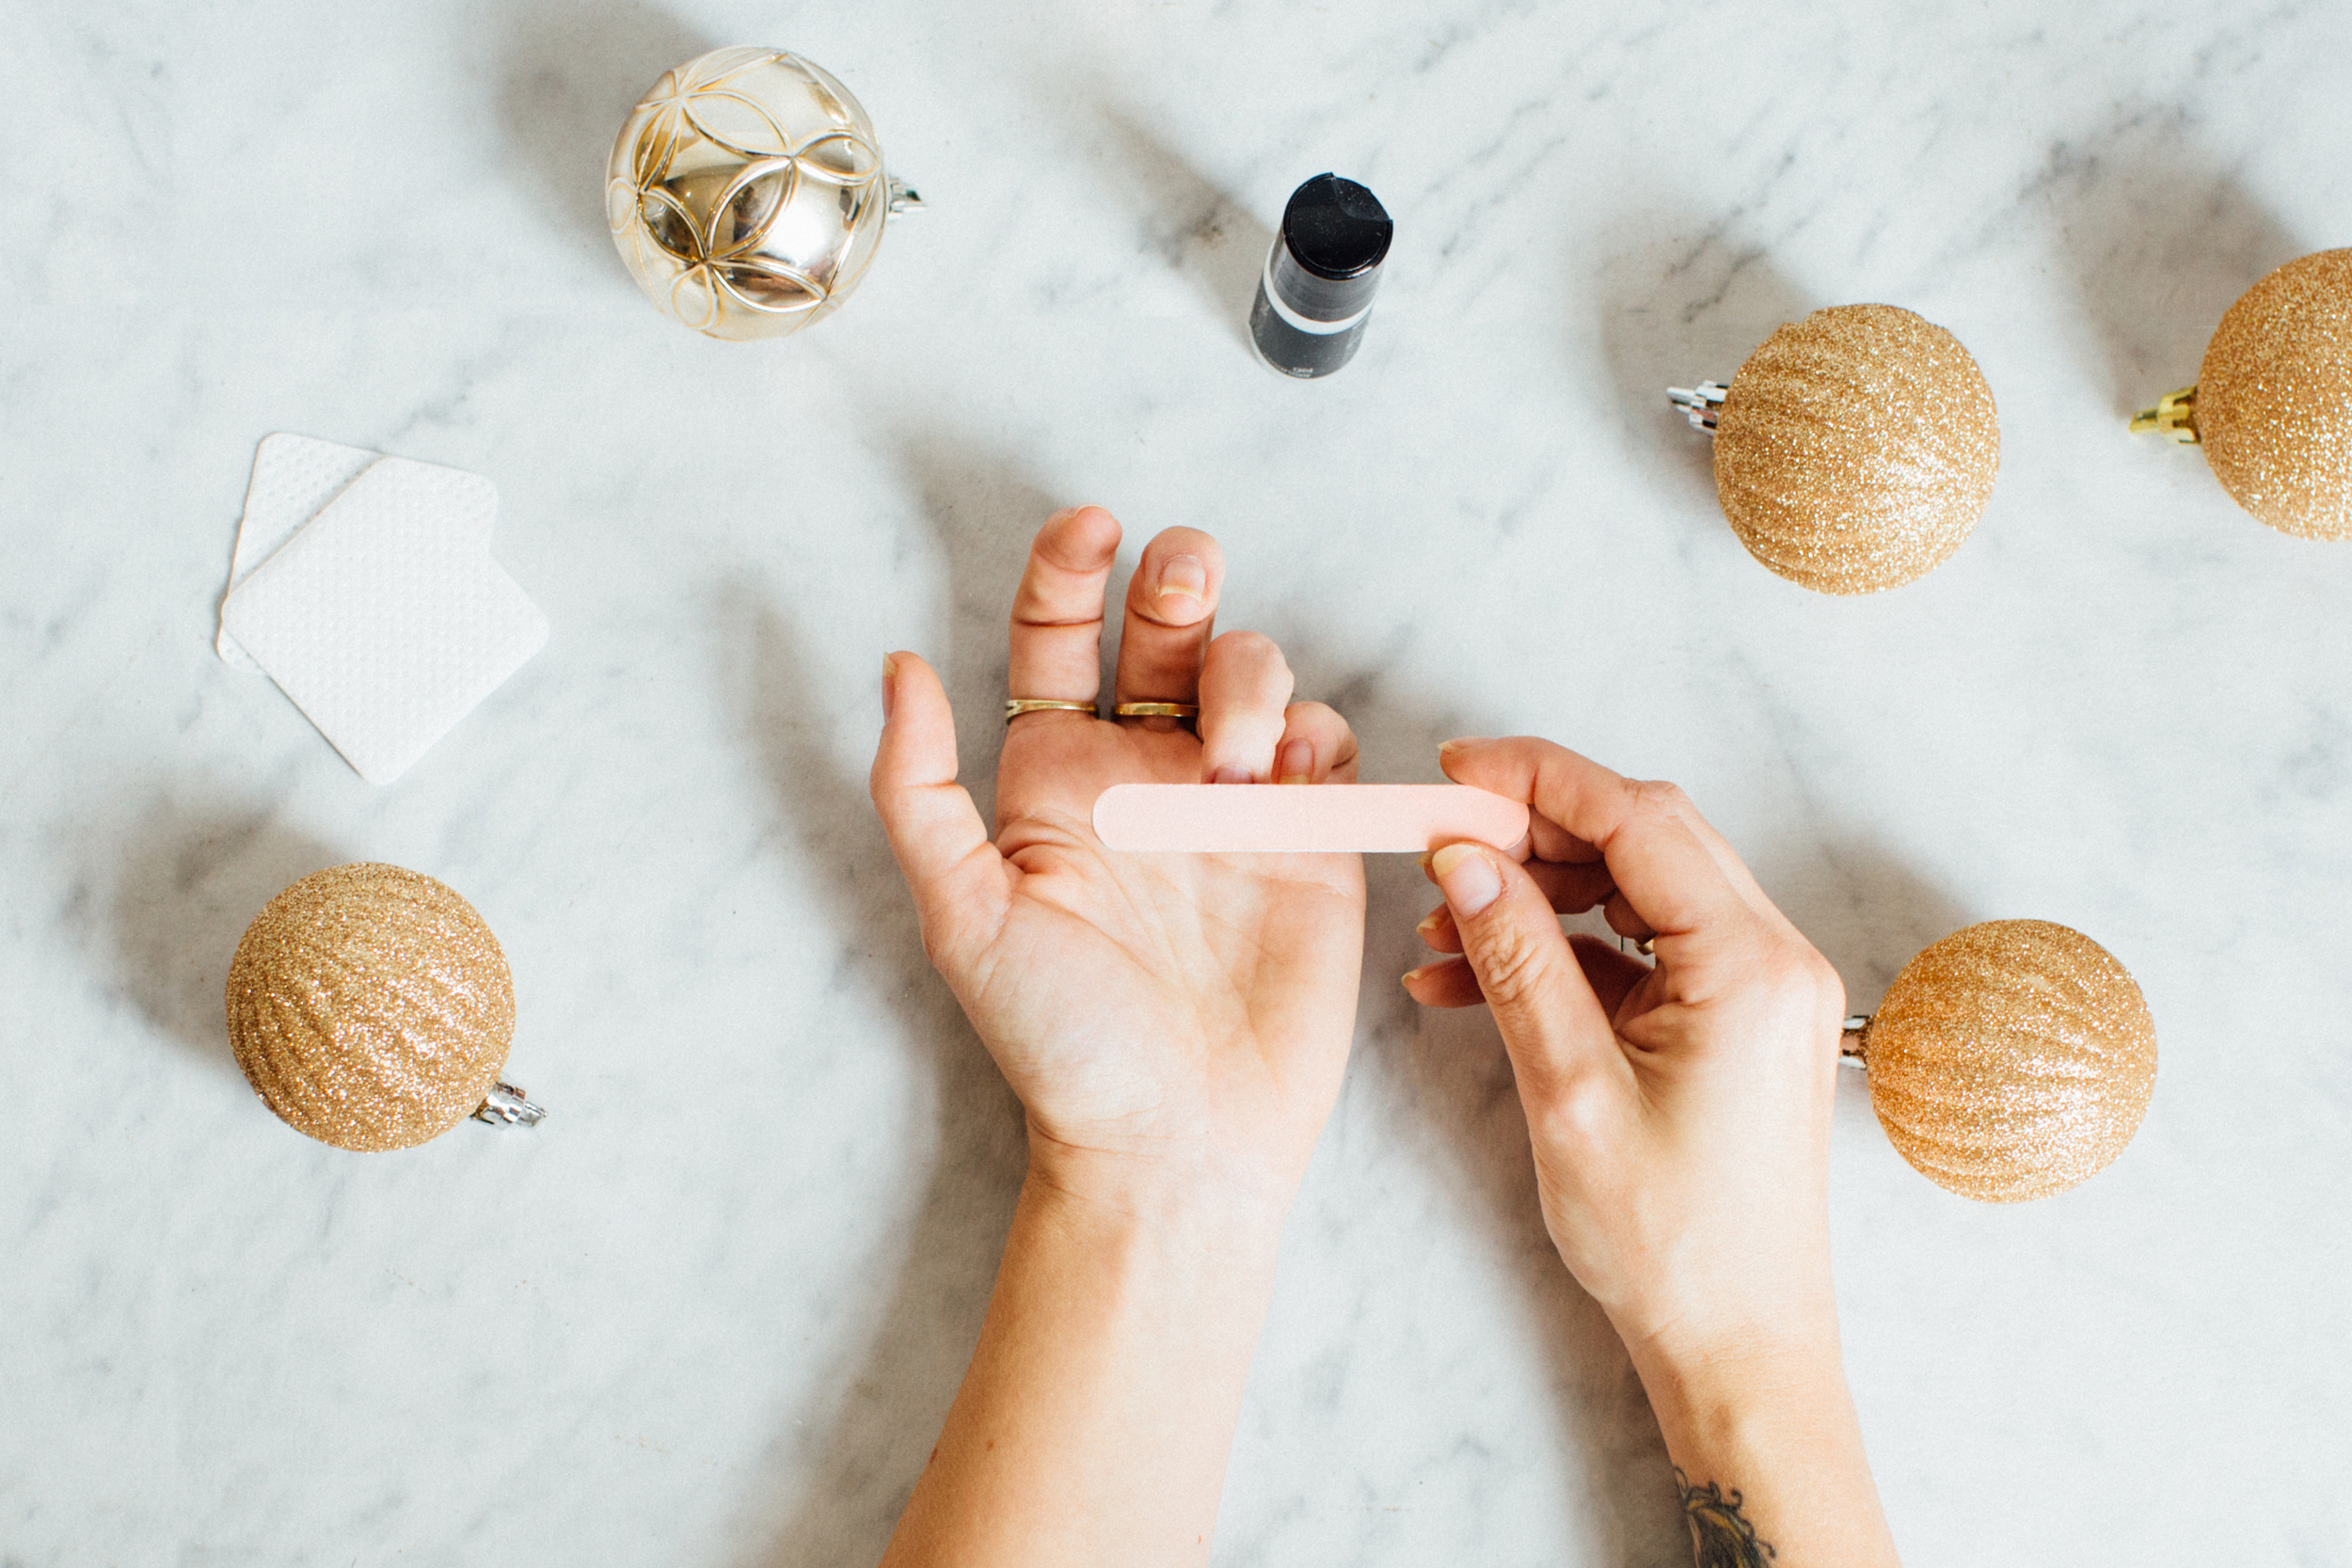
Step 1: Prepare your nails. File, buff, remove cuticles, etc

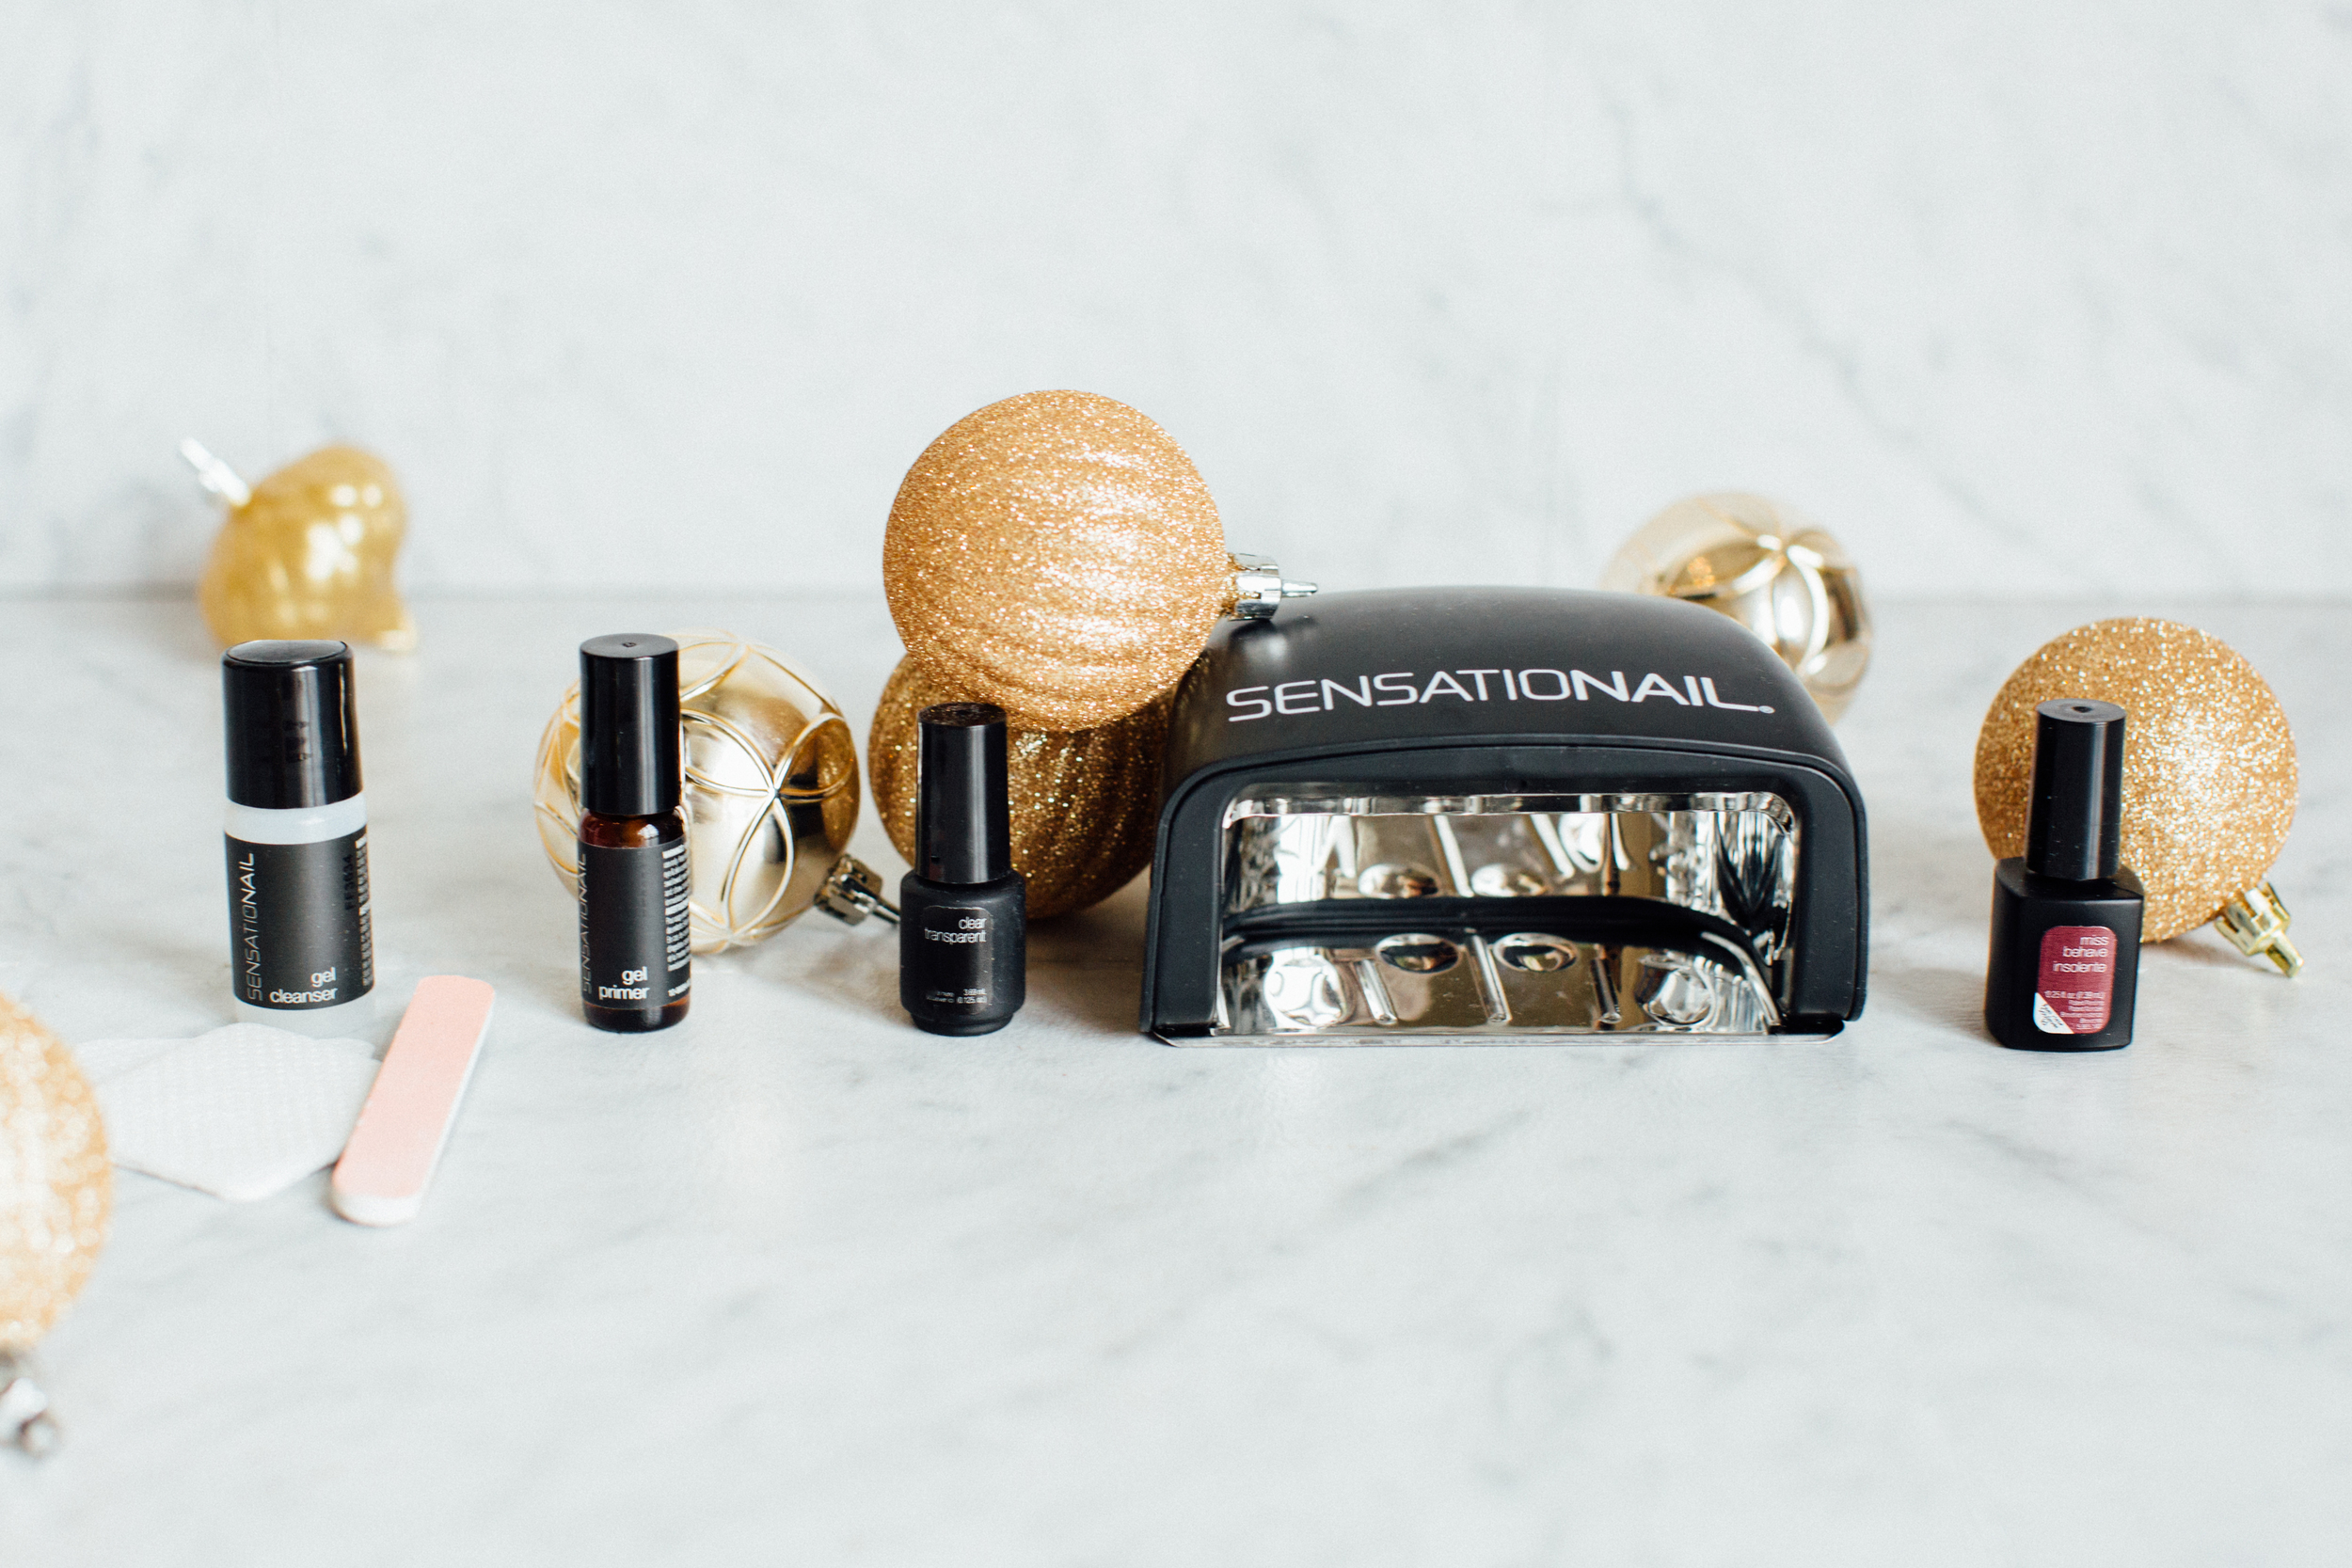
Step 2: Use the lint-free wipes and clean your nails with the "Gel Cleanser"

Step 3: Apply a layer of the "Gel Primer" to nails

Step 4: Apply a layer of the "Gel Base & Top Coat"

Step 5: Cure your base coat using the LED lamp for 15 seconds. The lamp will blink with 15 seconds is up. I usually have to do my thumb by itself because it doesn't fit in the lamp with my other four fingers

Step 6: Now it's time to apply your "Color Gel Polish"
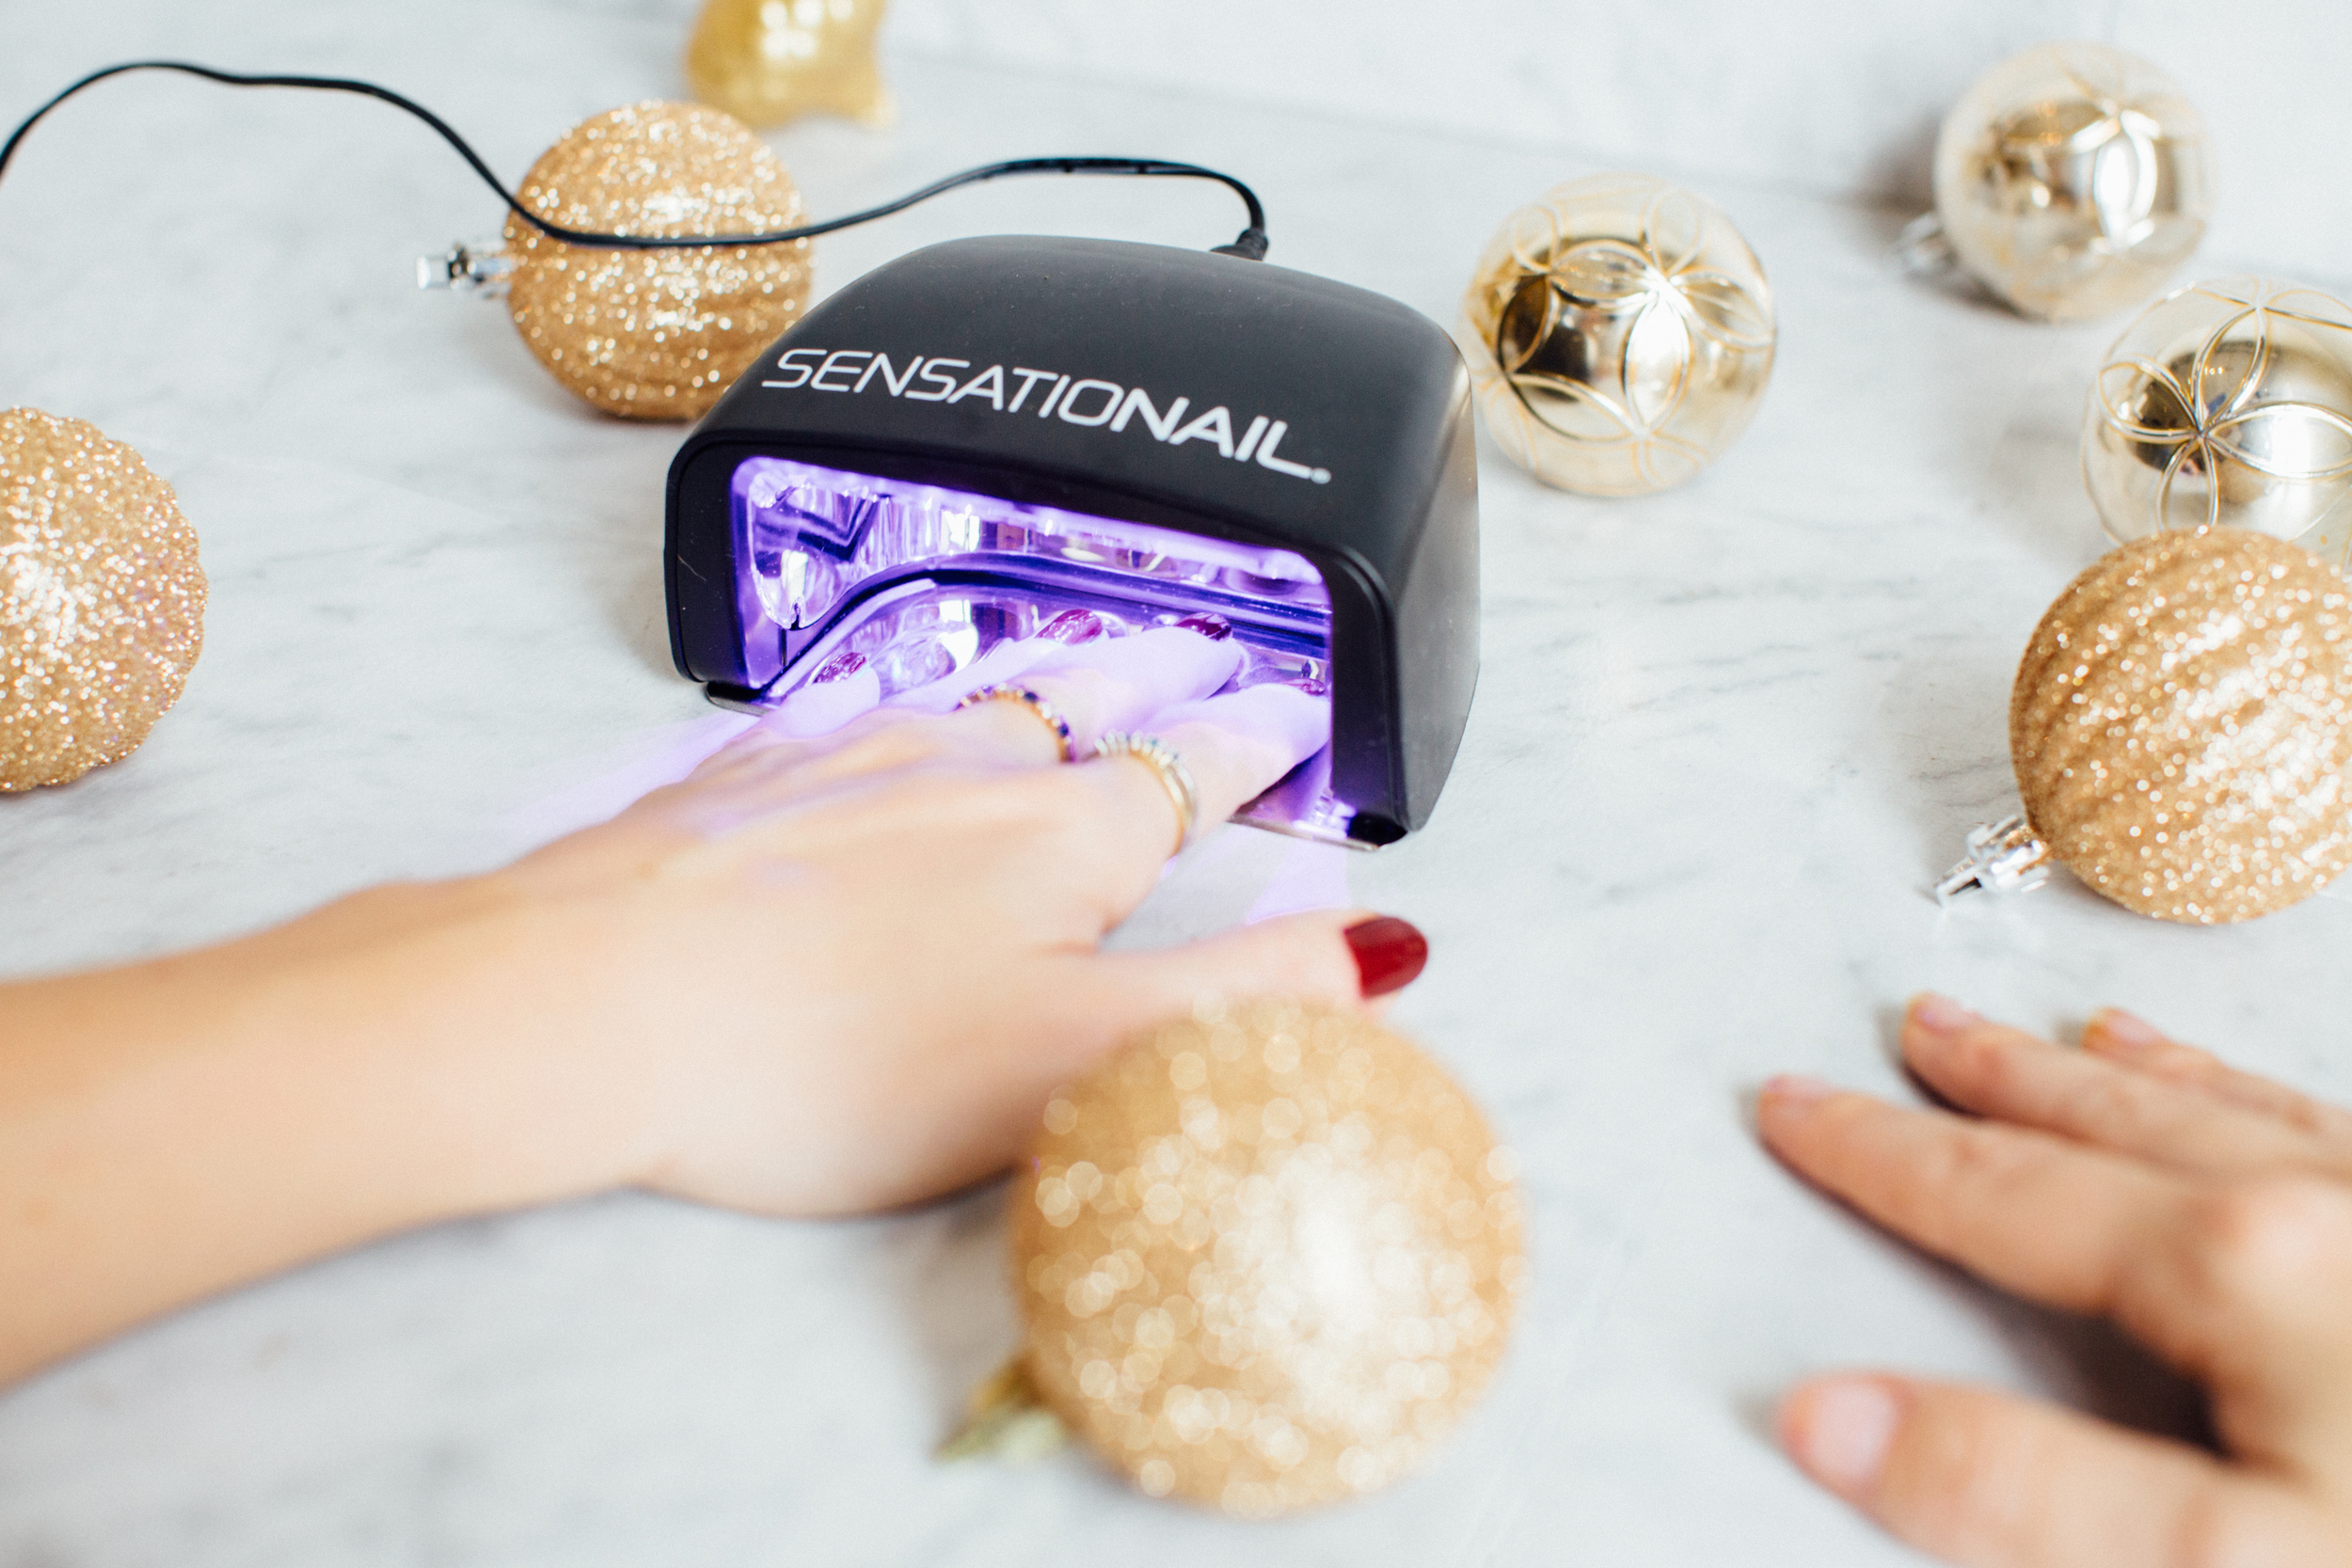
Step 7: Cure your "Color Gel Polish"
Step 8: Paint a second coat of the "Color Gel Polish" and then cure for another 30 seconds.
Step 9: Apply a layer of the "Gel Base & Top Coat" and cure for 15 seconds.

Step 10: Your nails will be a bit sticky at this point, so don't touch them yet. Use the "Gel Cleanser" and the lint-free wipe across all of your painted nails. This part seemed odd to me, but trust me, you're nails won't budge. They are totally hardened at this point!
Step 11: Unless you can do every step to all 10 nails at the same time, it's time to repeat all of the steps on your other hand.

Now you're done! Perfectly dry and chip-free nails! You may proceed with your day without risking a mess up!
Tip for removing the polish. If you've ever had a gel manicure before you know how hard it is to remove the polish. Pure acetone alone will NOT work so I have three suggestions for removal. Method 1: Soak your nails in a bowl of pure acetone and buff the polish off with a file and manicure stick. The longer you can soak, the easier it will be to remove the polish. Method 2: Rip up a few paper towels and apply an acetone-soaked piece to each nail. Wrap each nail/soaked paper towel combo with foil. Let soak for a while or have a friend use a blow dryer on low to apply heat and speed up the process. Proceed to buff the polish off with a file. Method 3: Stop by your local cheap and quick nail salon and pay the $5 or so and have them remove the polish for you.
If you've used this kit or are planning on trying it out, let me know!