
DIY Tutorial: Folding Kids’ Tables for a Party
When you’re hosting a big party for little ones, having kid-sized tables makes all the difference. I made six folding tables for my daughter’s party, and they turned out both practical and so cute. Here’s how you can make your own!

This tutorial will make (six) 48x32" wooden tables with folding legs.
Materials:
(2) sheets of ¾" thick 4'x8' sanded plywood (~$65 each)
(24) folding hairpin legs, 12.5" tall (4 per table)
(30) 15.75" floor cushions for seating
Tools:
Step 1: Cut the plywood into table tops
Each 4’x8’ sheet of plywood makes three 48"x32" tables.
Use your circular saw to cut the plywood sheets into thirds

Step 2: Smooth the edges
Run a router along all edges so the tables are smooth and safe for little hands.
If you notice any rough spots, lightly sand with sandpaper until the surface feels soft.

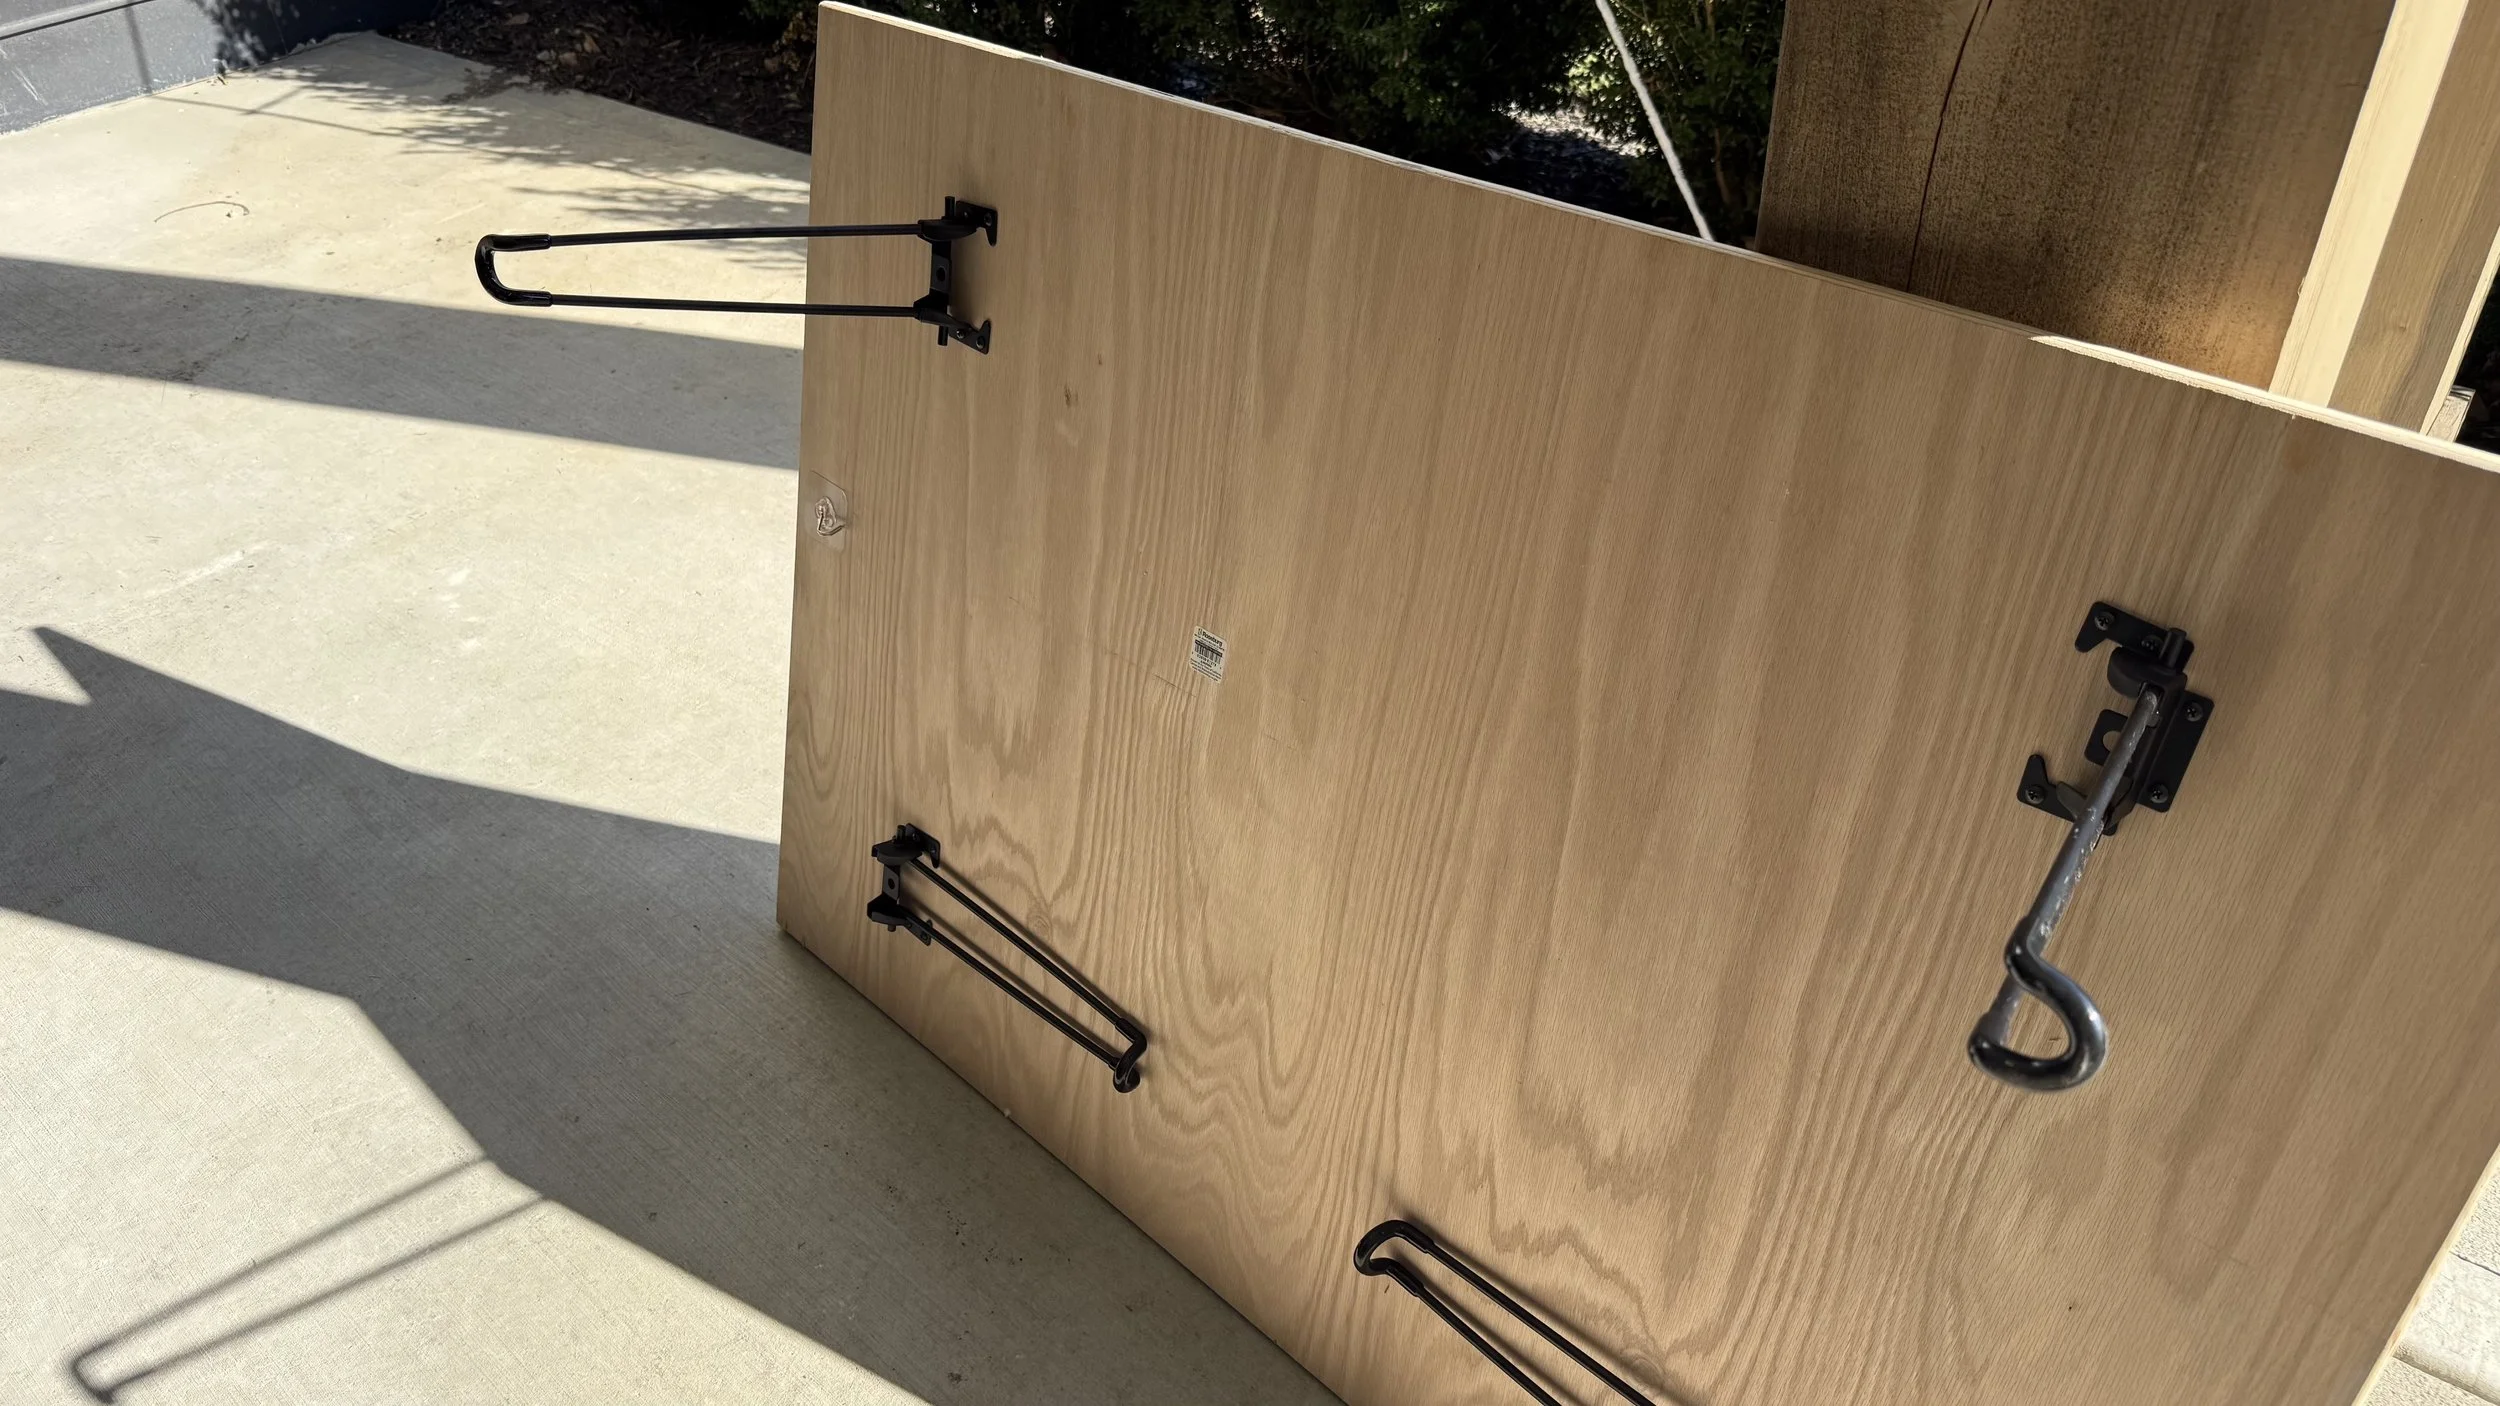
Step 3: Attach the legs
Flip each tabletop upside down.
Position four folding hairpin legs (12.5" tall) in the corners, leaving about 6-7" inset from each edge.
Drill pilot holes to avoid splitting the wood.
Secure the legs with screws.
Step 5: Add seating
I used 30 soft floor cushions so all the kids had a comfy spot to sit around the tables.
Final Results
Each table is low to the ground, folds flat for storage, and can easily seat several kids with floor cushions. They worked perfectly for crafts, snacks, and games at the party!
Pro tip: You can paint or seal the tabletops if you want them to match your party theme or to protect from spills, but I left mine natural for a clean, timeless look.
Links At A Glance
If you like this, you might be interested in the Fairy Birthday Party Recap!

Facebook Marketplace Reveal

Facebook Marketplace Console Table Makeover
One of my favorite parts of any room makeover is finding those special pieces that tie everything together – and this time, Facebook Marketplace came through in a big way! I stumbled upon the most adorable console table and instantly knew it had to be part of my sunroom refresh. It was listed for $100, but I offered $80 and got it!

FBMP Listing photo

The first thing that caught my eye? The gorgeous scallop details. They added such a charming touch that I just couldn’t resist. Of course, I had to put my own spin on it, so a little DIY magic was in order.
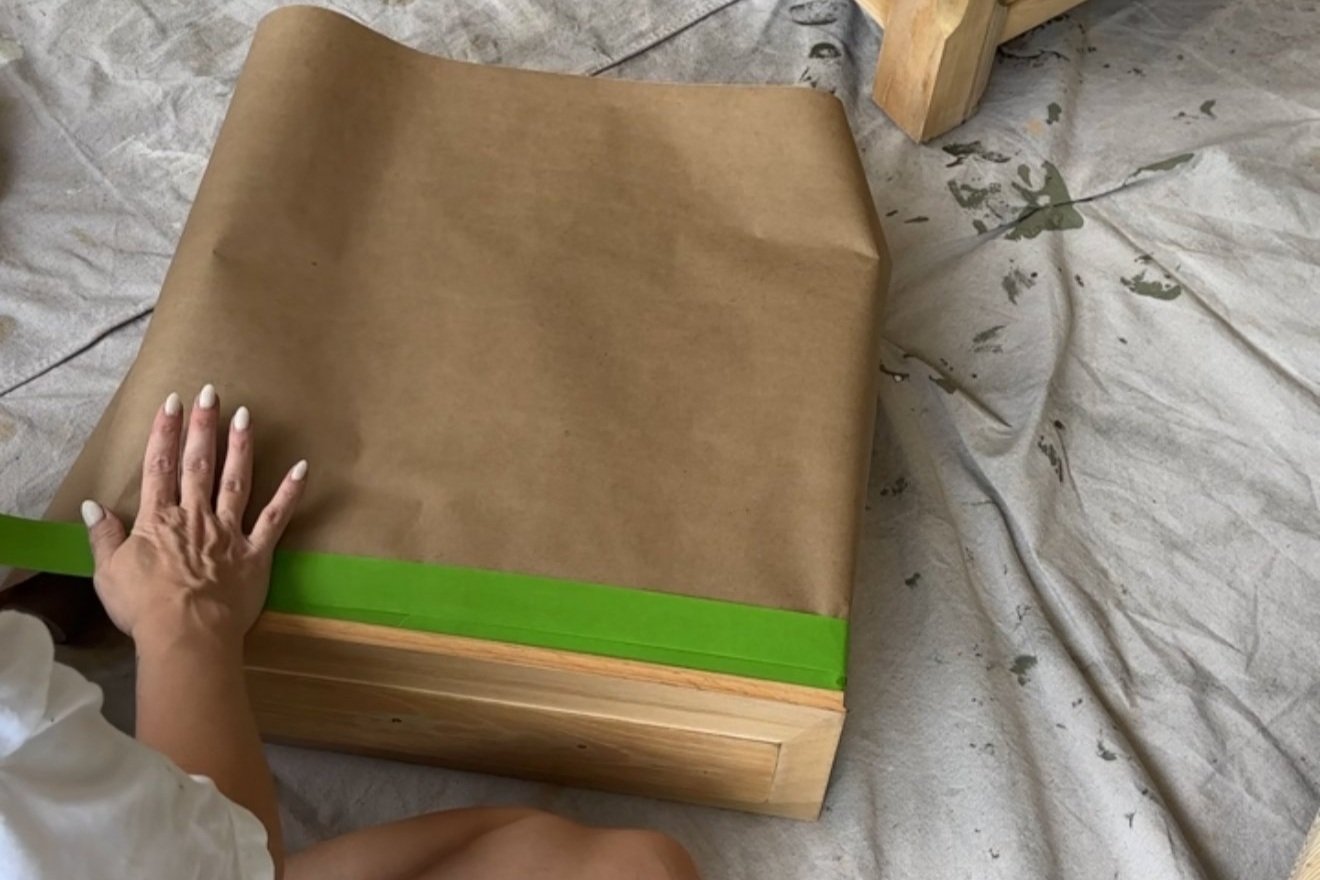
Step 1: Prepping for paint - After giving it a good clean, I removed the drawers, took off the knobs, and taped the inside of the table as well as the boxes of the drawers.
Step 2: Prime and sand – I started by applying one coat of HGTV Home by Sherwin-Williams Cabinet and Furniture Primer with my paint sprayer, ensuring smooth, even coverage. Once dry, I lightly sanded the surface with fine-grit sandpaper for a flawless finish. To remove any residual dust, I wiped everything down with a clean towel.


Step 3: Paint! Using my paint sprayer, I applied HGTV Home by Sherwin-Williams Cabinet and Furniture Paint in the shade "Otter." This paint is available in both satin and semi-gloss sheens, but I chose satin. Between each coat of paint, I lightly sanded with fine-grit sandpaper and wiped everything down to ensure a smooth finish.
Fun fact: I also used this same paint to transform my DIY coffee table, which now sits proudly in the sunroom alongside the console table.


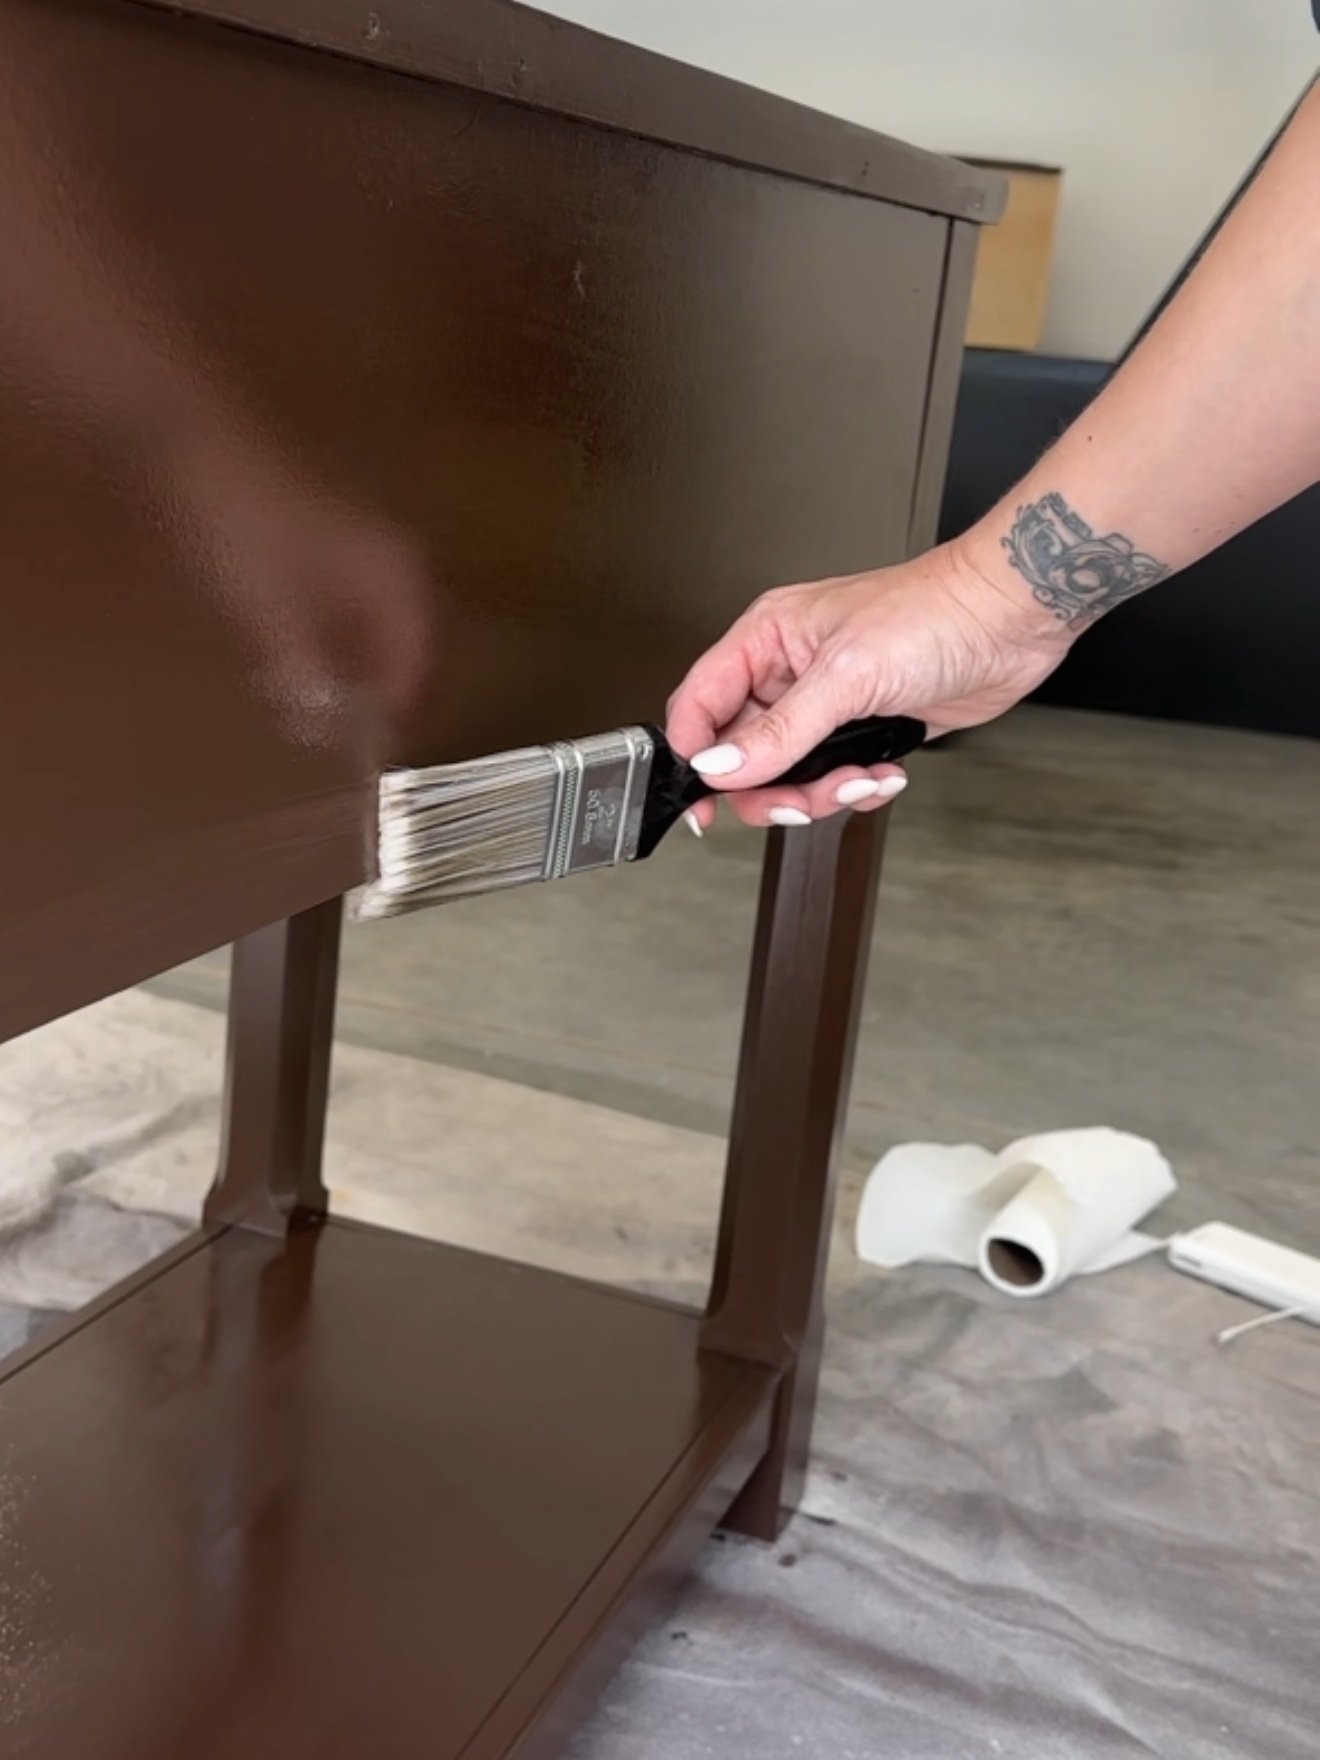
Step 4: Clear Coat (Optional): To add extra durability (because I have a rambunctious toddler), I finished the piece with a coat of Minwax Fast-Drying Polyurethane in Satin. Since it’s oil-based, be sure to use a disposable brush—do not use your paint sprayer! It dries quickly, so work fast, and make sure your space is well-ventilated because the fumes are strong. Honestly, the poly coat ended up a bit glossier than I wanted, so if you prefer a more matte look, you can totally skip this step. The cabinet paint is durable enough on its own!

Step 5: Finishing Touches - Once the piece was completely dry, I swapped out the old knobs for some new ones that better fit my style. This small change made a big impact and really pulled the whole look together. Finally, I slid the drawers back into place, and just like that – my console table was complete!


This project was so simple but made such a big difference in the space. The new color and updated hardware were the perfect addition to my sunroom makeover. I couldn’t be happier with how it turned out.

Want to shop this room? Links here!
What do you think of the transformation? Have you ever scored a hidden gem on Facebook Marketplace? Let me know in the comments – I’d love to hear about your favorite finds and DIY projects!
IF YOU ENJOYED THIS POST, YOU MIGHT BE INTERESTED IN my sunroom makeover post.
FOLLOW ME ON MY SOCIALS!

DIY: Coffee Table
DIY Concrete Coffee Table: How I Made My First Piece of Furniture!
I got the biggest compliment ever! Someone asked me where I bought my coffee table, and I proudly told them, “I freaking made it!!!” Yes, you read that right—this beautiful piece of furniture is 100% DIY, and I couldn't be more excited to share how I did it!
A year and a half ago, I decided it was time to stop just wishing and start doing. There was this huge item on my “to-make” list: a handmade coffee table. But even with all my accomplishments, this was the one thing I had never attempted. I always thought furniture-building was something I’d never tackle—but it turns out, all I needed was the right project to make it happen.
I kept it simple because, let’s face it, I have a tendency to overcomplicate things, which can lead to procrastination (yep, guilty!). I needed something easy to ease into this whole furniture-making world. So, I grabbed a piece of project board from Lowes, a couple of 5-gallon buckets, and some concrete, and got to work. Here’s how I did it!
Plan the Design
First things first, I decided on the size and shape of the table I wanted. I drew everything out with pencil directly on the project board and carefully cut it out with my jig saw, then sanded it on both side including rounding out the edges. Simple and clean. No overthinking.


Concrete Molds
Then, I greased the inside and filled two 5-gallon buckets with mixed concrete using an eggbeater attachment on my drill (talk about a heavy project—good thing I had help!). After the concrete set and dried inside the buckets overnight, I removed it to reveal the perfect concrete molds for the legs. To release the concrete I cut a slit on the bottom of the bucket to make the removal of the bucket easier! Note: concrete is heavy—this is definitely a two-person job. Trust me, my back can tell you all about it (I’m basically 80, with the way I decorate my house, right?!).


Painting the Table
Now the real fun begins. I started with one coat of primer, followed by a couple of coats of paint using my paint sprayer - making sure I was lightly hand sanding in-between each coat with 220 grit sandpaper. I used Cabinet and Furniture Paint in the color Otter by HGTV Home by Sherwin Williams! Then, to protect my hard work, I added a few layers of polyurethane using a throw away roller and brush.


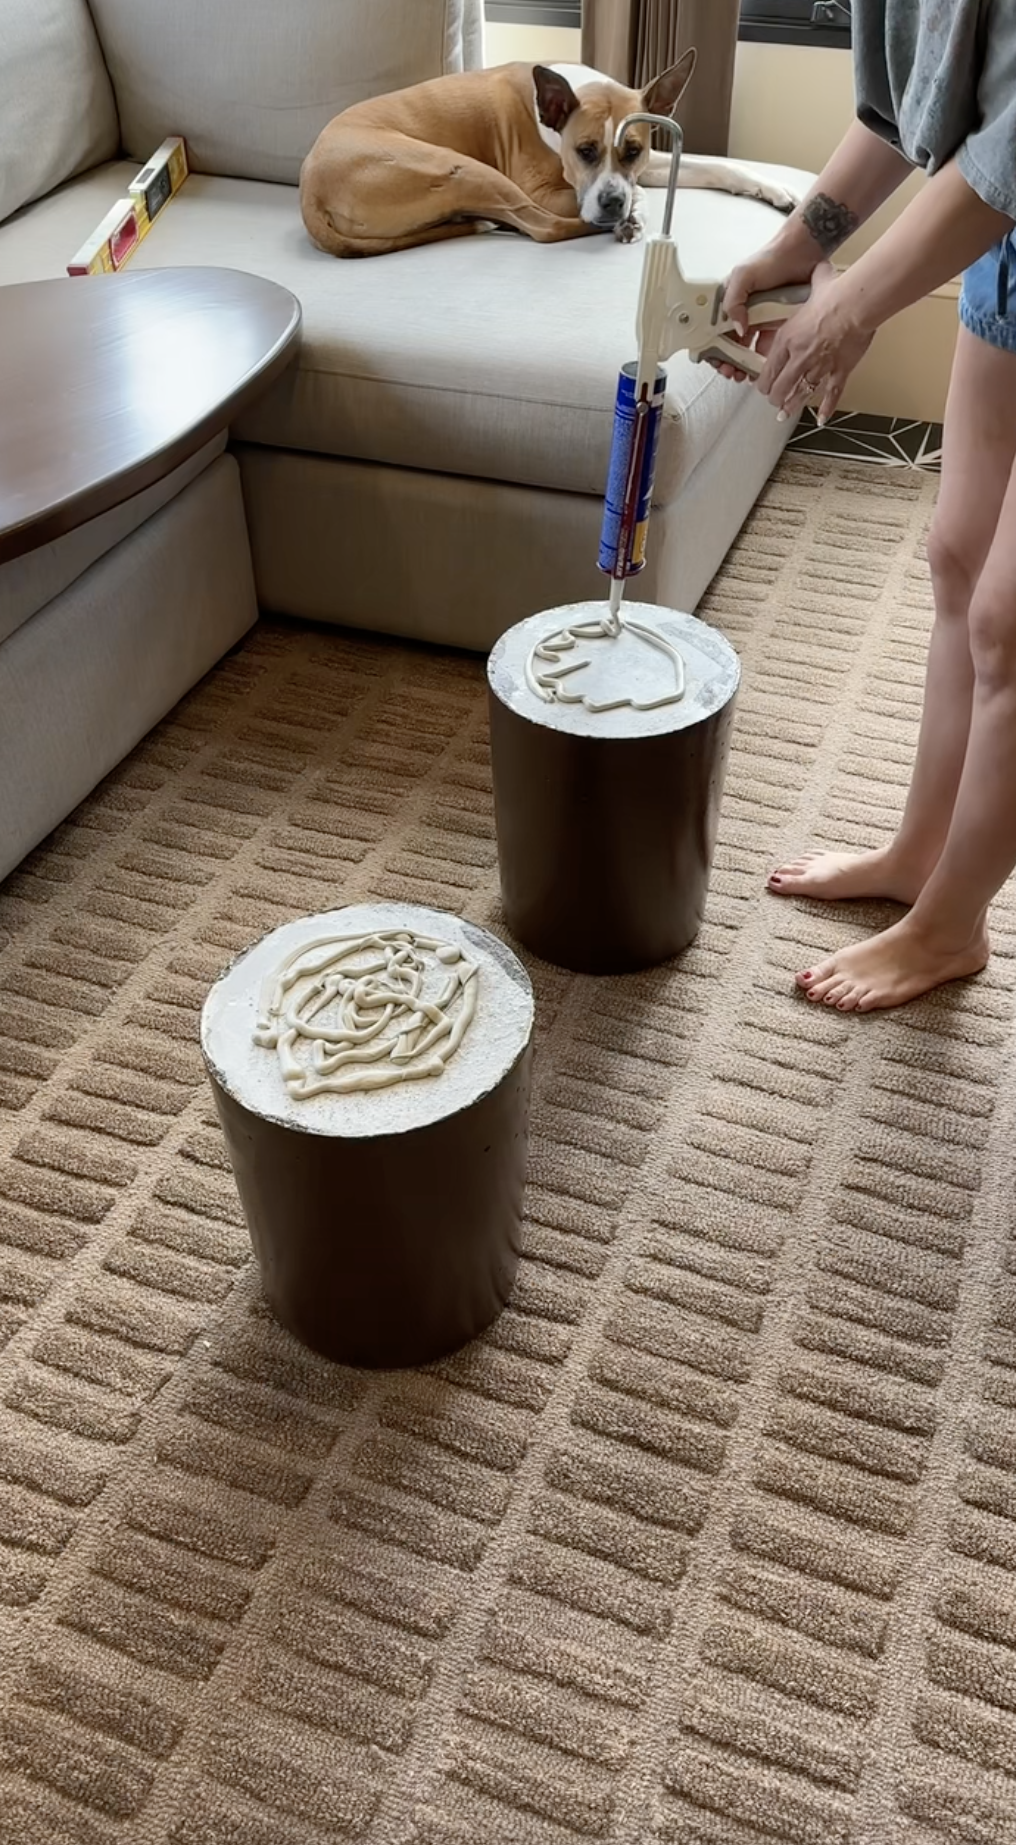
Putting It All Together
Let this part be a lesson on what not to do. I connected the concrete legs to the table top using construction adhesive. Sure, maybe it wasn’t the most professional connection, but I’m still learning! Next time I’ll upgrade my technique.

Final Product!
And voila—look at this beauty! It’s gorgeous and it’s 100% made by me. In fact, someone even asked if they could buy one just like it. I’m taking that as a massive win!
So if you've been dreaming about creating something like this, stop waiting for the "perfect" time. Grab your materials, keep it simple, and just start. You might surprise yourself with what you can create. Happy DIY-ing!

